GAN Bending
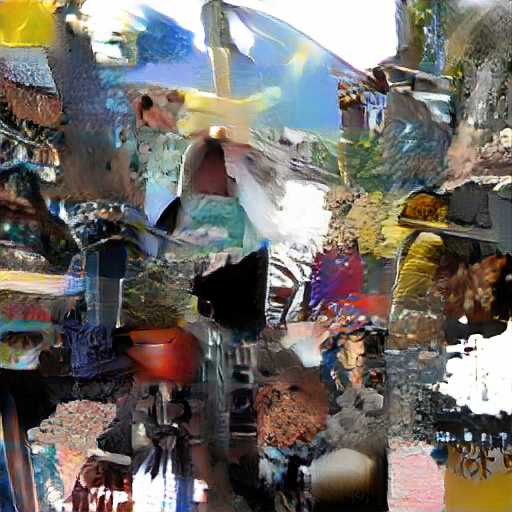
I started off in this direction because I was really interested in the abstract yet image-like output of BigGAN1. You can see it in action over on Artbreeder, where it's called the "General" model. The model I'm going to use in this post is a closely-related variant called BigGAN-deep.
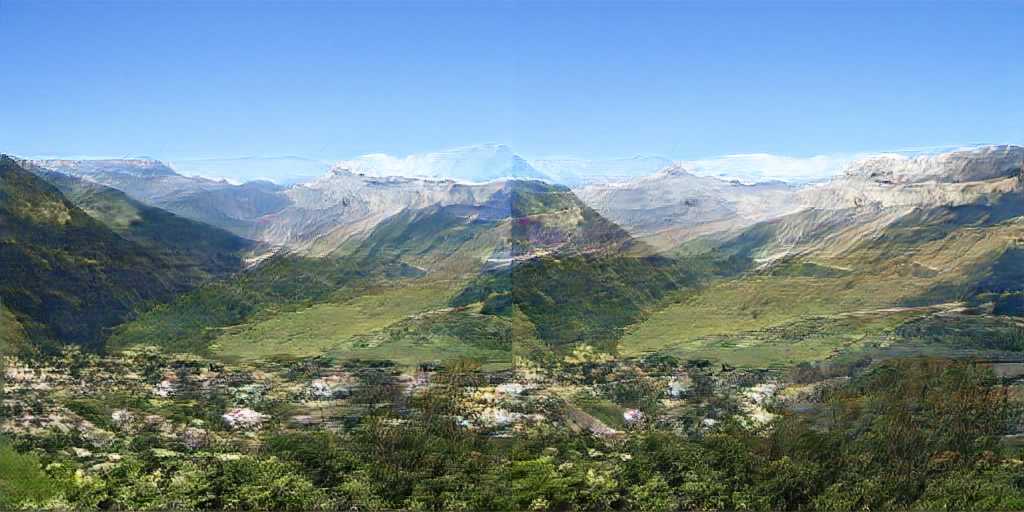
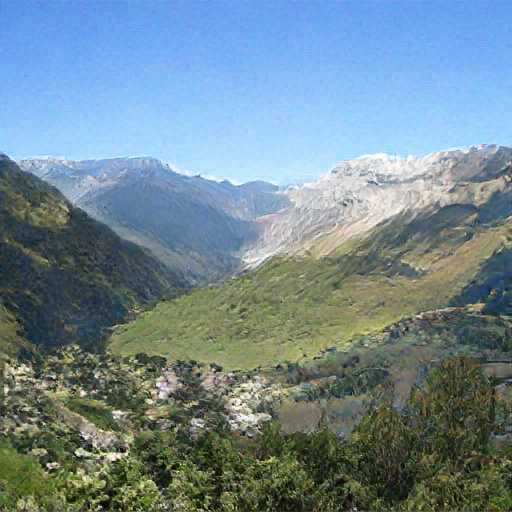
The limited, square output resolution of 512x512 felt pretty limiting, so I tried collaging the images together with some clone tool and editing in Photoshop2:
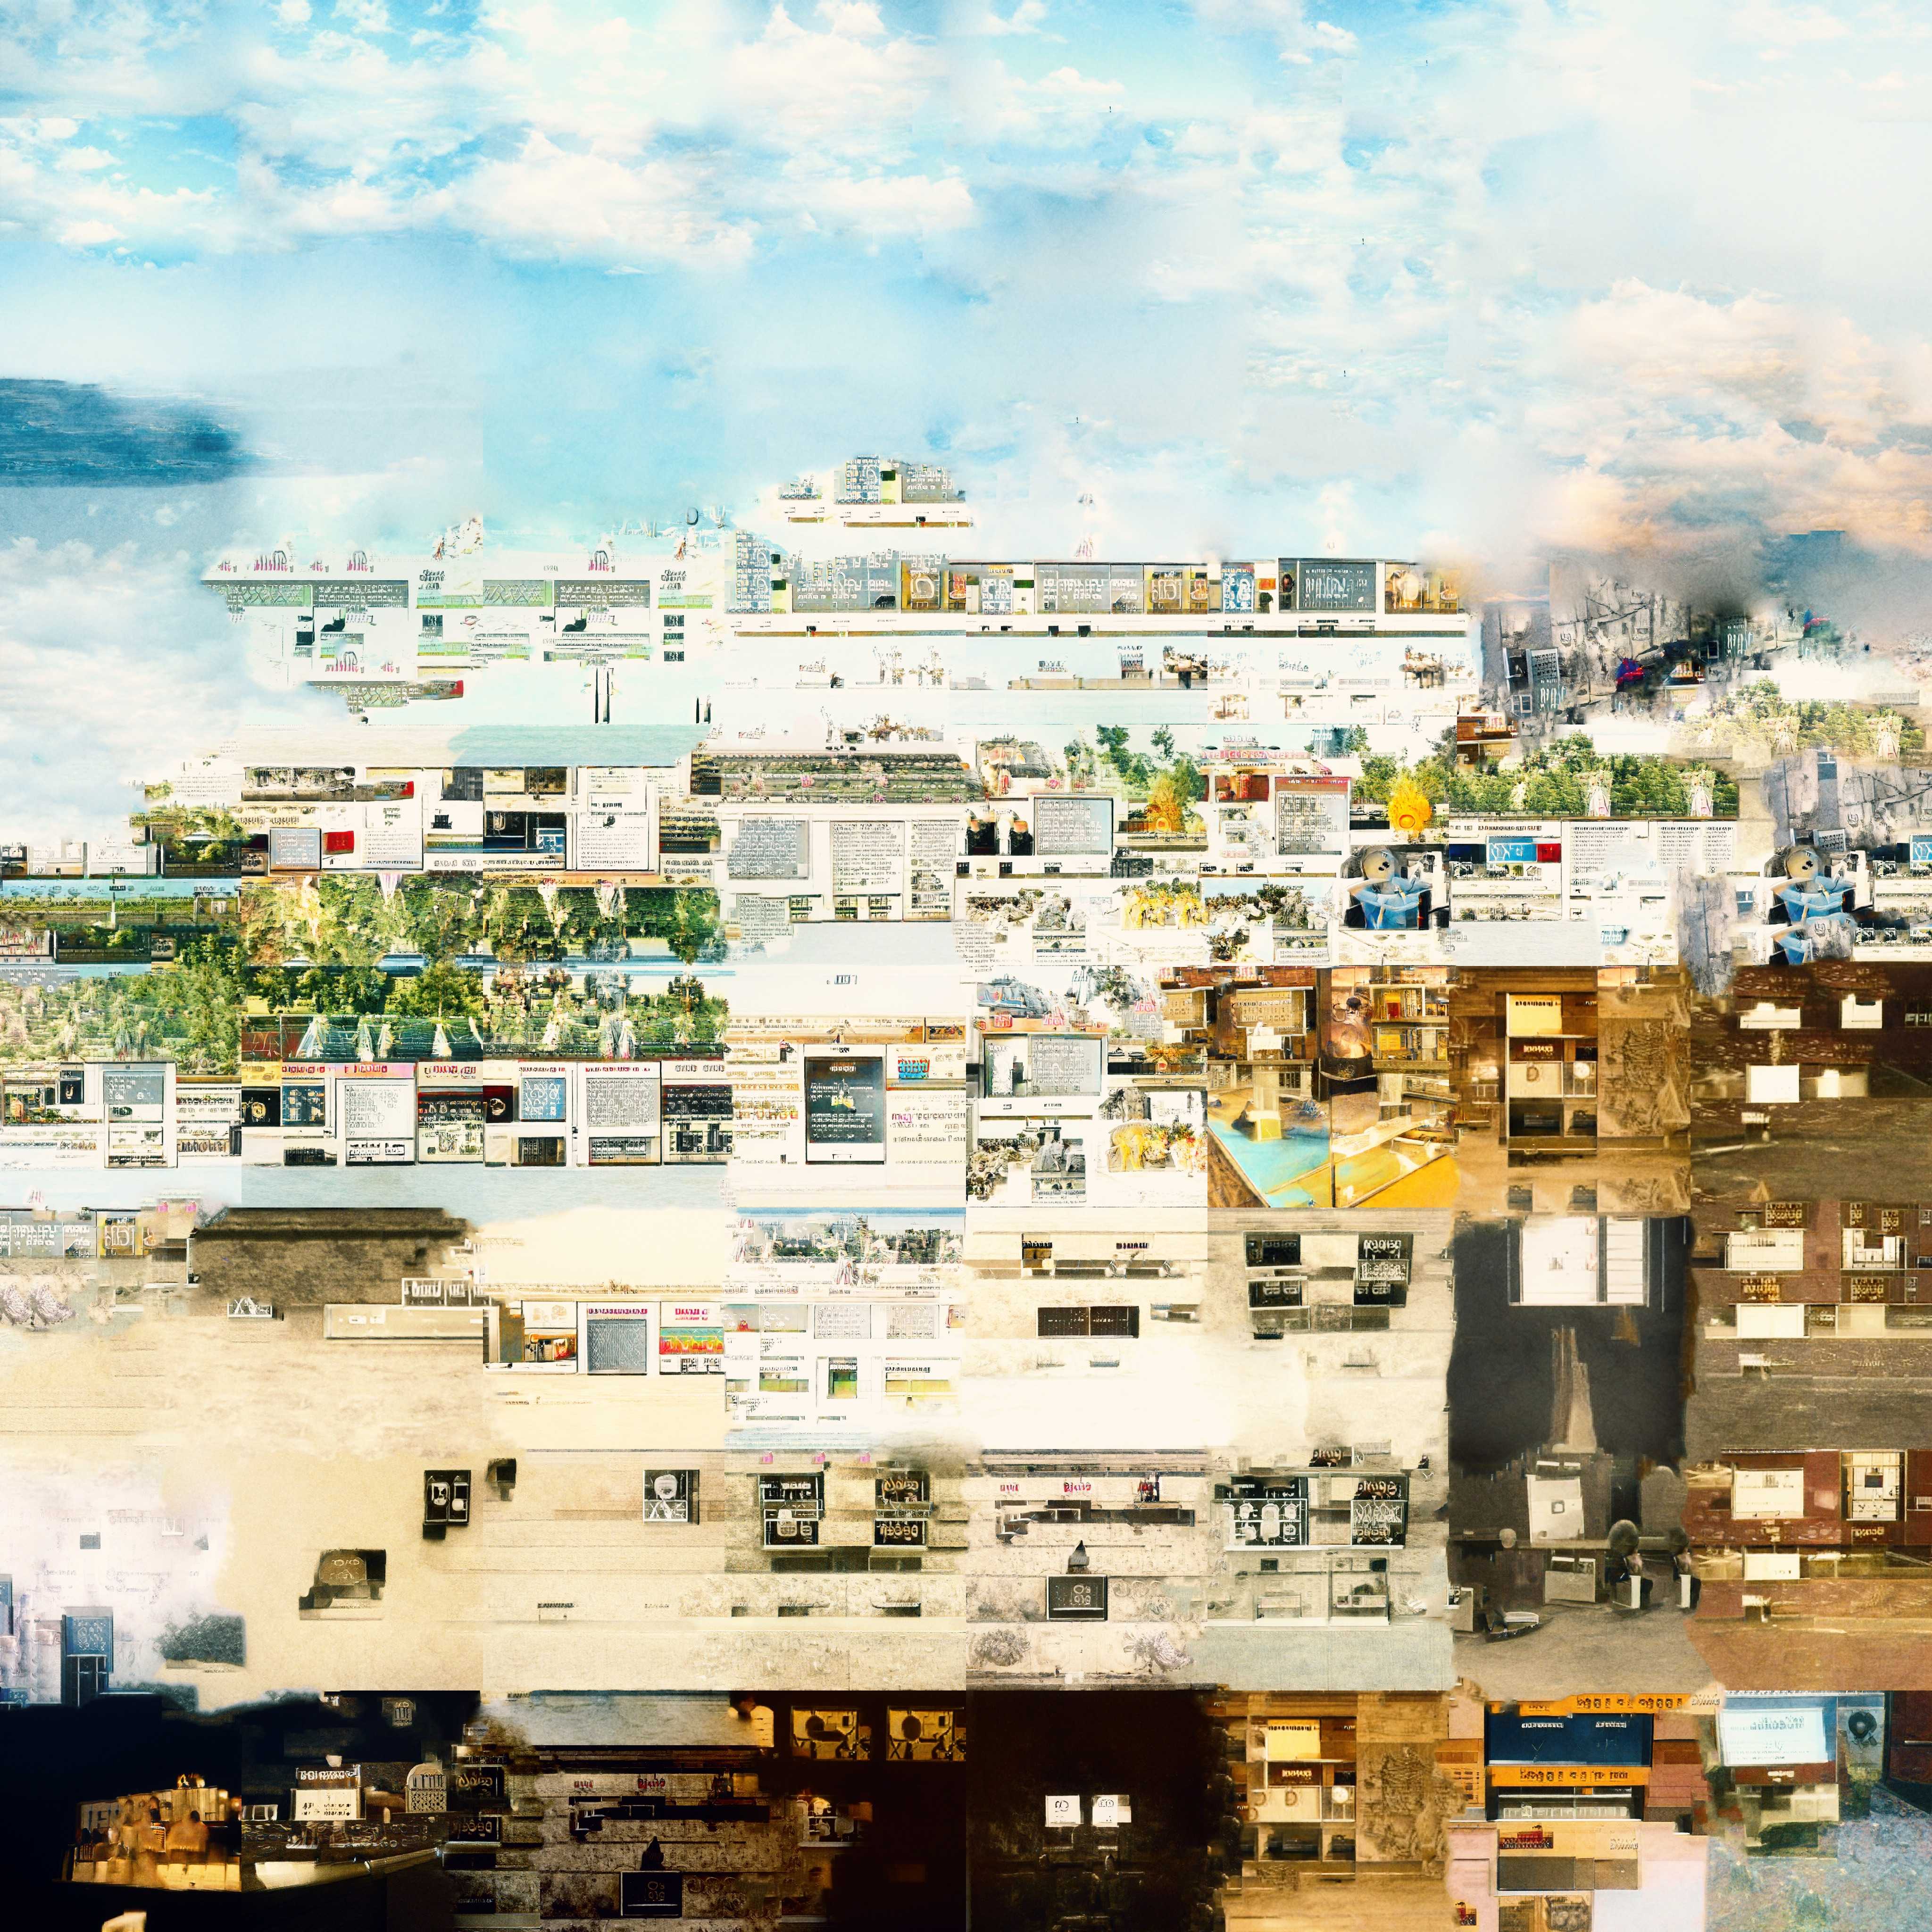
This made some progress, but the individual tiles are very apparent and it's hard to make a nice larger composition.
I wanted to see what I could do to "hack" BigGAN to output larger images directly. Perhaps this will explain something about how GANs' generators work along the way.
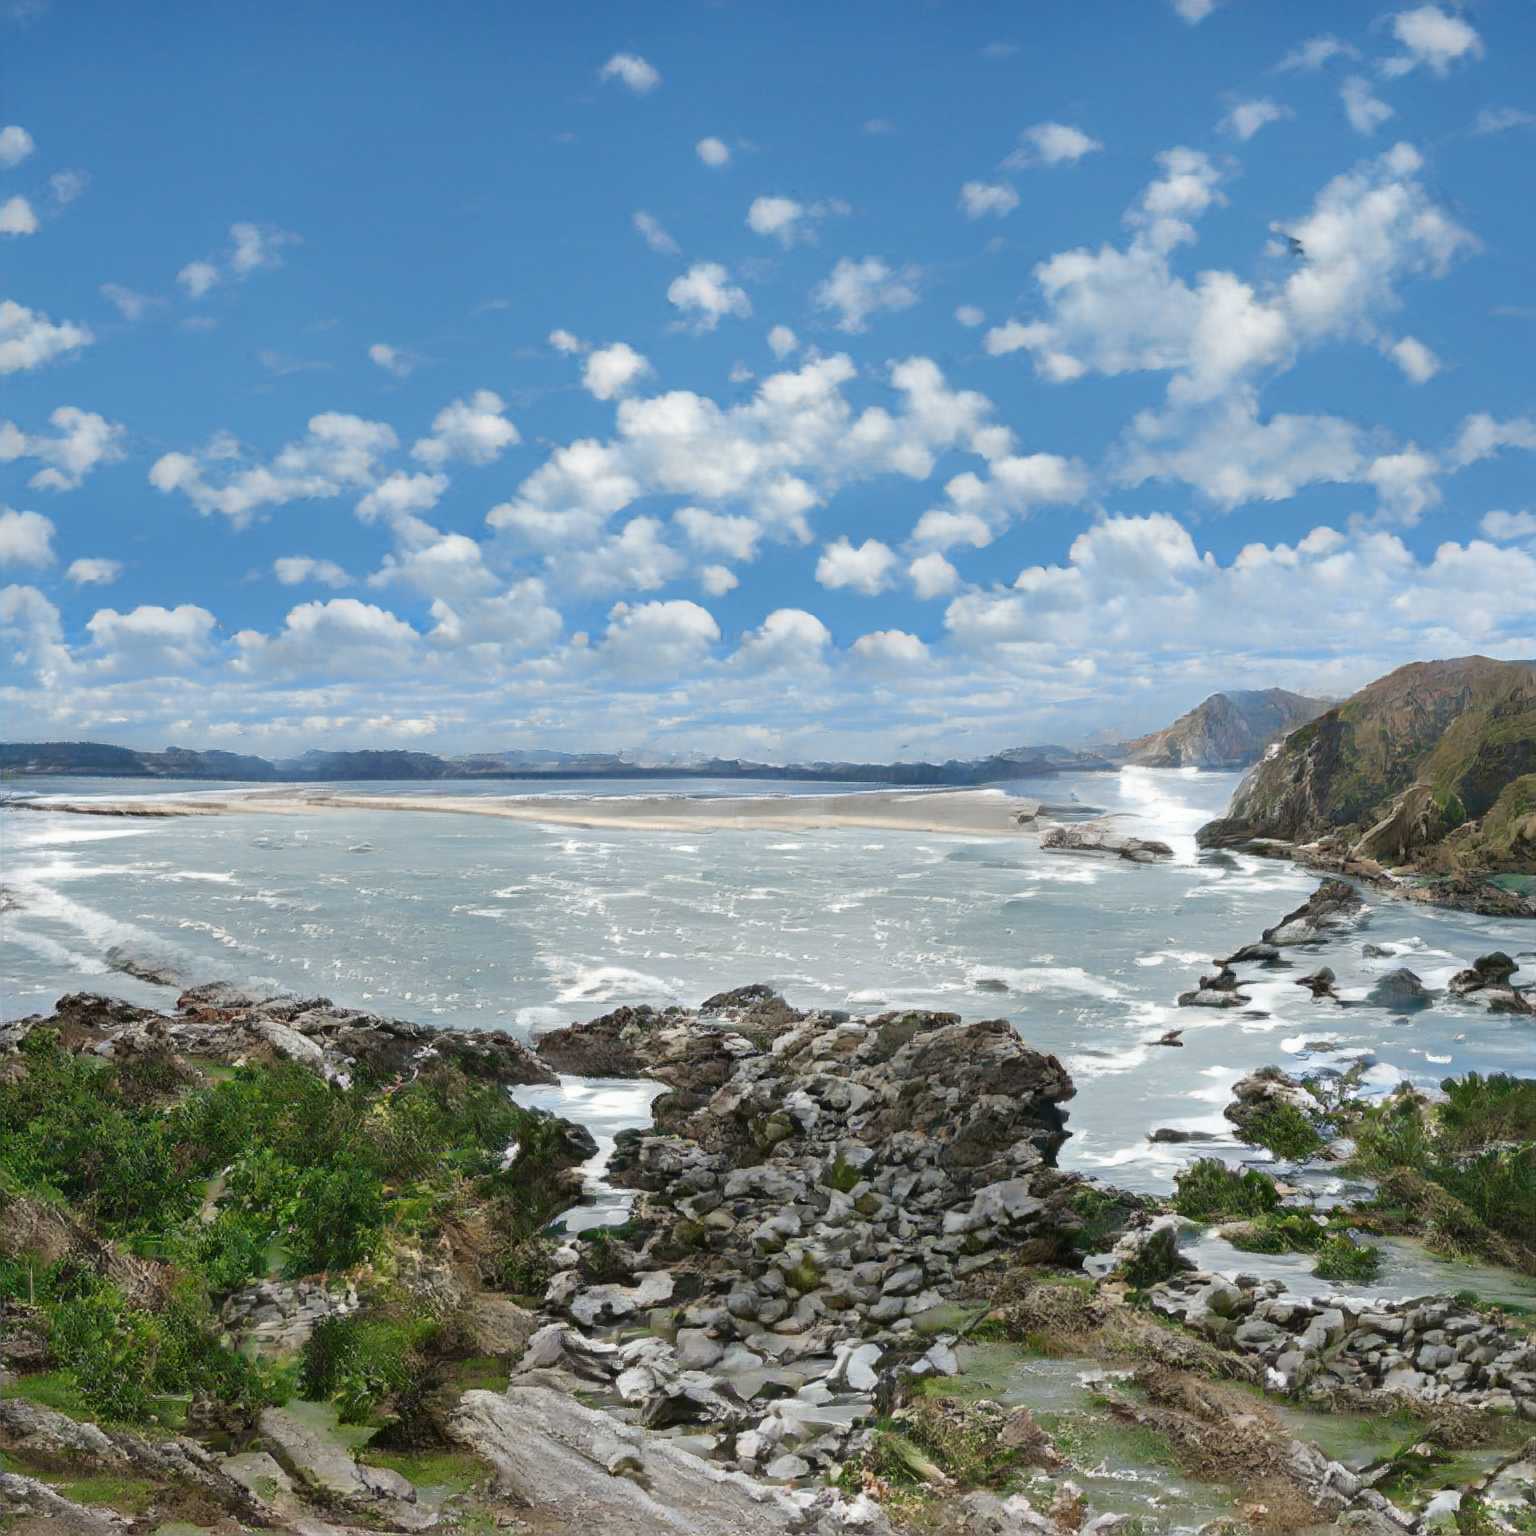
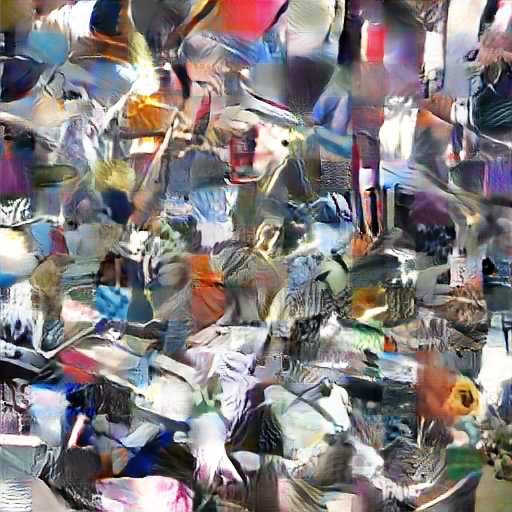
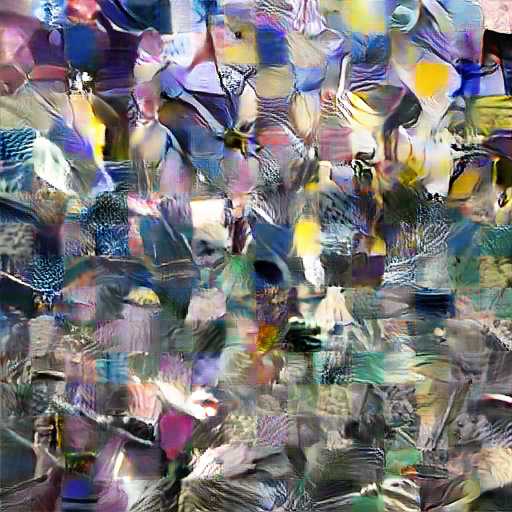
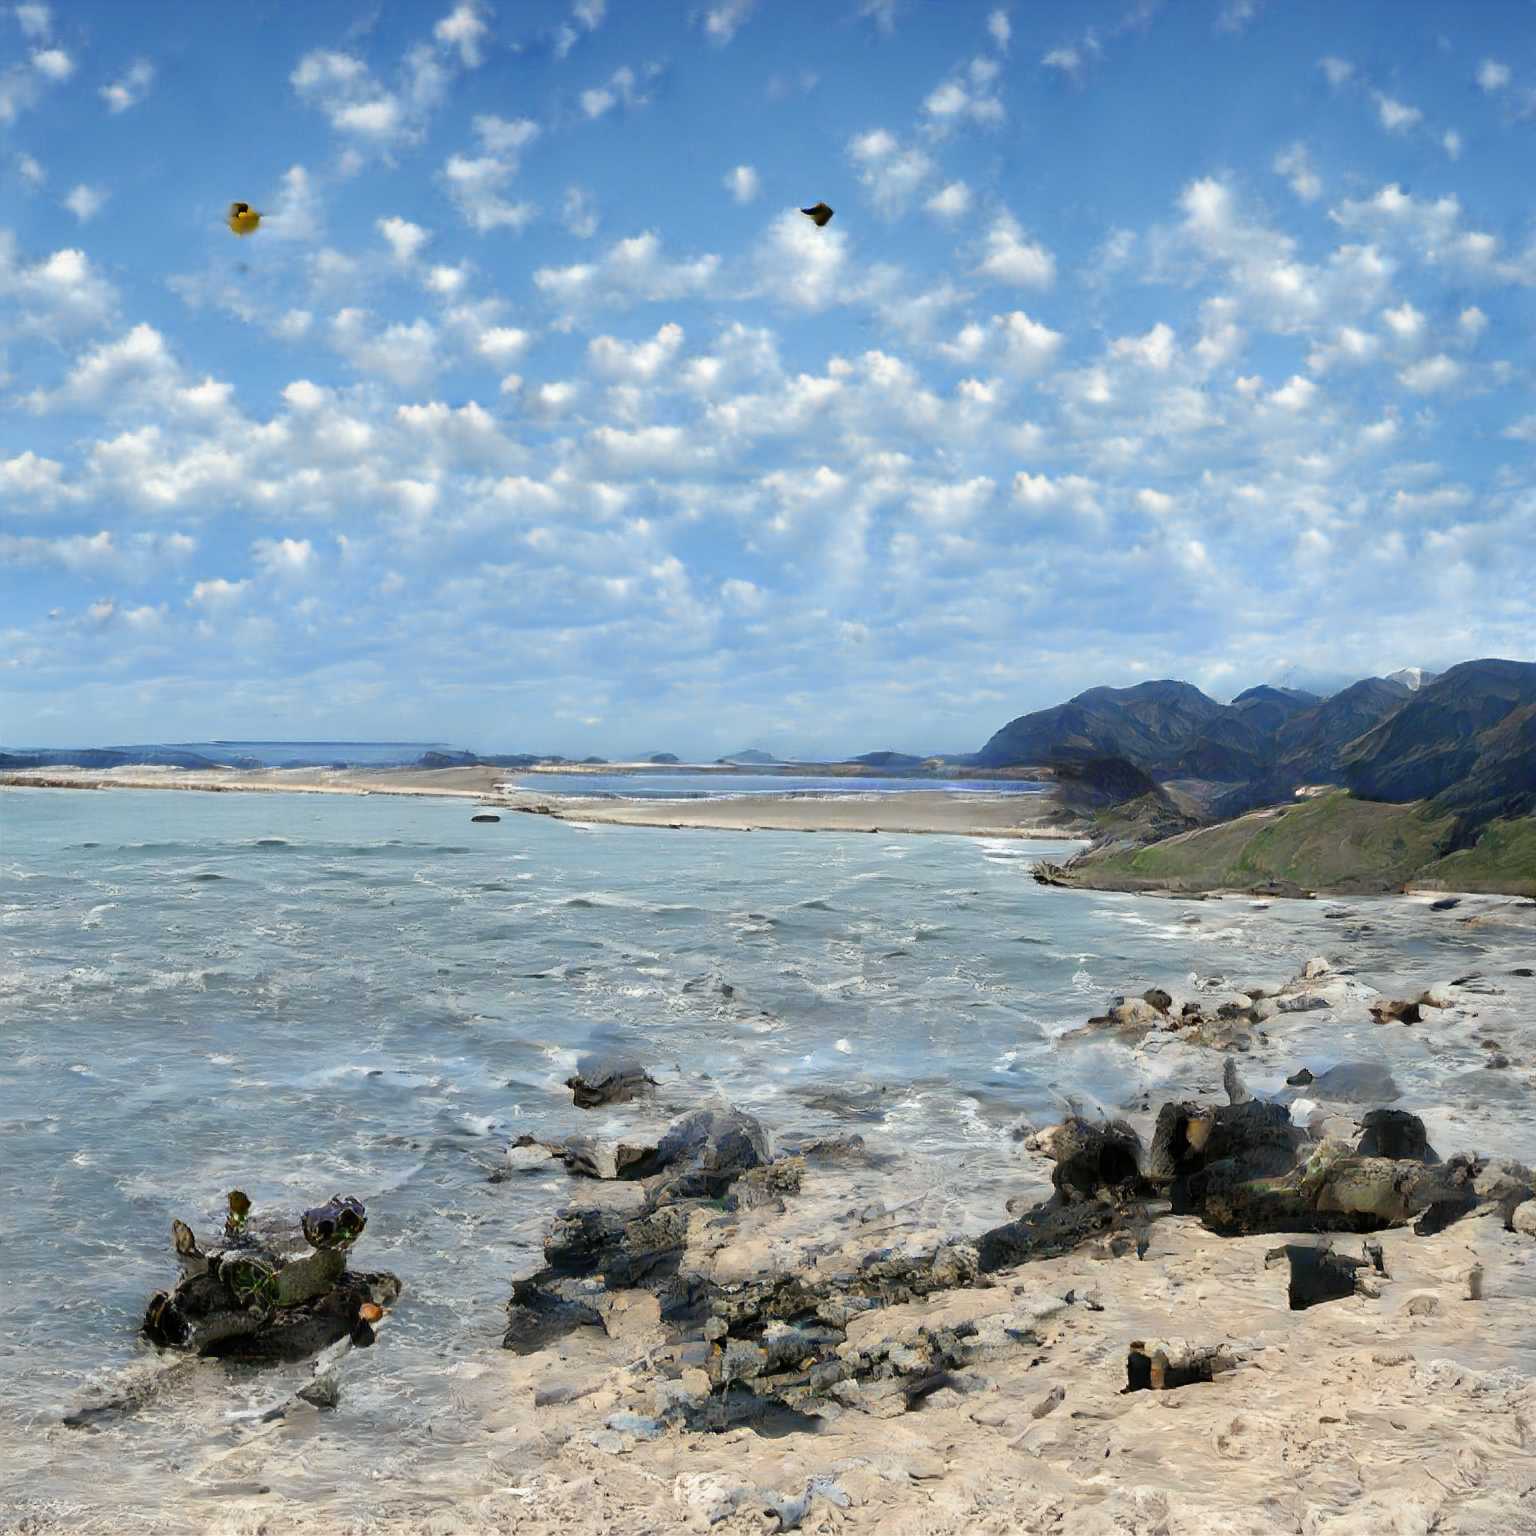
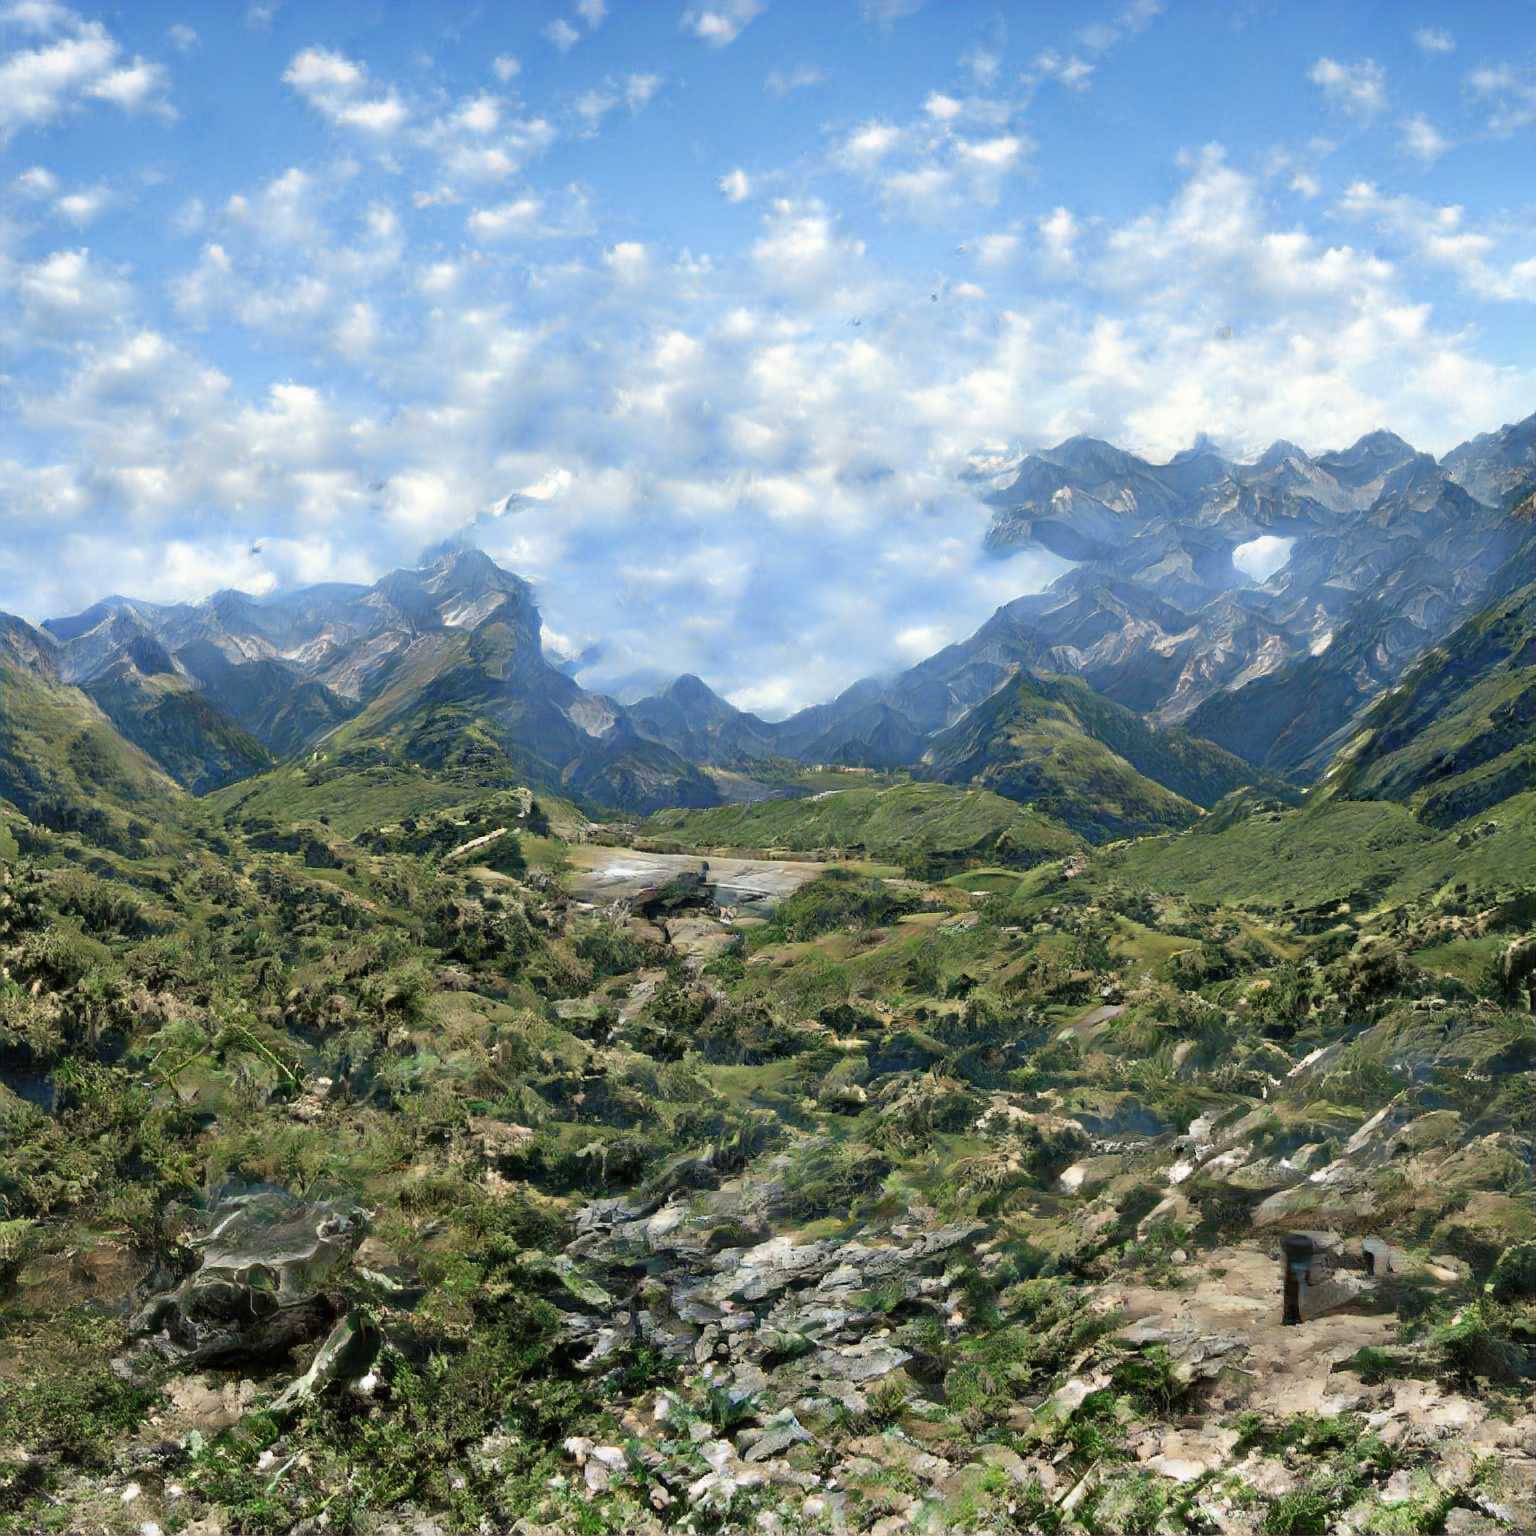
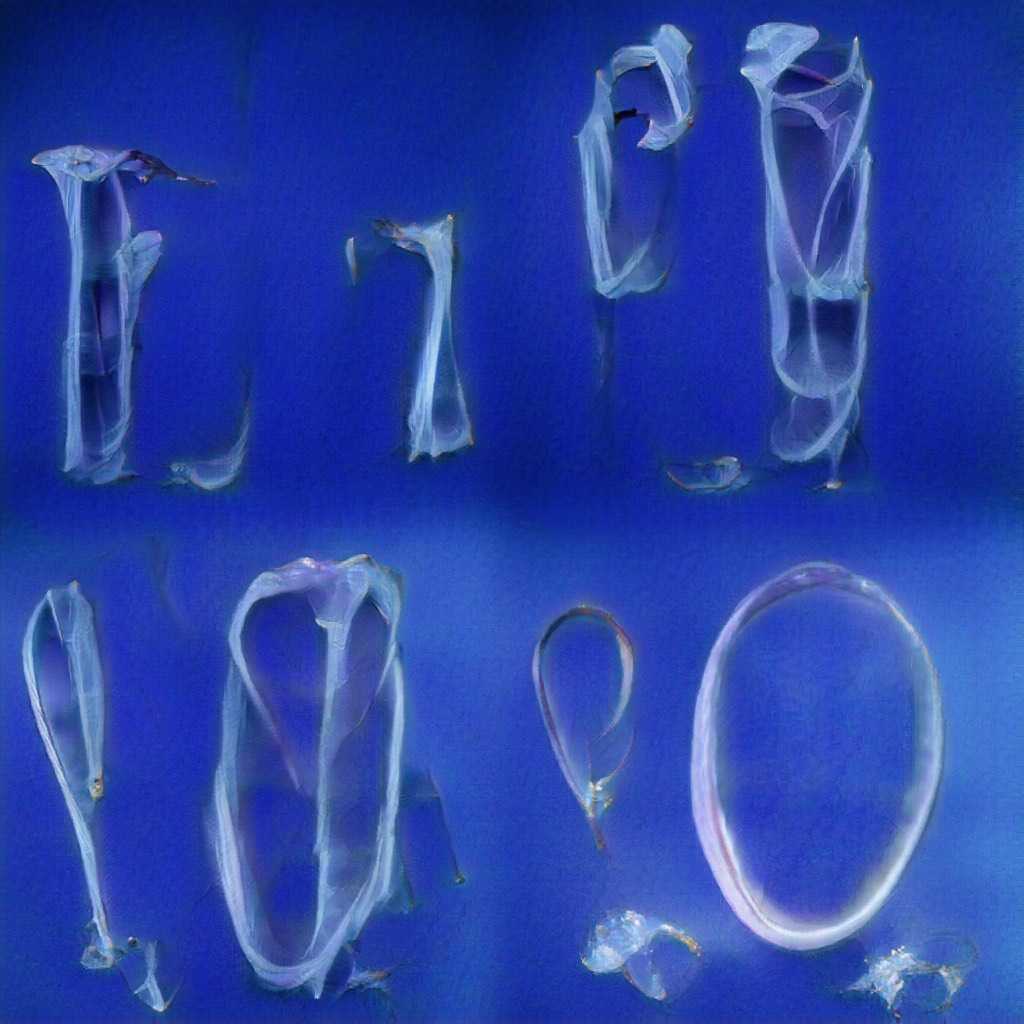
In this post, I'll describe my process for generating weird images like this (these examples are all sequare, though it doesn't need to be):
Click or hover to change the image
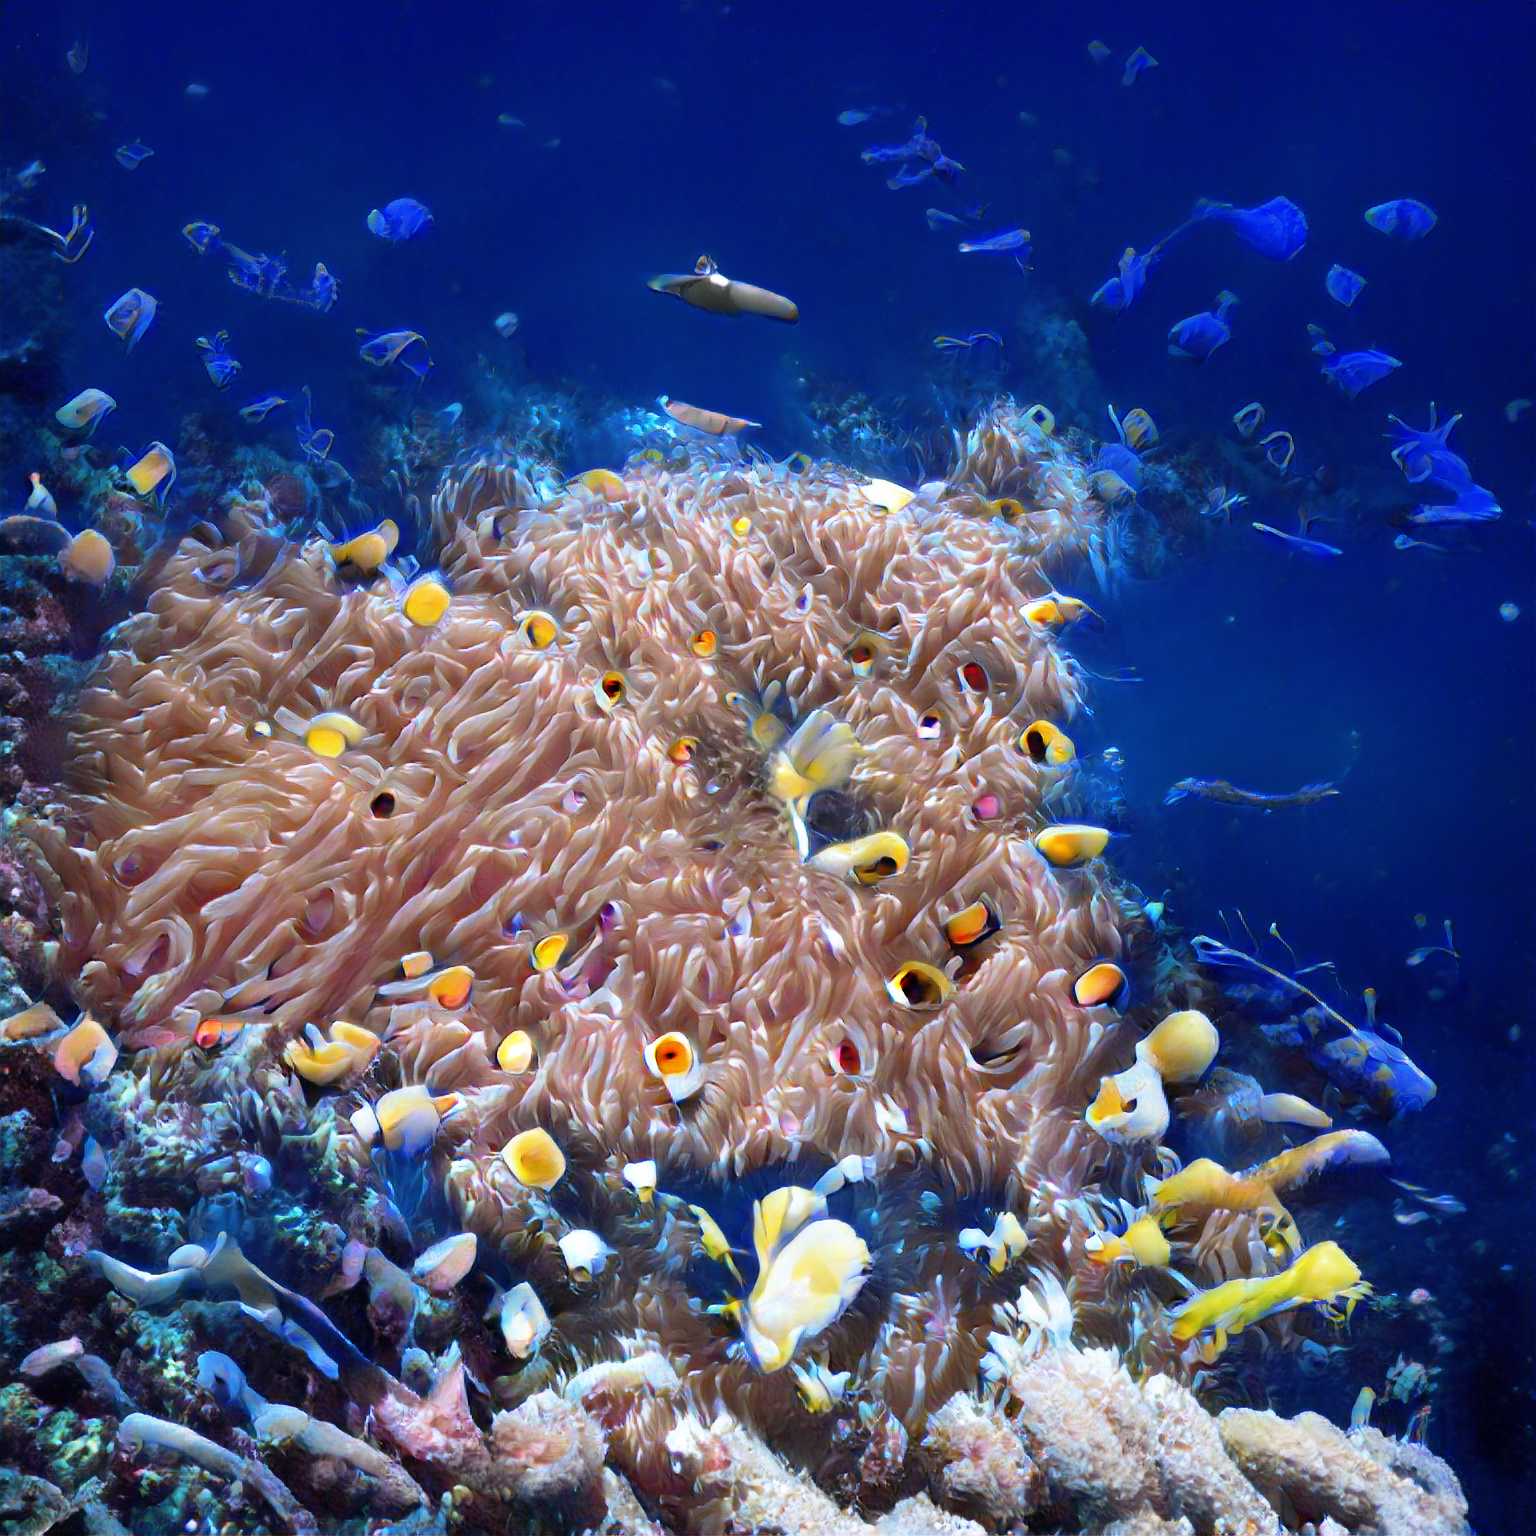
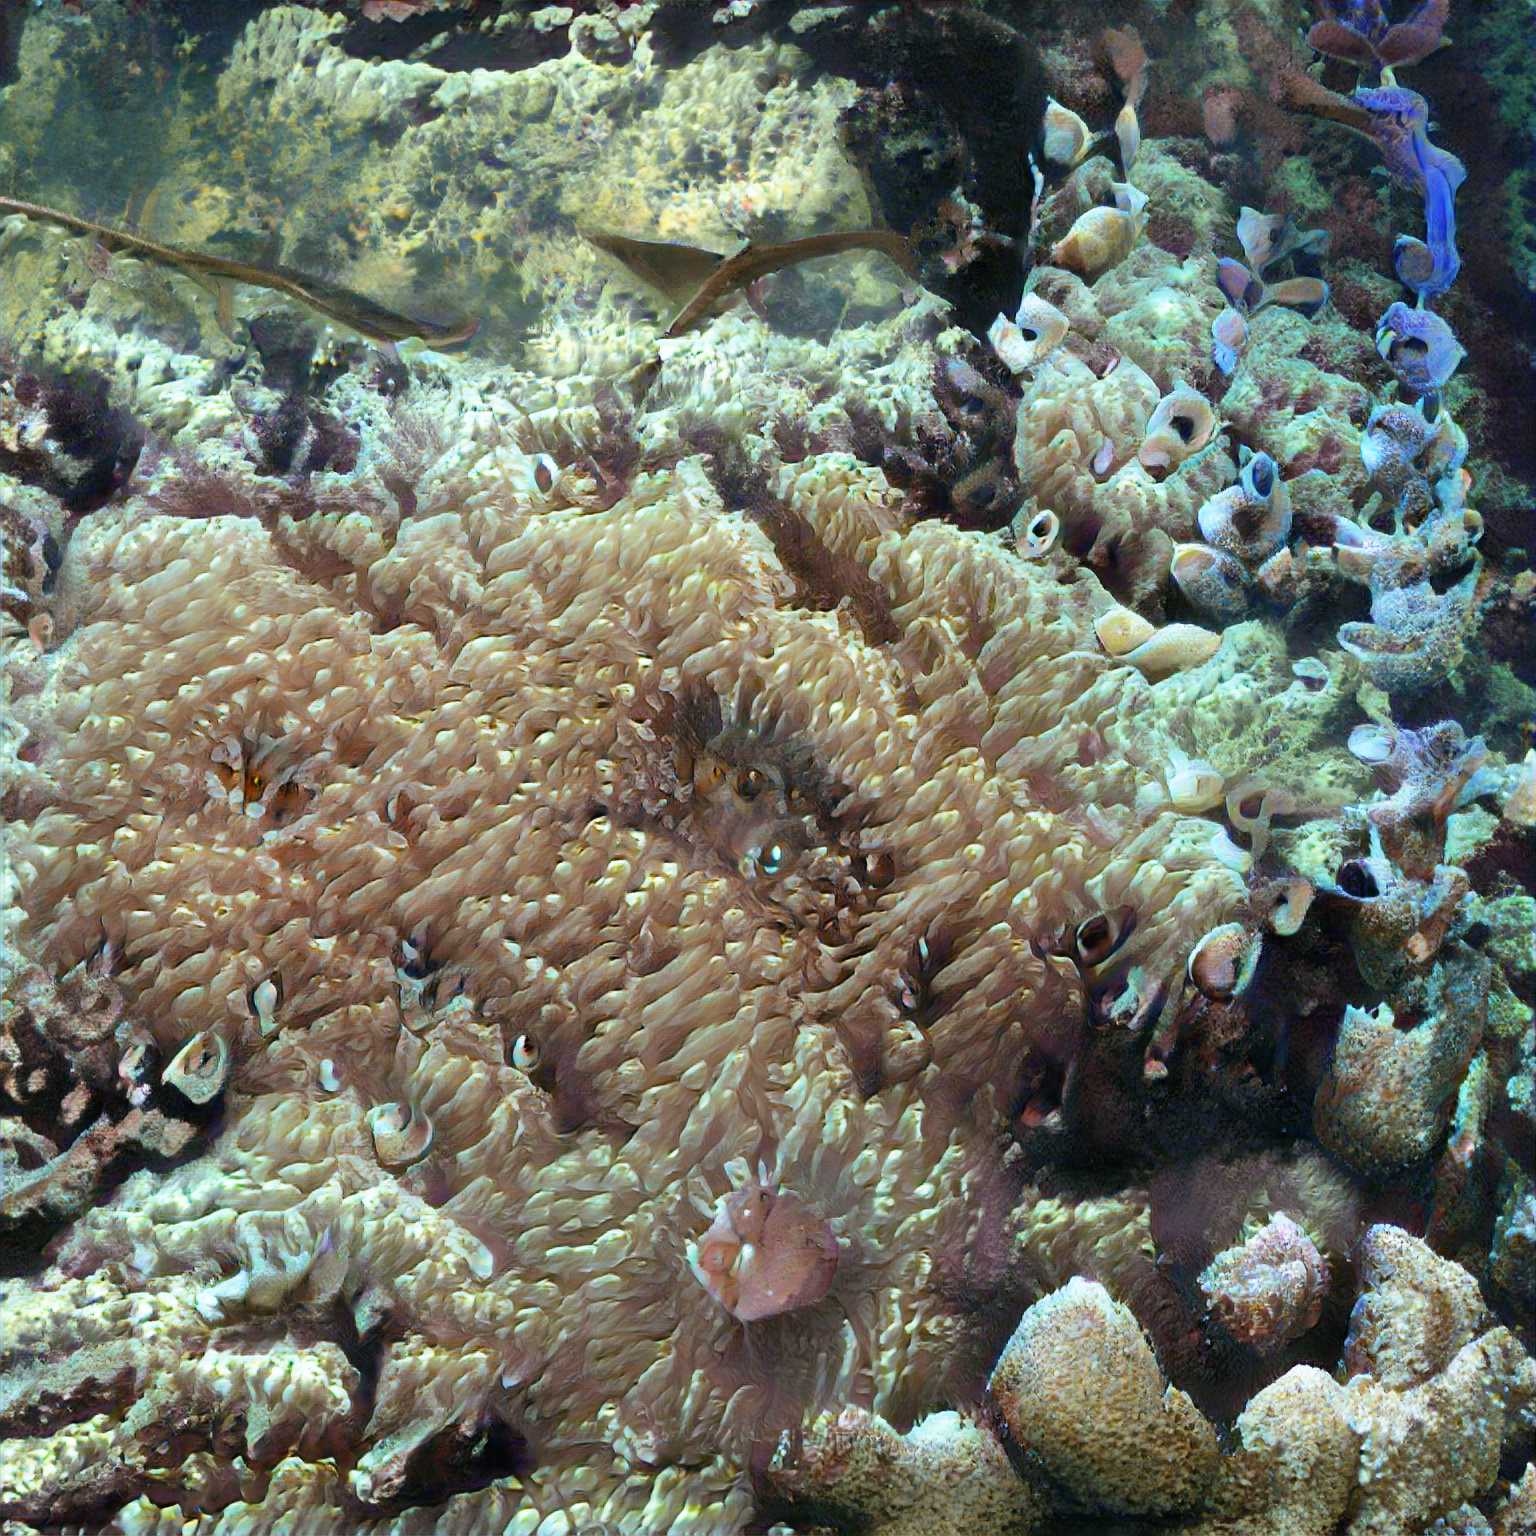


Since BigGAN already doesn't output realistic images, I was more concerned with making interesting images than improving image quality.
We're going to take the pretrained model (specifically the Generator, discarding the descriminator) of the BigGAN model and do something bit like circuit-bending, modifying the code that produces an image without retraining the network (which is infeasible since the training data is proprietary to Google).
To more easily facilitate modification of the model, we're going to use the PyTorch version provided by Huggingface.
The first step towards creating a larger image is finding a place within the model where we can replace a lower-resolution feature map with a higher-res map (hopefully subsequent layers will perform roughly the same function as before).
A quick note about "Shape": The notation [a, b, c] denotes the the sizes of each dimension in a multi-dimensional array / "Tensor" For example, a images are typically stored in a four-dimensional array of shape [N, C, H, W] format in PyTorch:
- N number of images being fed in at once (Batch Size)
- C number of channels in the current image (the final image is RGB = 3, but intermediary activation images have up to 2048)
- H height of image—in the case of BigGAN it starts at 4 and builds up to 512 as the image moves through the network
- W width of image (similar to height)
The general structure of BigGAN is as follows (assume 1 image is being generated):
- Inputs
- Class [1, 1000] one-hot vector indicating class, this vector is first embedded to a 128-dimensional space
For example, [0, 0, 1, 0, 0, 0, …] would correspond to class of great white shark
Z [1, 128] noise vector
By varying this vector, you explore all of the different outputs associated with this class (or combination of classes)
Mapping [1, 256] -> [1, 32768] -reshape-> [1, 4, 4, 2048]
Convert the condition vector into an image (it will also be fed into the residual blocks)The mapping network takes the 256 vector and outputs a vector of 32768 numbers. Then this is interpreted as a 4x4 image with 2048 channels.
Residual Blocks This is where the bulk of the convolution goes in the network. Each block is applied in sequence and has its own learned parameters. Through the course of these residual blocks, the activations gain spatial resolution, ie the size goes up from 4x4 to 8x8, etc all the way up to 512x512.
Non-Local Block This is an "attention" mechanism to ensure that information propagates across the whole image
More Residual Blocks Same as above
Output A final convolution and activation is applied, resulting in a 3-channel image (Red, Green, Blue)
In code form (inside of blocks elided for clarity):
BigGAN(
  (embeddings): Linear(in_features=1000, out_features=128, bias=False)
  (generator): Generator(
    (gen_z): Linear(in_features=256, out_features=32768, bias=True)
    (layers): ModuleList(
      (0): GenBlock(…) -> [1, 2048, 4, 4]
      (1): GenBlock(…) -> [1, 2048, 8, 8]
      (2): GenBlock(…) -> [1, 2048, 8, 8]
      (3): GenBlock(…) -> [1, 1024, 16, 16]
      (4): GenBlock(…) -> [1, 1024, 16, 16]
      (5): GenBlock(…) -> [1, 1024, 32, 32]
      (6): GenBlock(…) -> [1, 1024, 32, 32]
      (7): GenBlock(…) -> [1, 512, 64, 64]
      (8): SelfAttn(…) -> [1, 512, 64, 64]
      (9): GenBlock(…) -> [1, 512, 64, 64]
      (10): GenBlock(…) -> [1, 256, 128, 128]
      (11): GenBlock(…) -> [1, 256, 128, 128]
      (12): GenBlock(…) -> [1, 128, 256, 256]
      (13): GenBlock(…) -> [1, 128, 256, 256]
      (14): GenBlock(…) -> [1, 128, 512, 512]
    )
    (bn): BigGANBatchNorm()
    (relu): ReLU()
    (conv_to_rgb): Conv2d(…) -> [1, 3, 512, 512]
    (tanh): Tanh()
  )
)
Here a PyTorch function for generating an image, cribbed from the BigGAN.forward(…) and Generator.forward(...) ) where you can see everything at a high level.
model = BigGAN.from_pretrained('biggan-deep-512')
gen = model.generator

def gen(noise_vector, class_vector, truncation):
  embed = model.embeddings(class_vector)
  cond_vector = torch.cat((noise_vector, embed), dim=1)

  # Mapping
  z = gen.gen_z(cond_vector)
  # Treat vector as an image
  z = z.view(-1, 4, 4, 16 * gen.config.channel_width)
  # Not shown: conversion to account for using TensorFlow weights instead of PyTorch weights

  # Iterate over the layers, assigning the output of the previous layer to "z"
  for i, layer in enumerate(gen.layers):
    if isinstance(layer, GenBlock):
      # Residual block
      z = layer(z, cond_vector, truncation)
    else:
      # This is the self-attention layer
      z = layer(z)

  # Batch norm layer
  z = gen.bn(z, truncation)
  z = gen.relu(z)
  # Final convolution
  z = gen.conv_to_rgb(z)
  # For some reason TensorFlow weights output 8 channels instead of 3
  z = z[:, :3, ...]
  # Final activation
  z = gen.tanh(z)

  return z
We can now call this function to generate an image, though that's not interesting in itself.

What we really want to do is inject some code after one of the residual blocks, where we can apply our own up-scaling / manipulation / etc.
…
  for i, layer in enumerate(gen.layers):
    if isinstance(layer, GenBlock):
      # Residual block
      z = layer(z, cond_vector, truncation)
    else:
      # This is the self-attention layer
      z = layer(z)
    if i == layer_to_hack:
      z = hack_layer(z)
…

def hack_layer(z):
  return z.repeat(1, 1, 2, 2)
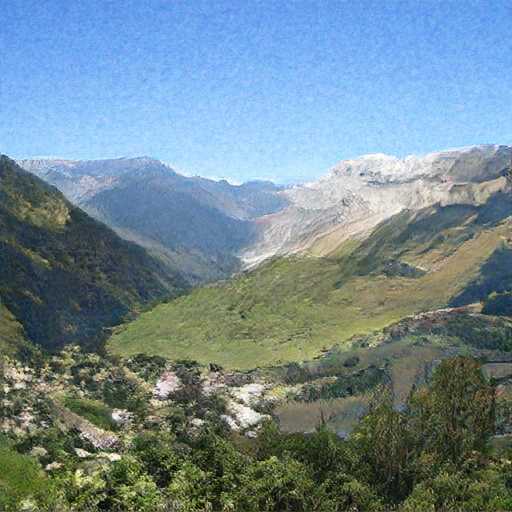
Tiling the image
Click or hover to change the image


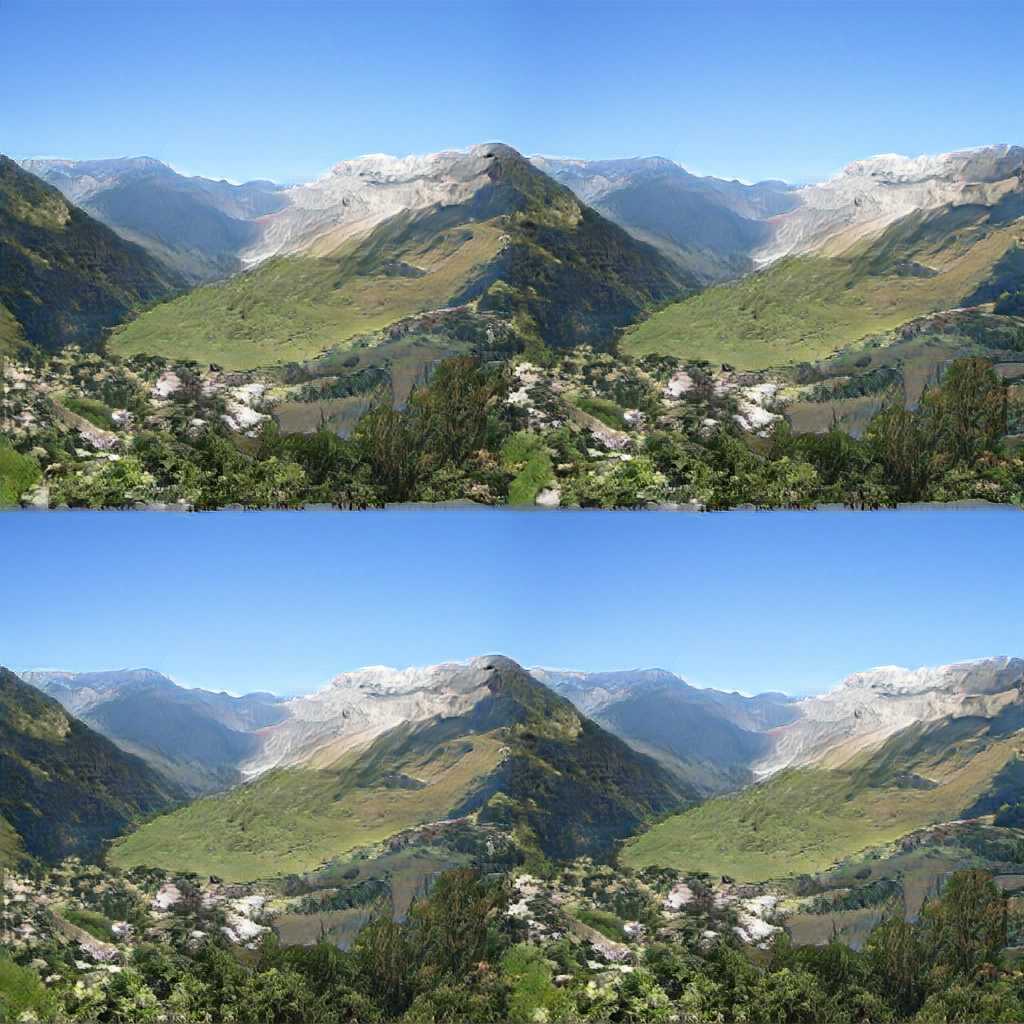
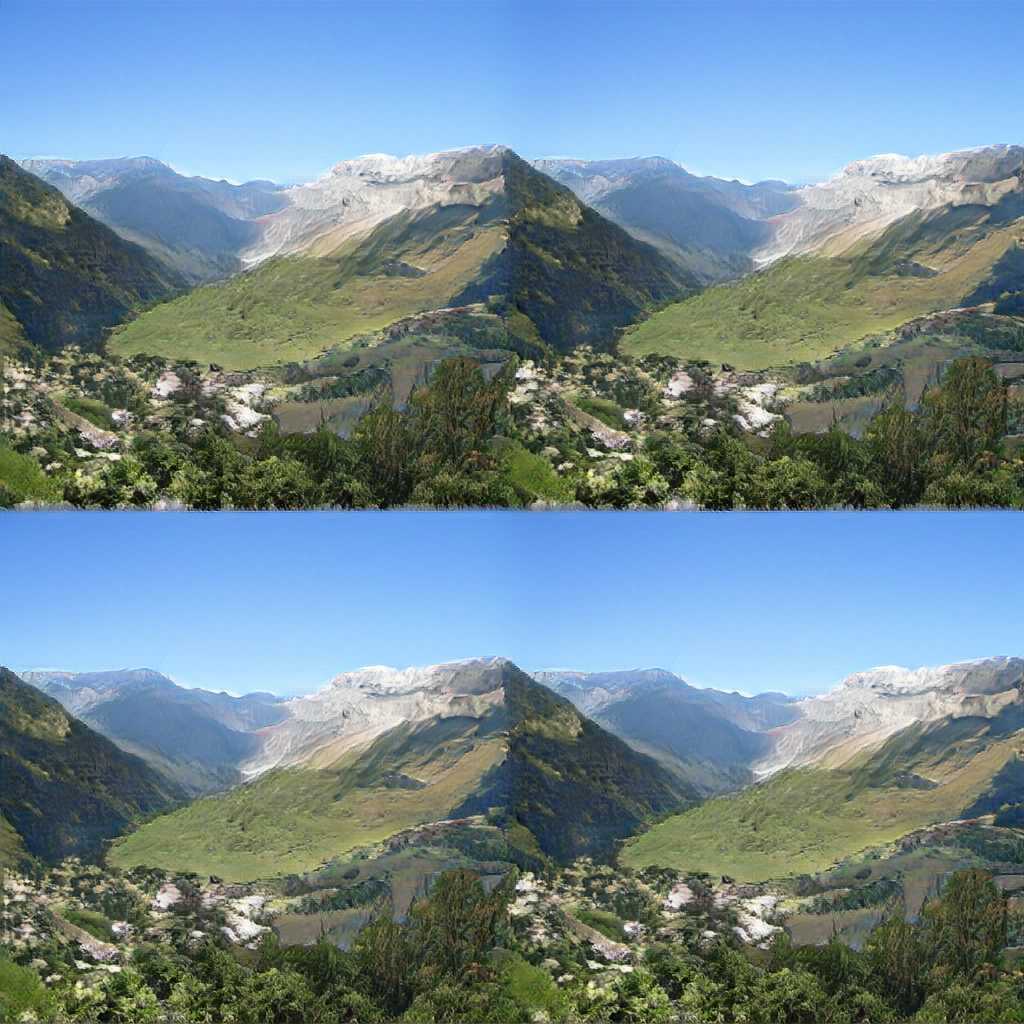
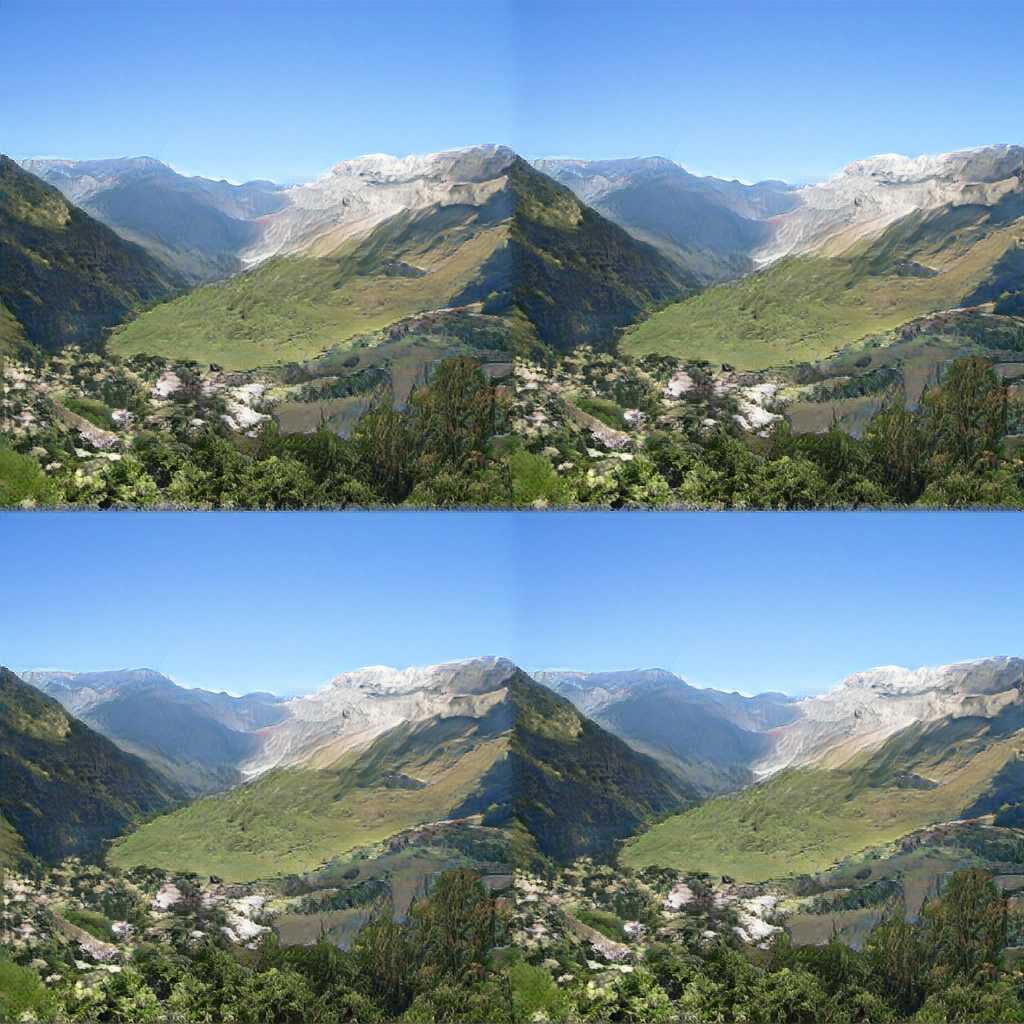
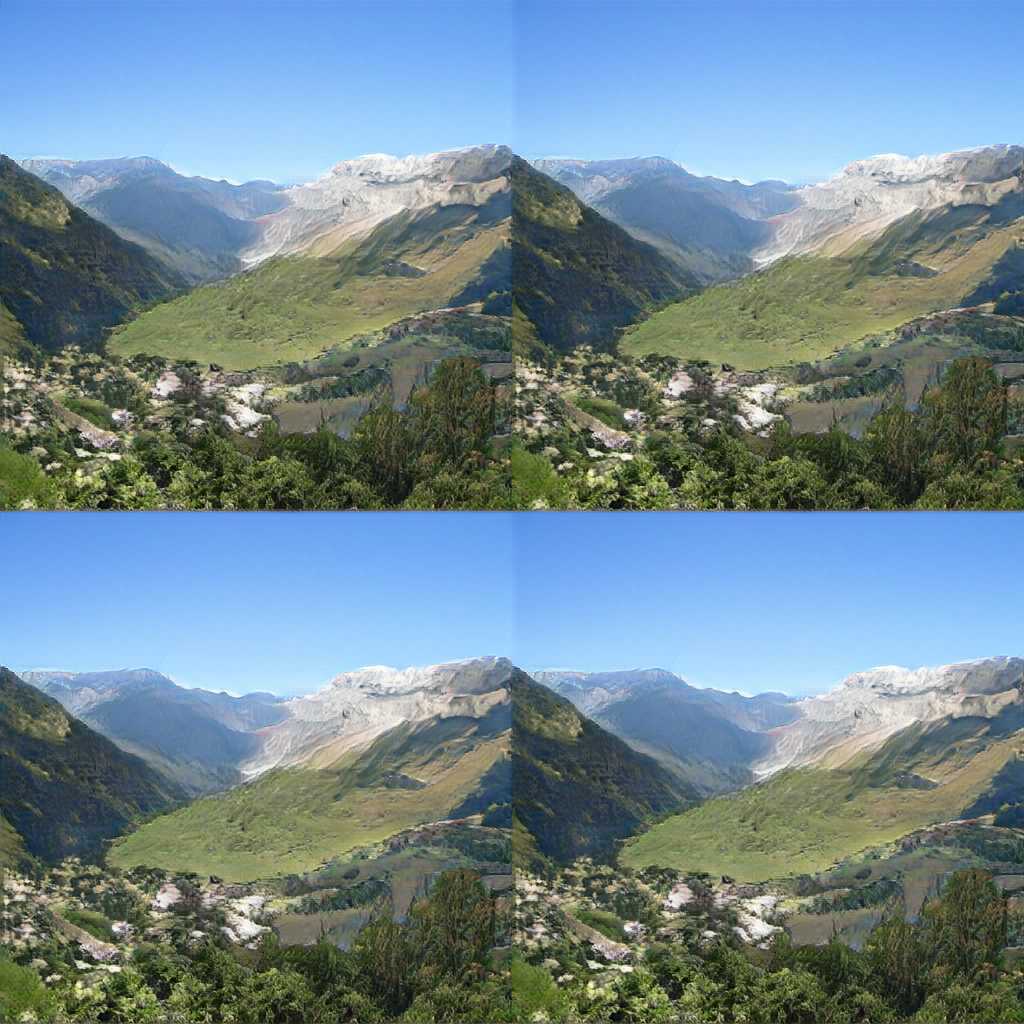

before
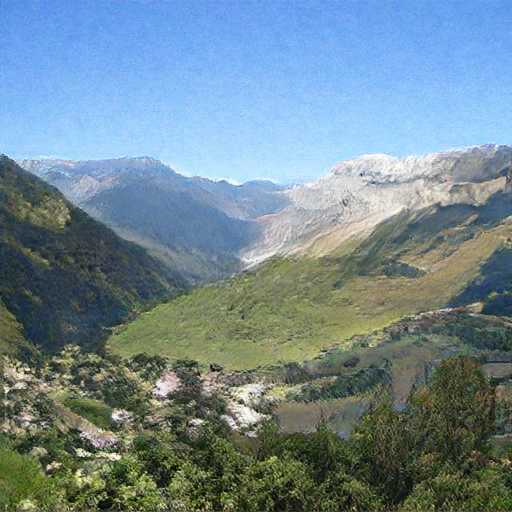
Upscaling the image x2
Click or hover to change the image


Original output upscaled
Tile + upscale
A mix of tiled and interpolation can help us fix the downsides of either
def mixed(z):
  n, c, h, w = z.shape
  w_multiple = 2
  ww = w * w_multiple
  a = z.repeat(1, 1, 1, w_multiple)
  b = F.interpolate(z, size=(h, ww), mode='bilinear')
  return torch.min(a, b)
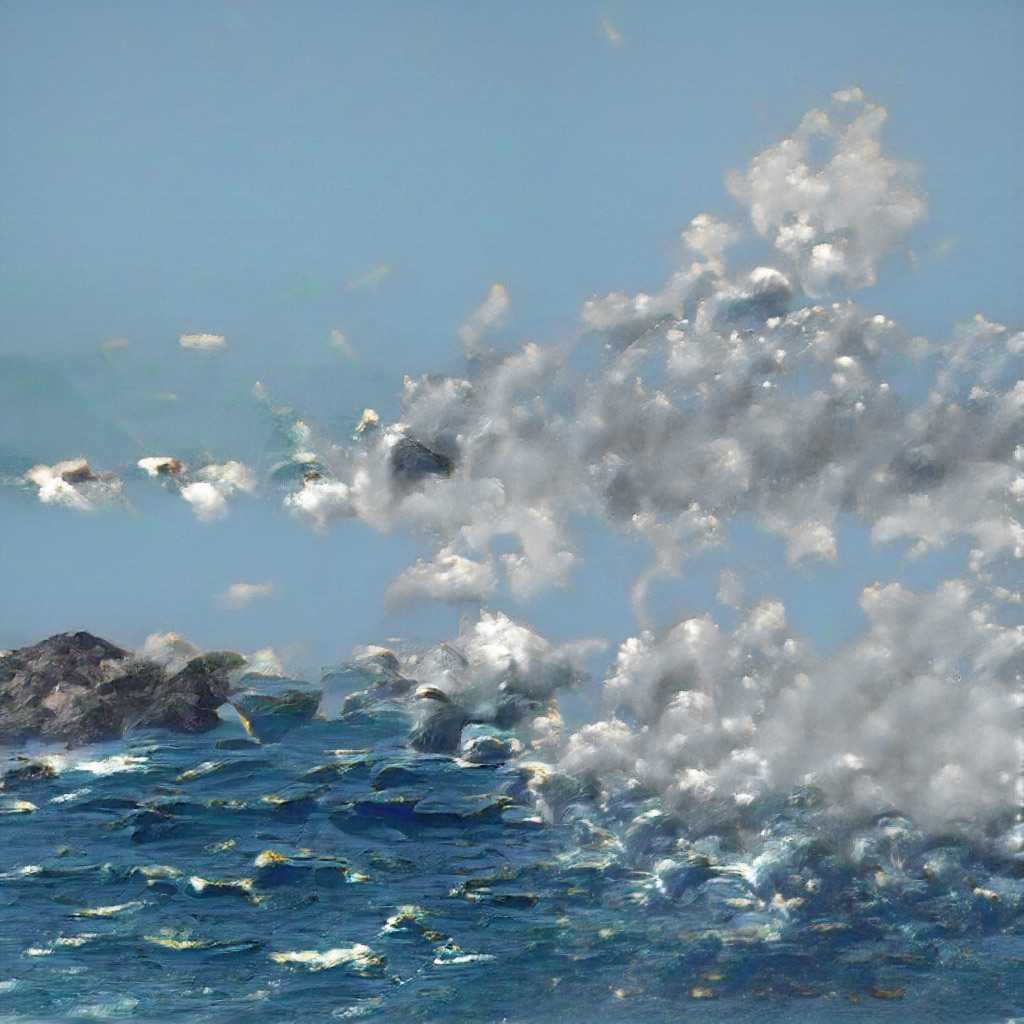
Click or hover to change the image


before block 0
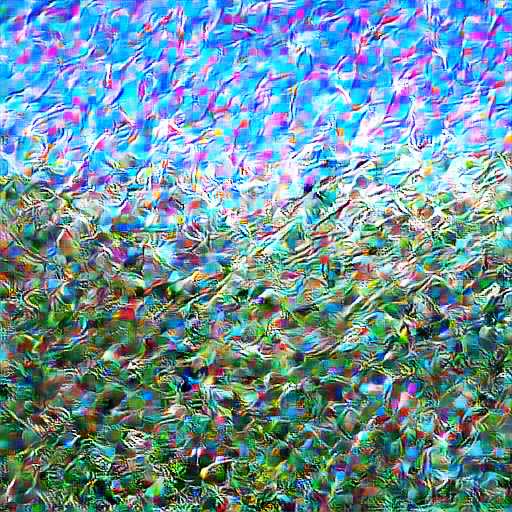
Noise
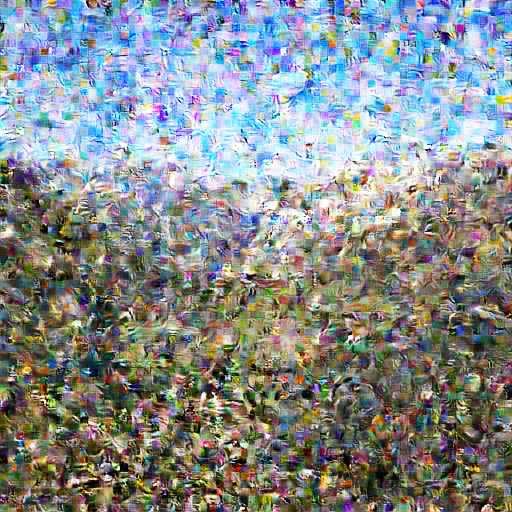
What happens if we add noise to one of the activation images?
def noise(z):
  amplitudes = 0.25 * z.std(dim=1)
  return z + amplitudes * torch.randn_like(z)
Click or hover to change the image


original
def noise(z):
  amplitudes = 2.0 * z.std(dim=1)
  return z + amplitudes * torch.randn_like(z)
Click or hover to change the image

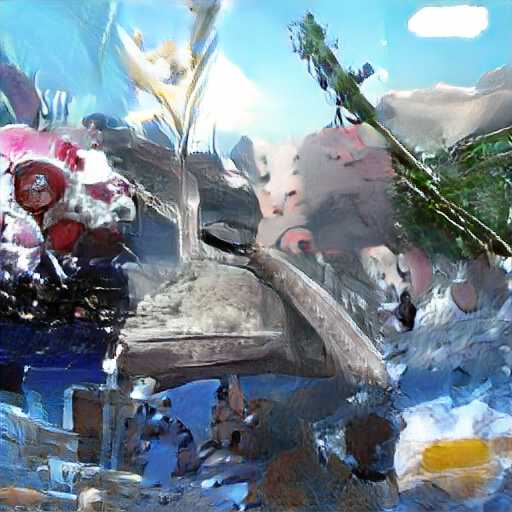

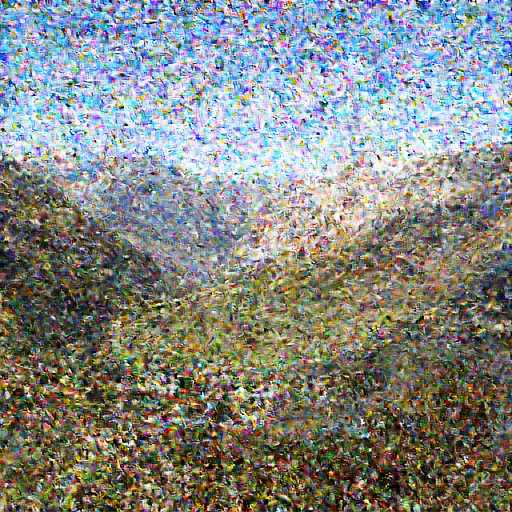

original
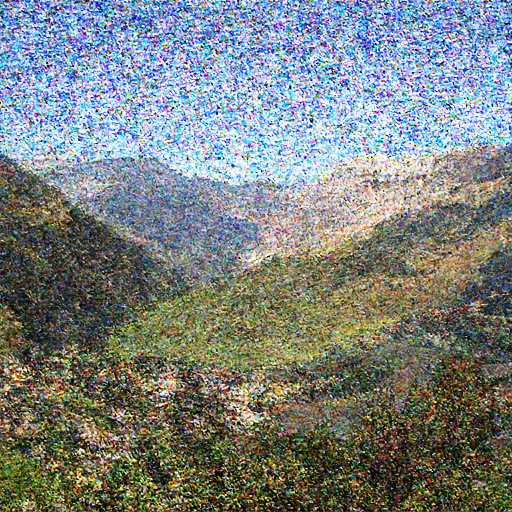
Image-of-Images
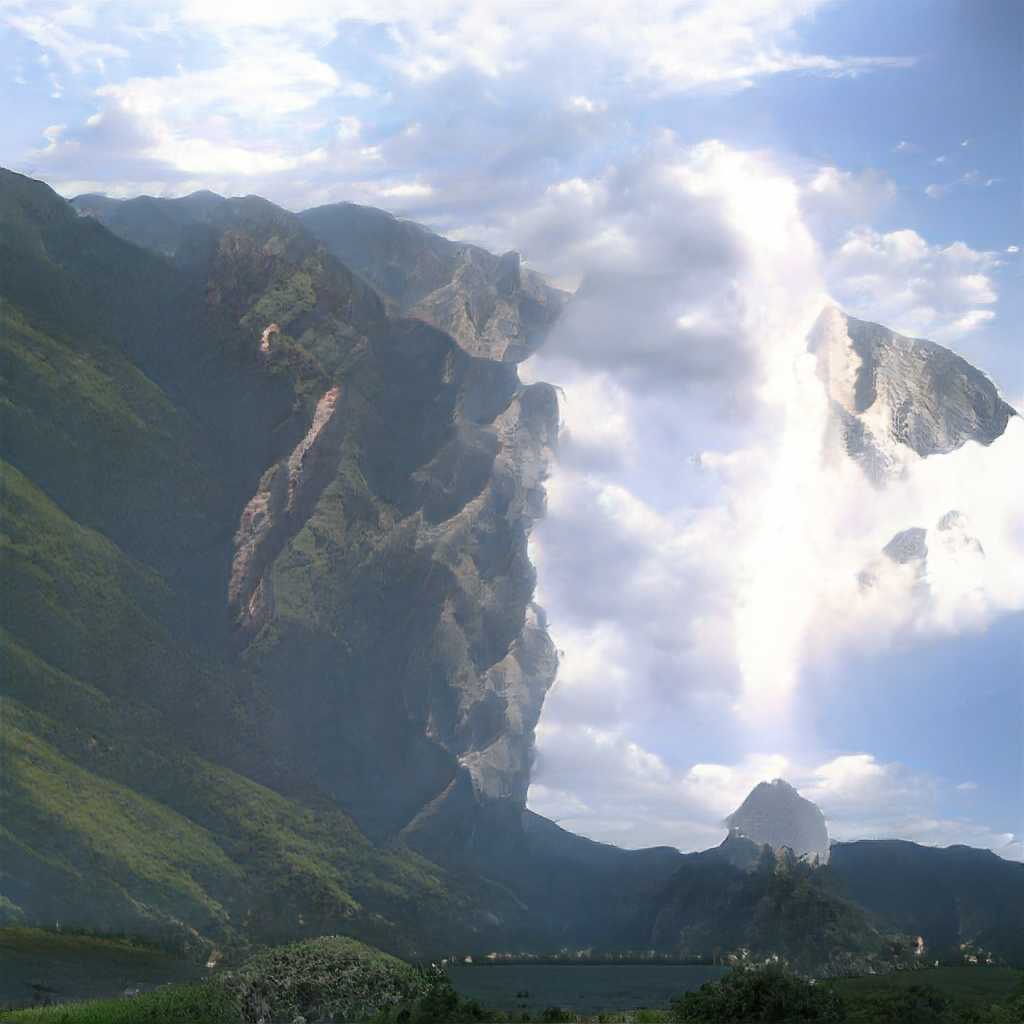
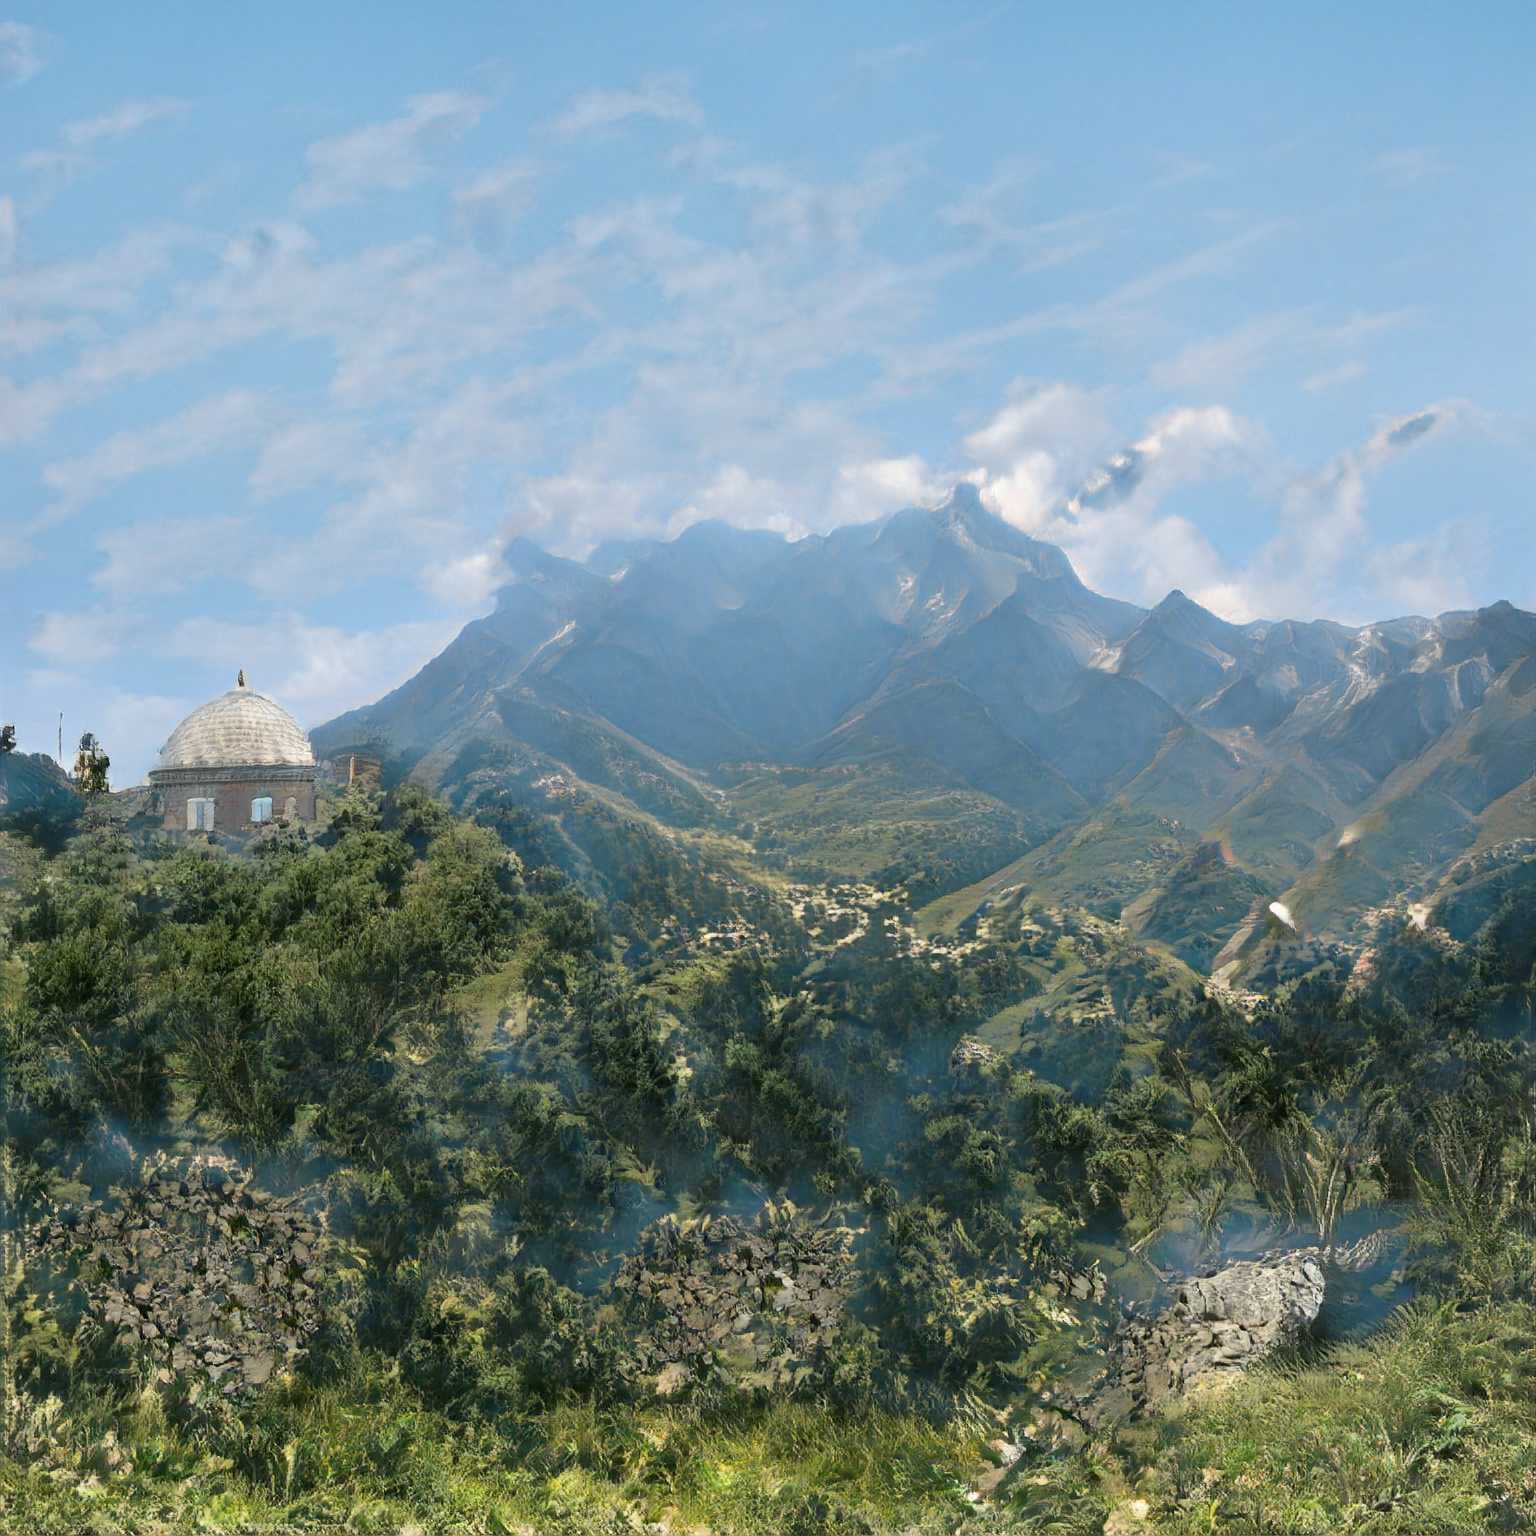
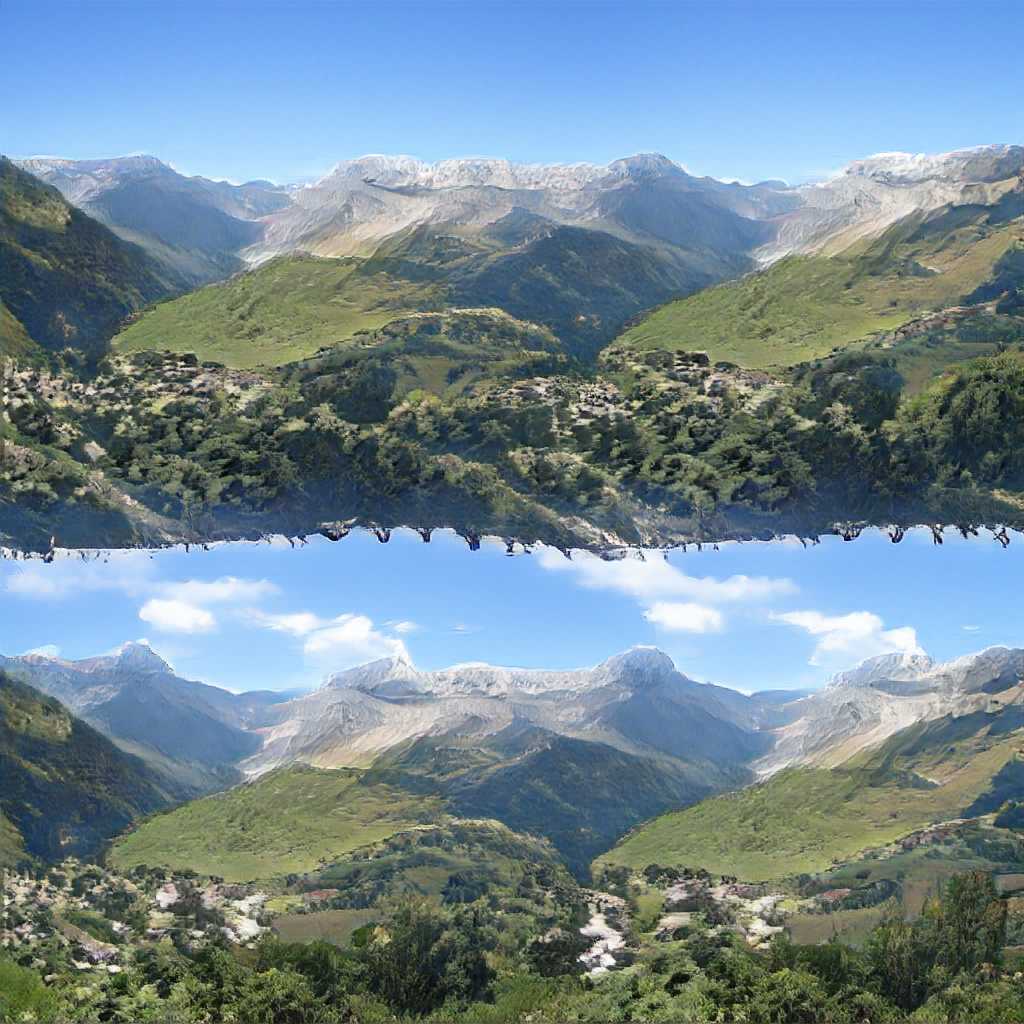
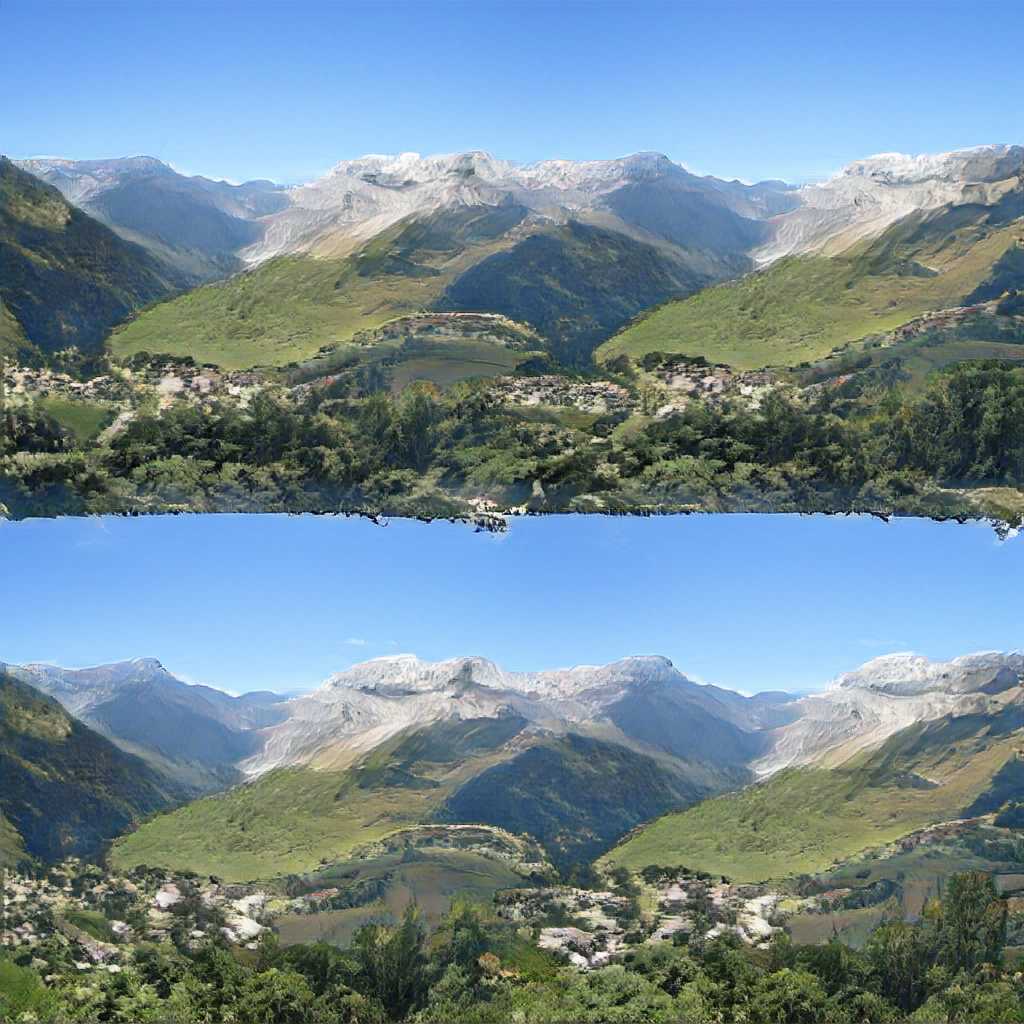
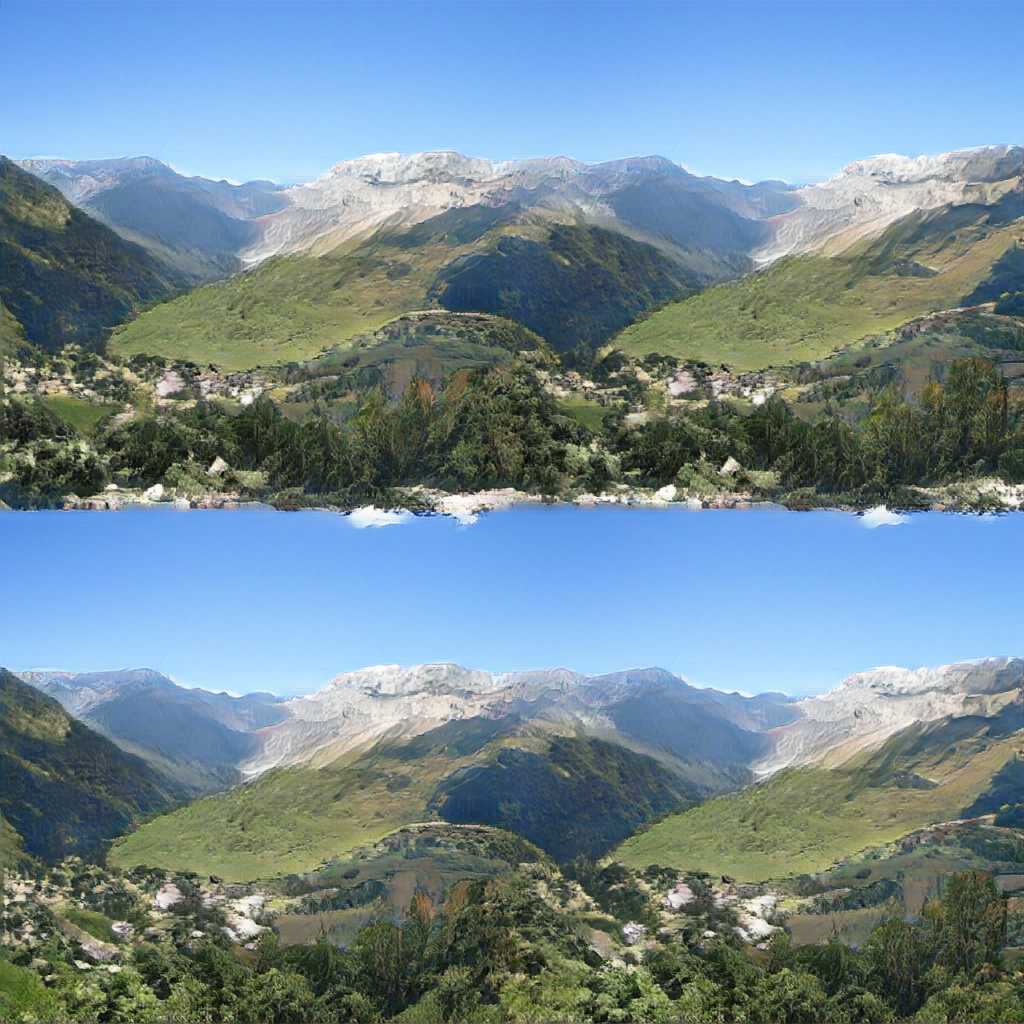
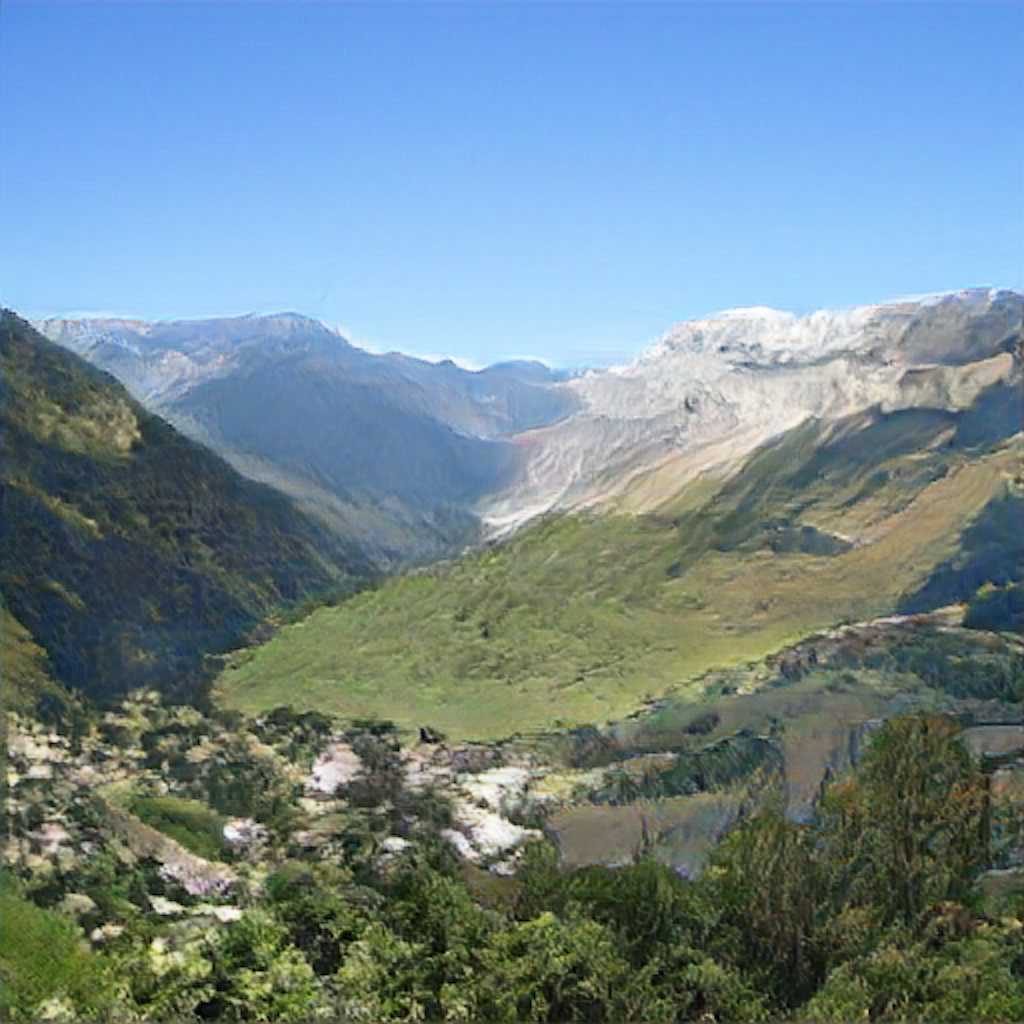
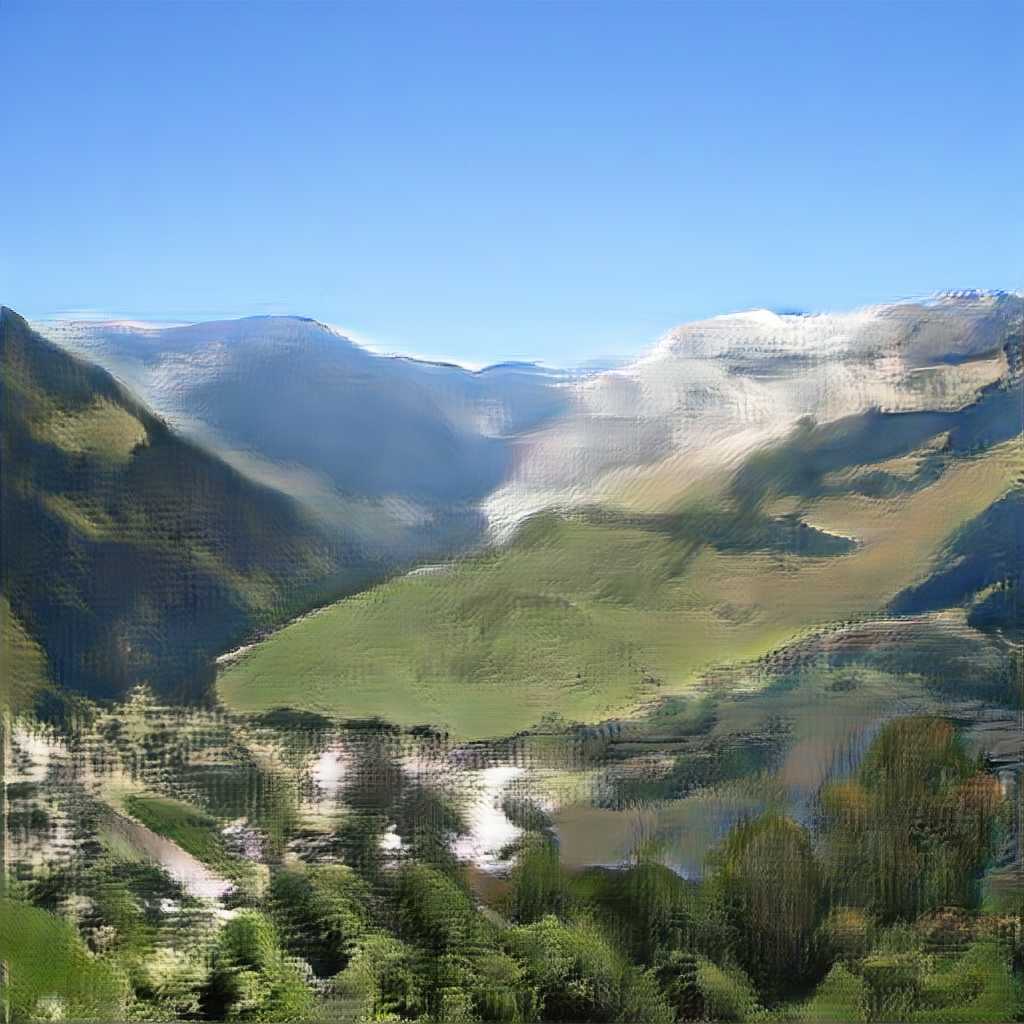
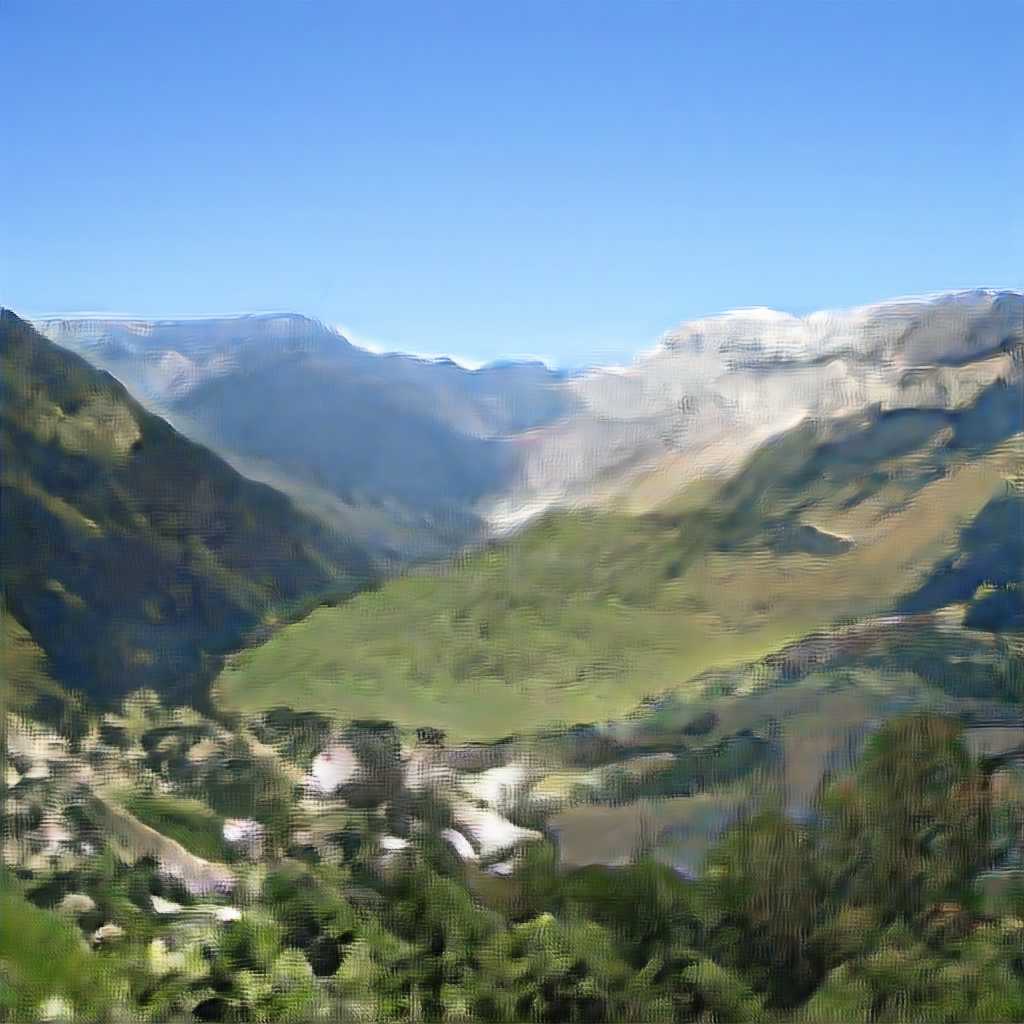
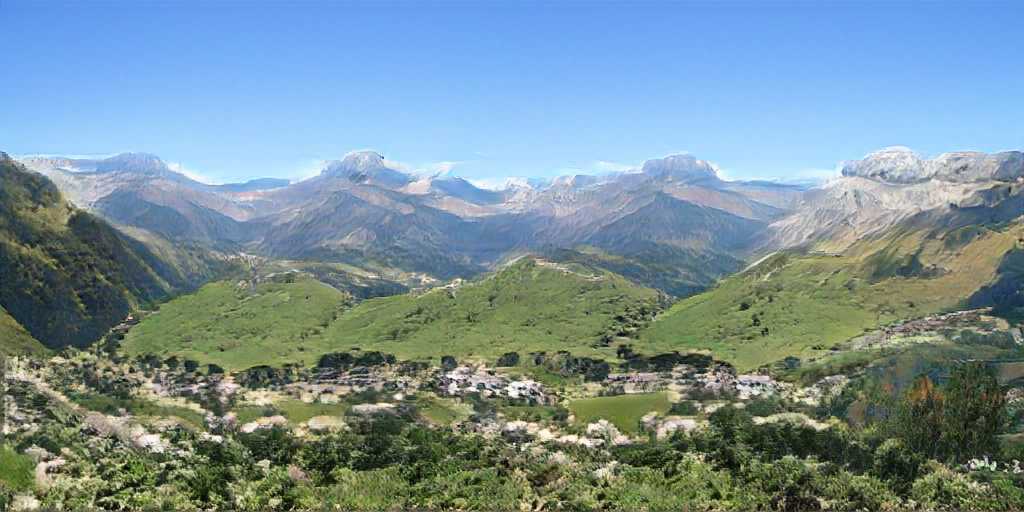
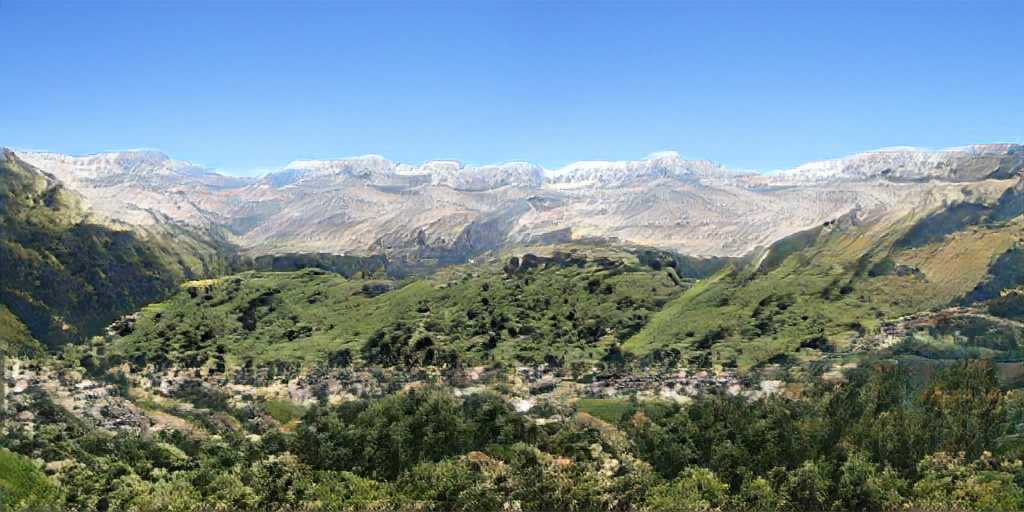
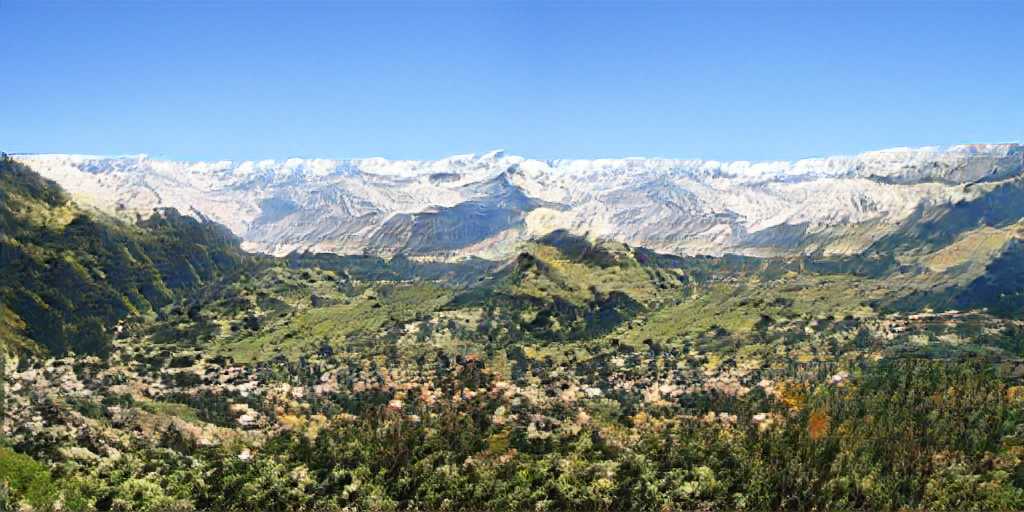
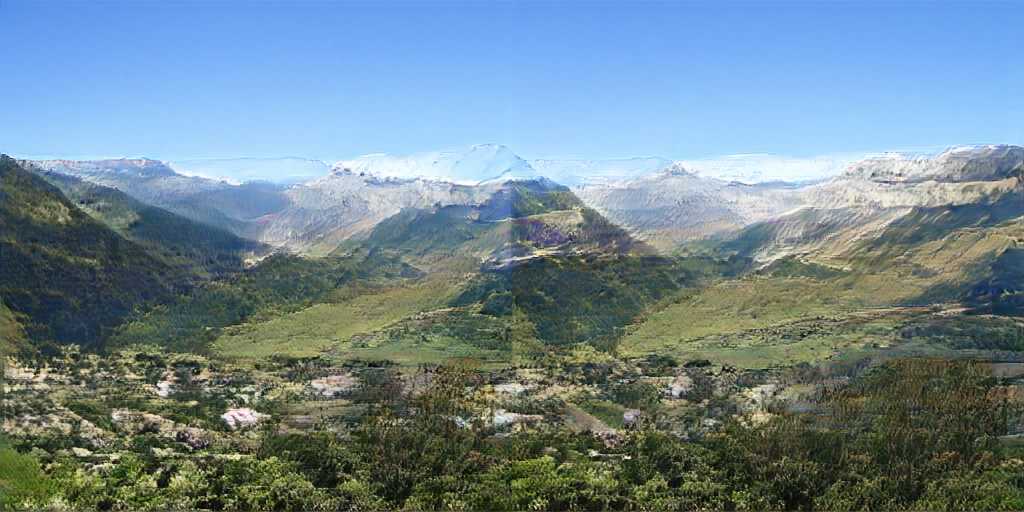
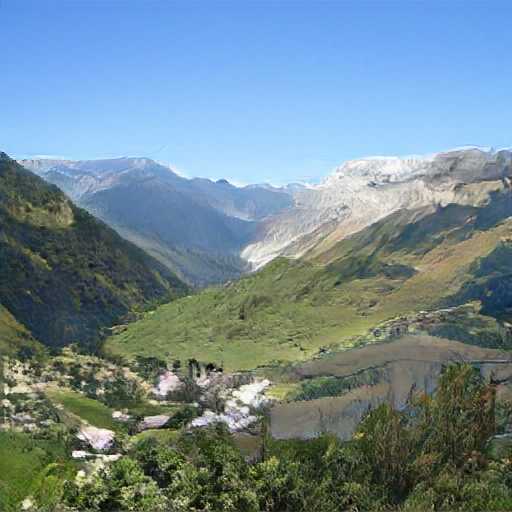
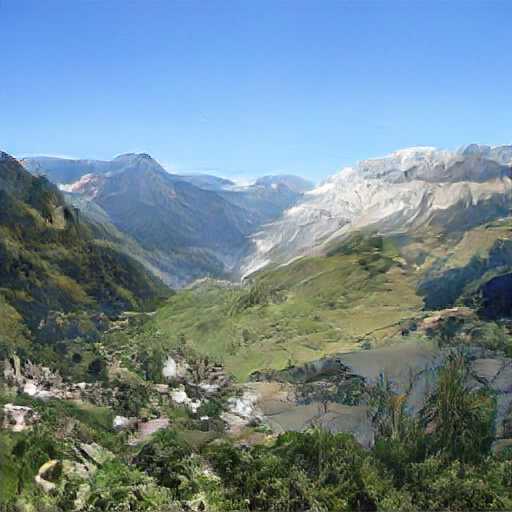
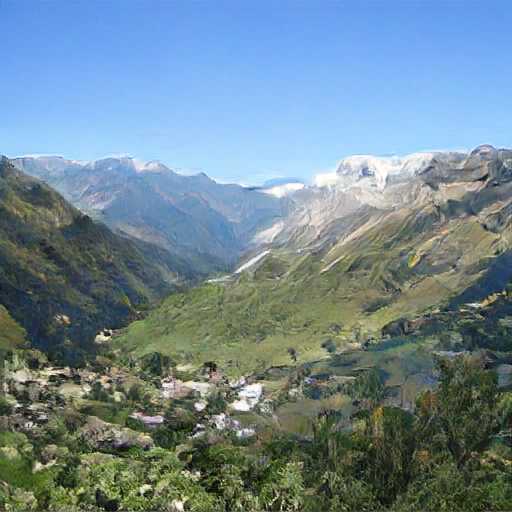
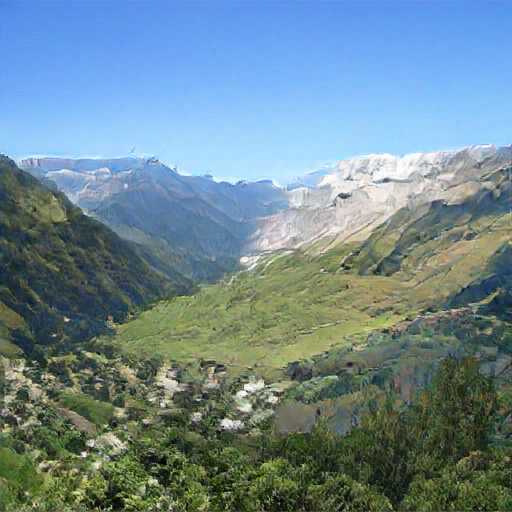
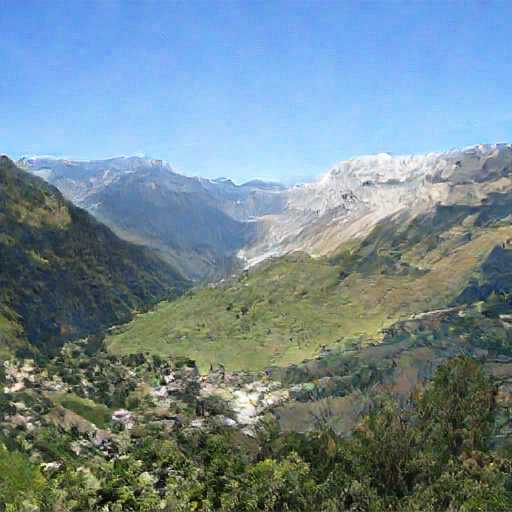
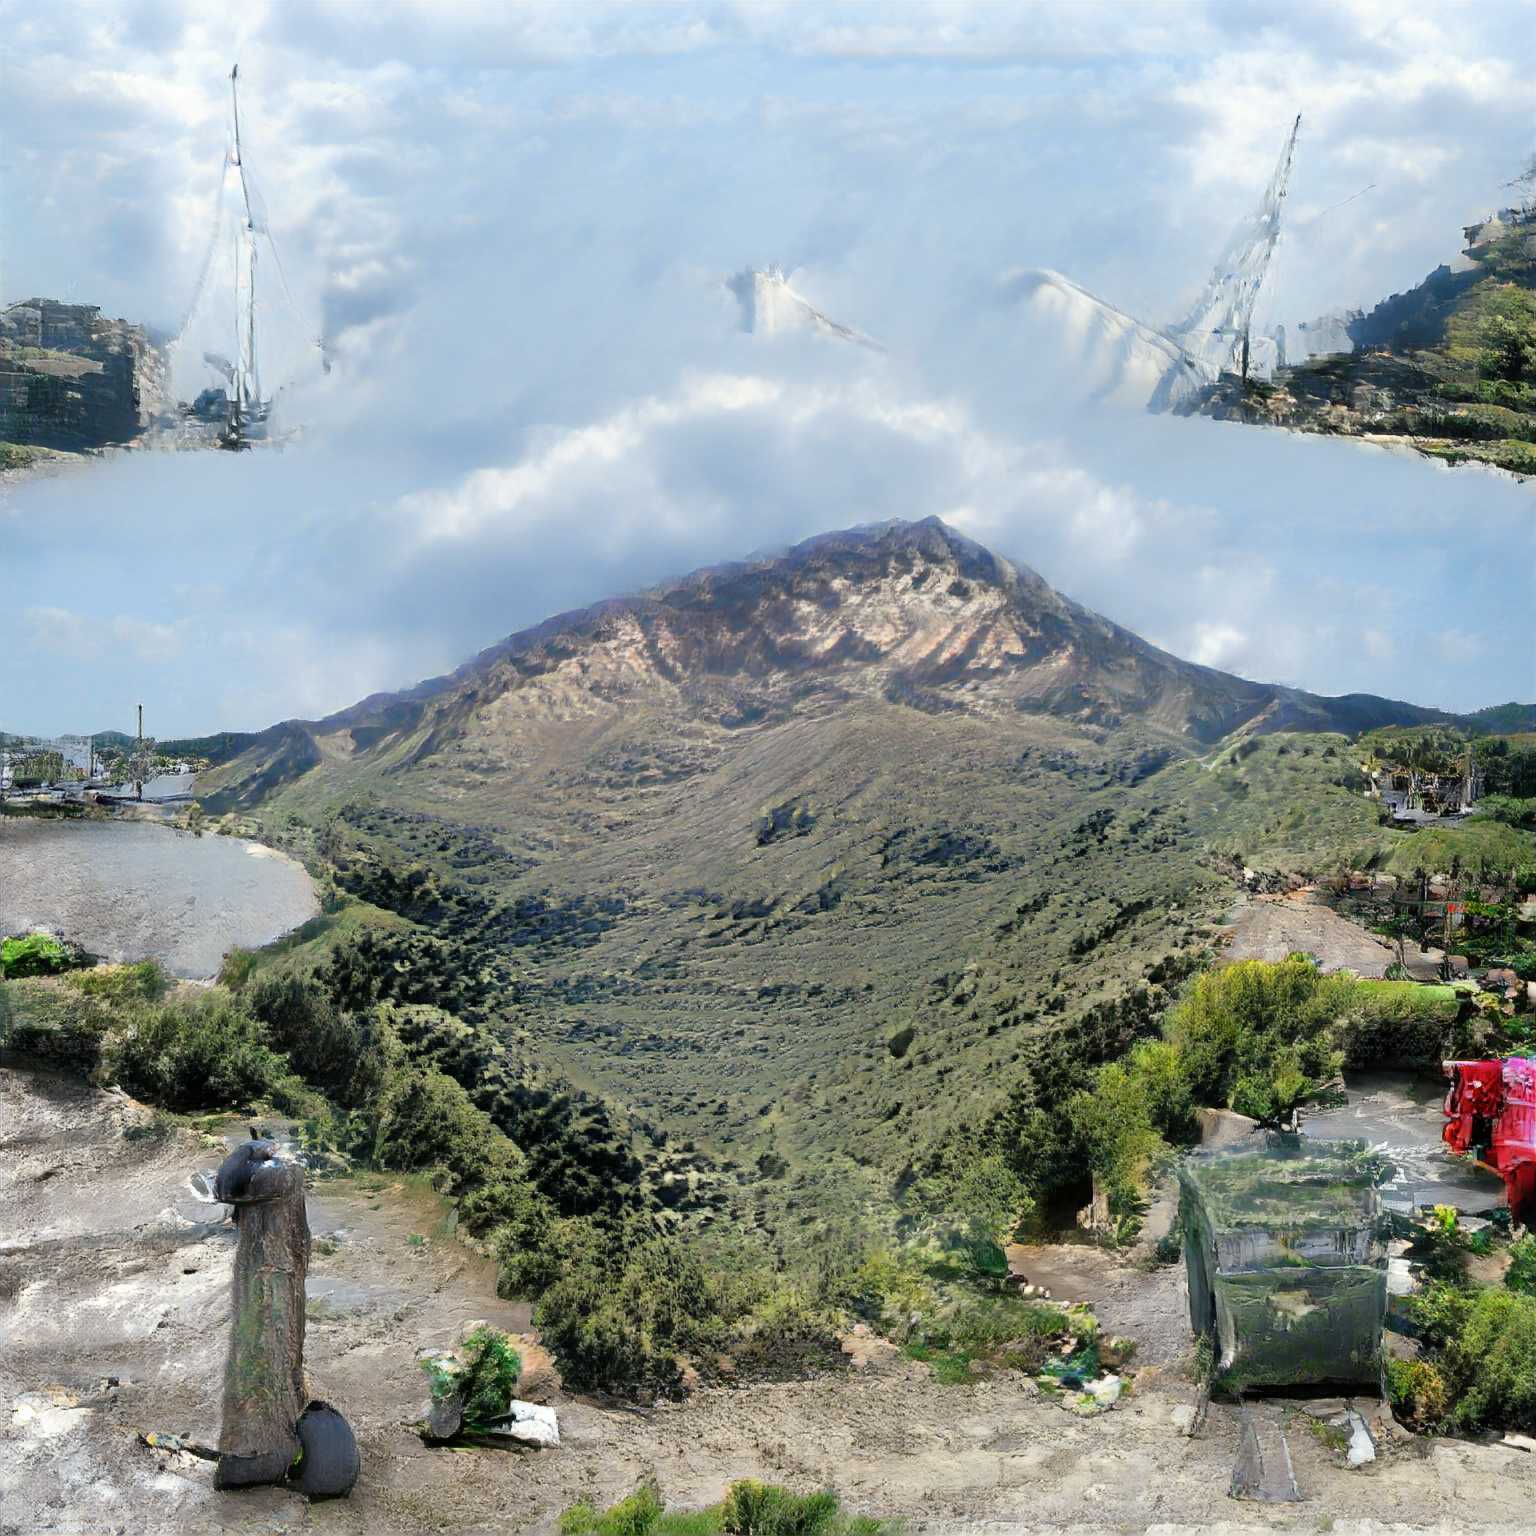
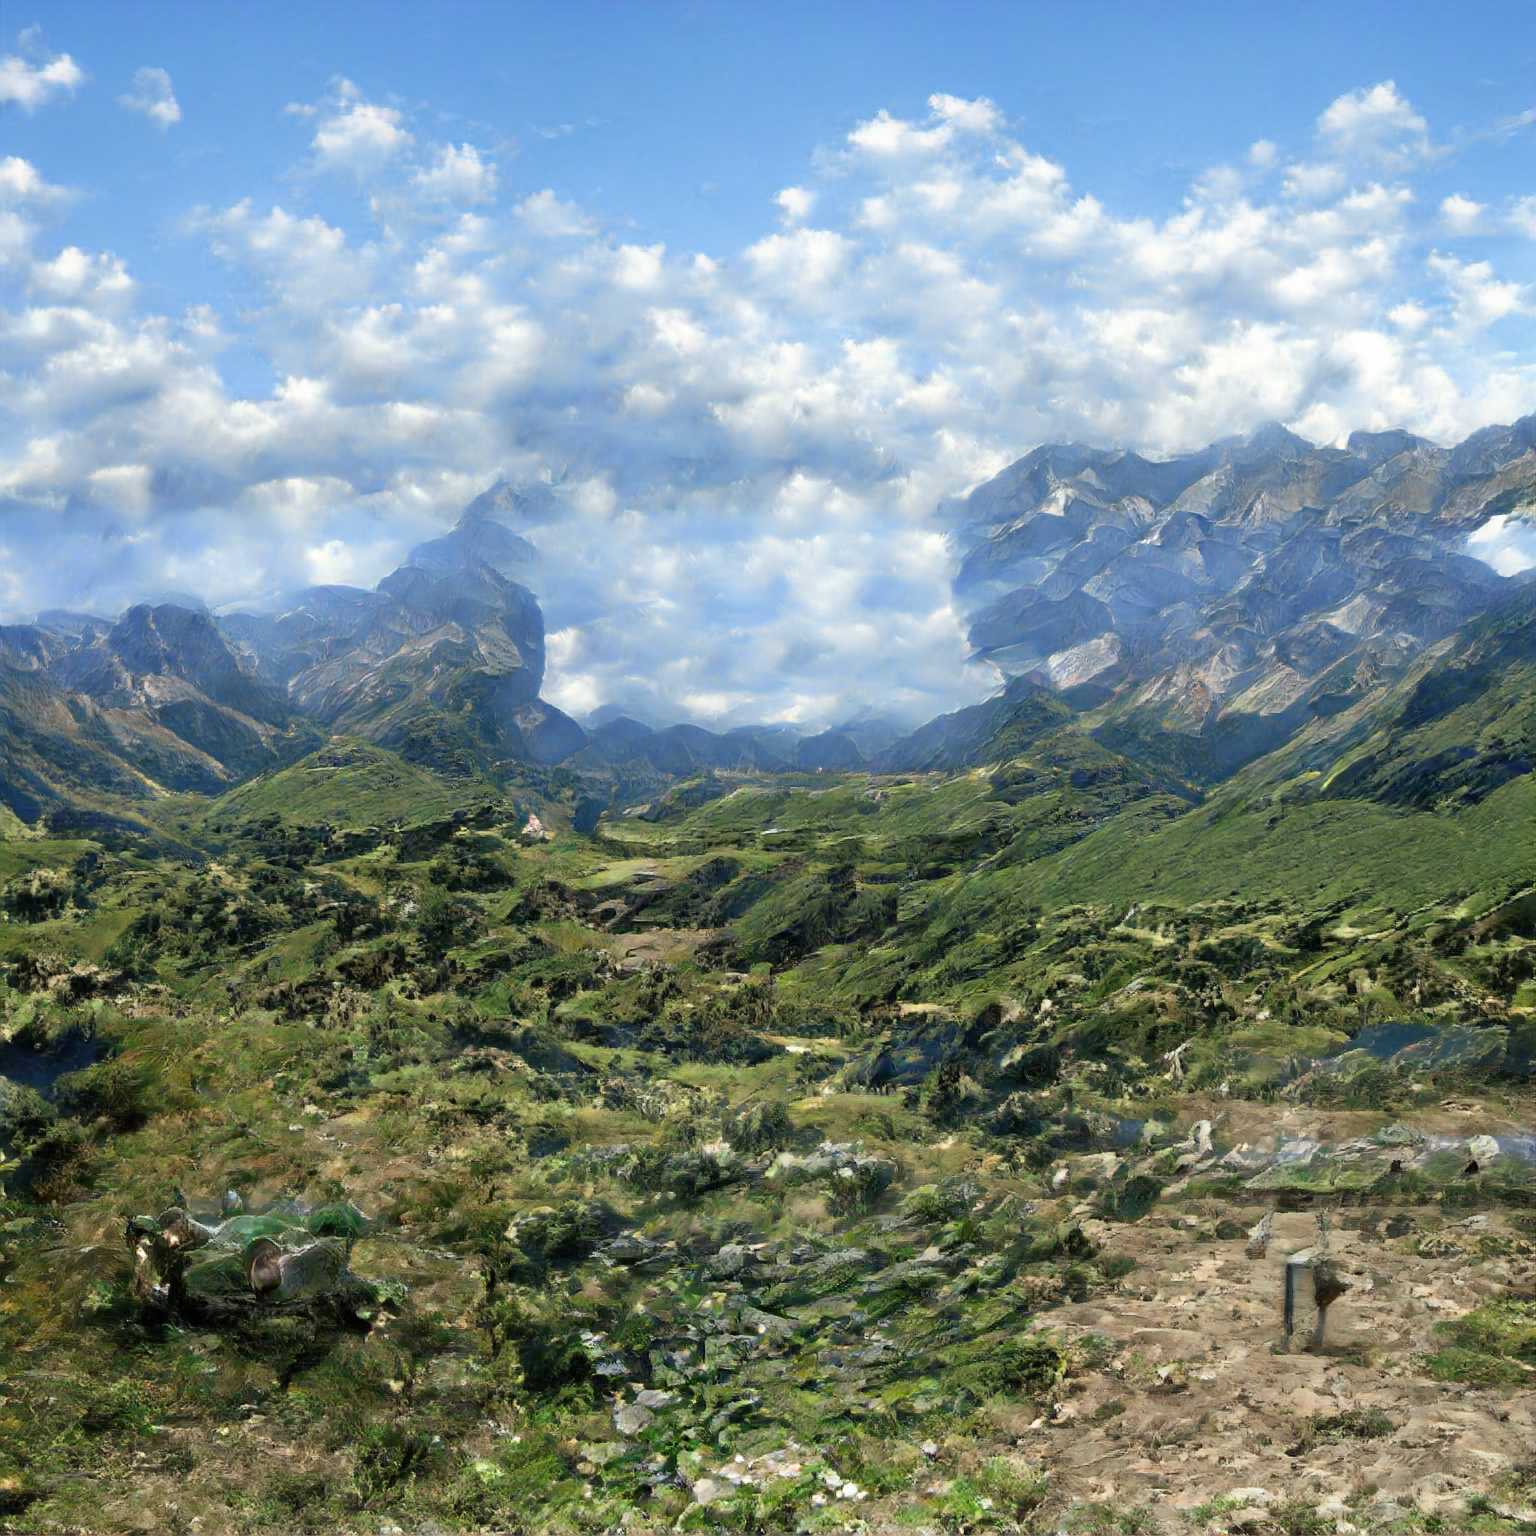
Ok, so we can eek out a little more interesting results from our original images, but we're still compositionally limited by the fact that most images can't be repeated and still make sense! The mountains are quite mononous unless we introduce our hacking and then it tends to decohere if it's combined in slightly the wrong way.
How do we fix this?
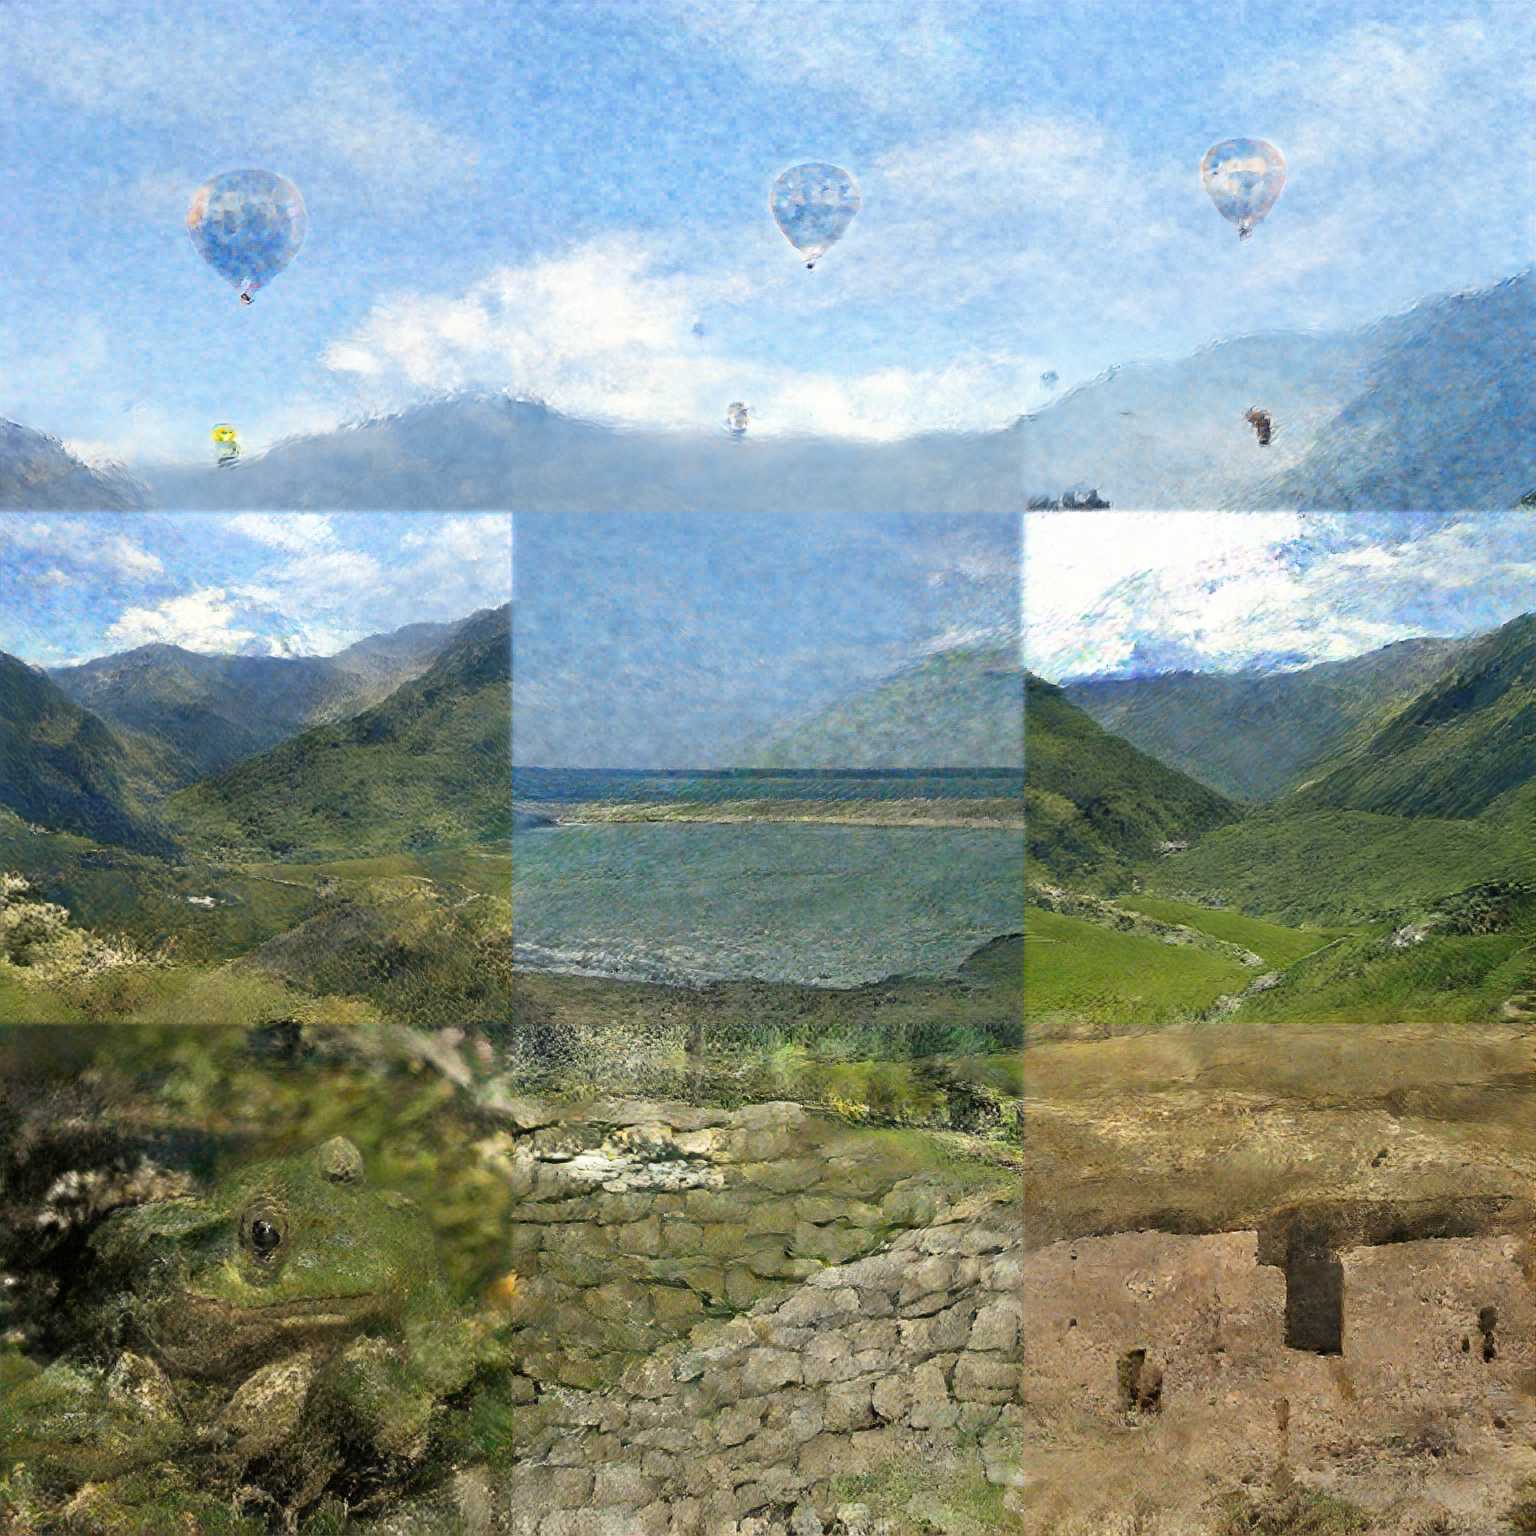
Instead of repeating the same intermediary image 4x, let's stick four different images together:
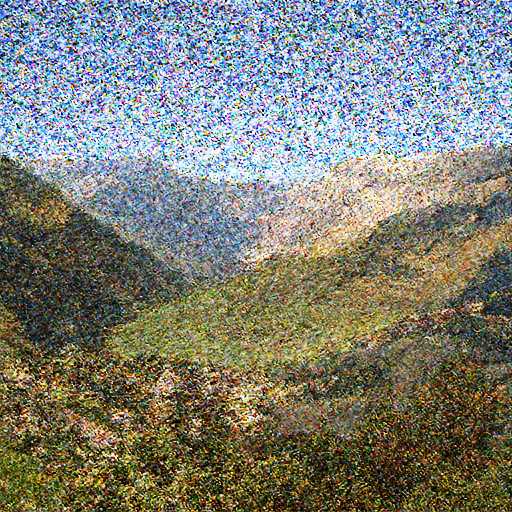
- Start with 4 noise vectors instead of one
- Run them through the network until we hit our layer
- Combine the images
- For any subsequent GenBlock, feed just one of the
cond_vectors instead of all of them 3
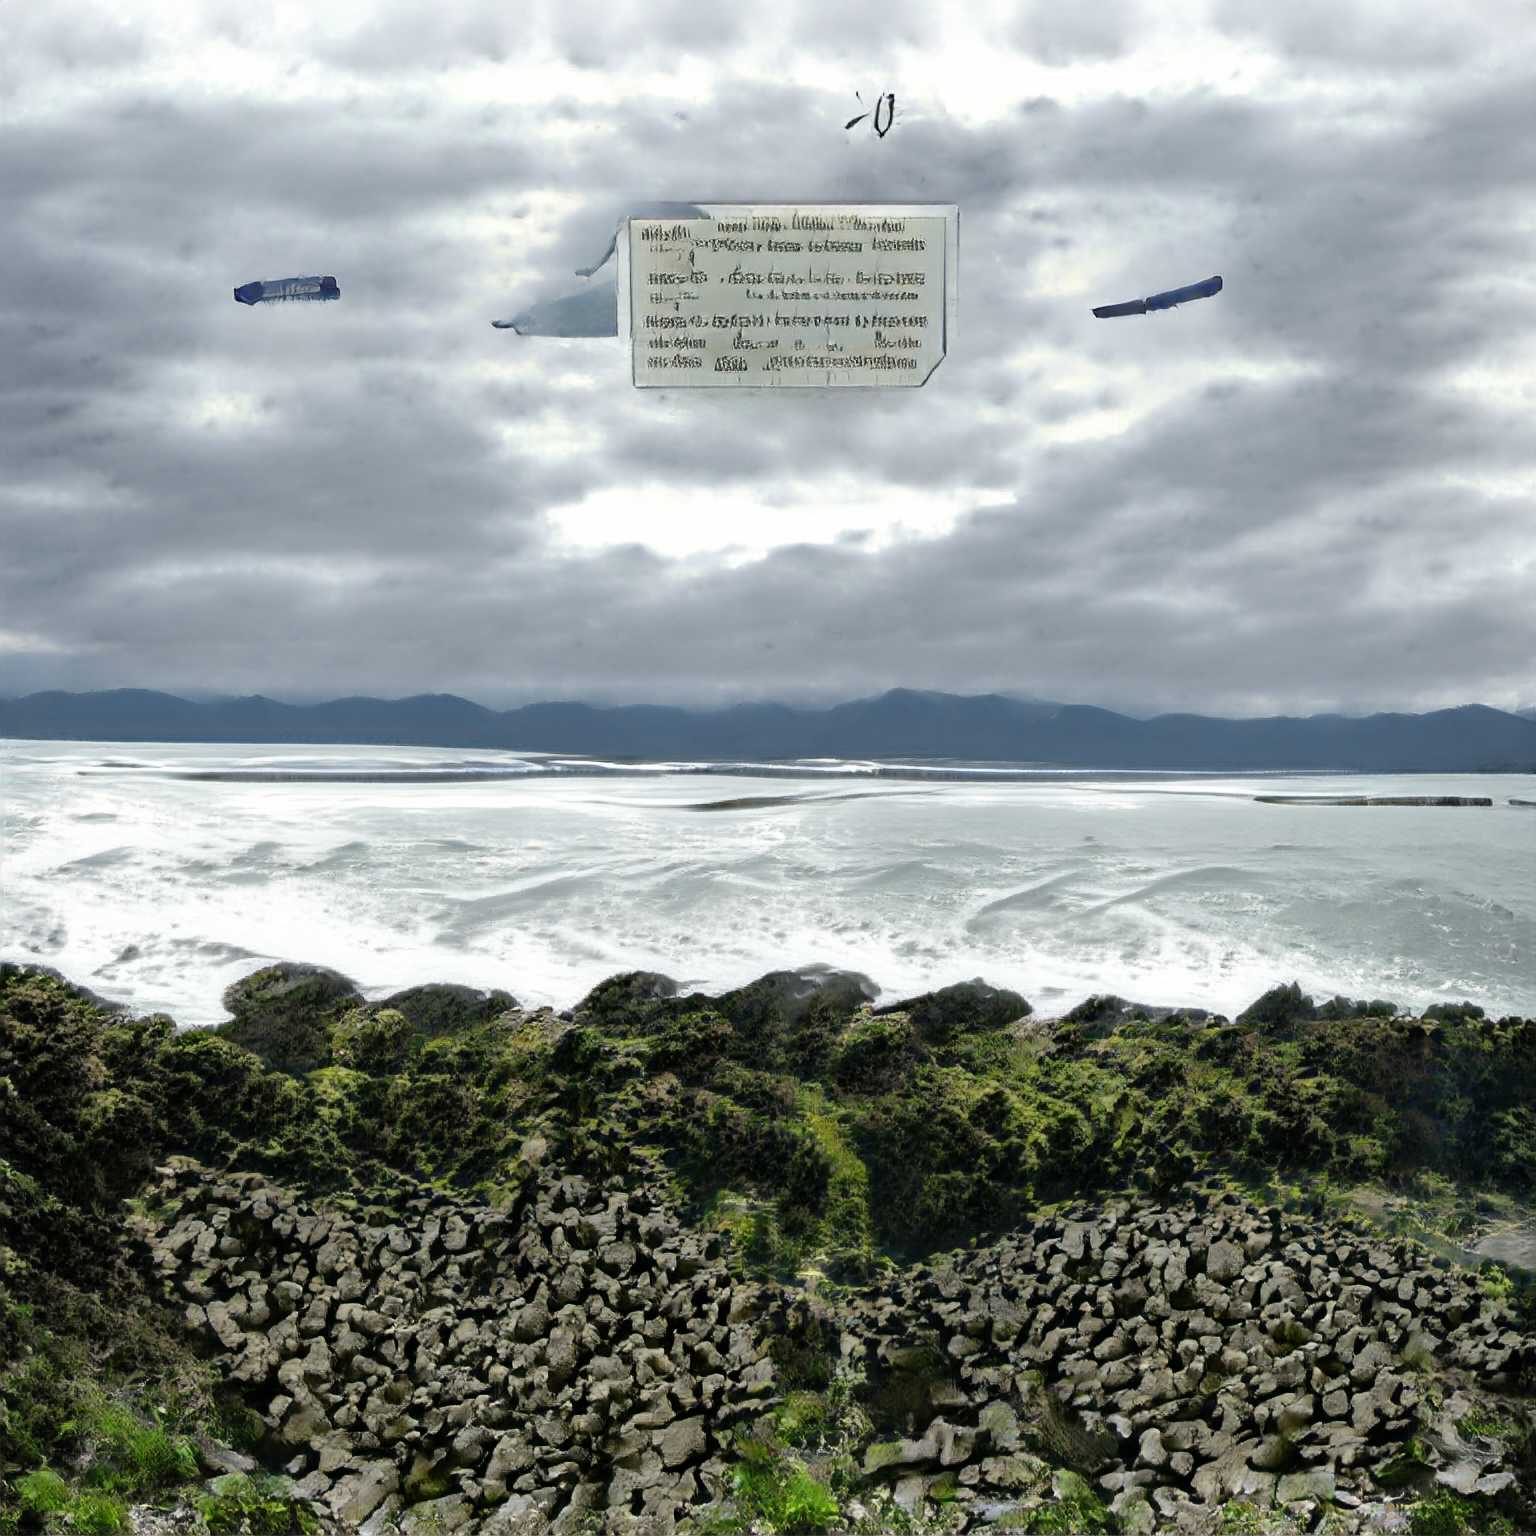
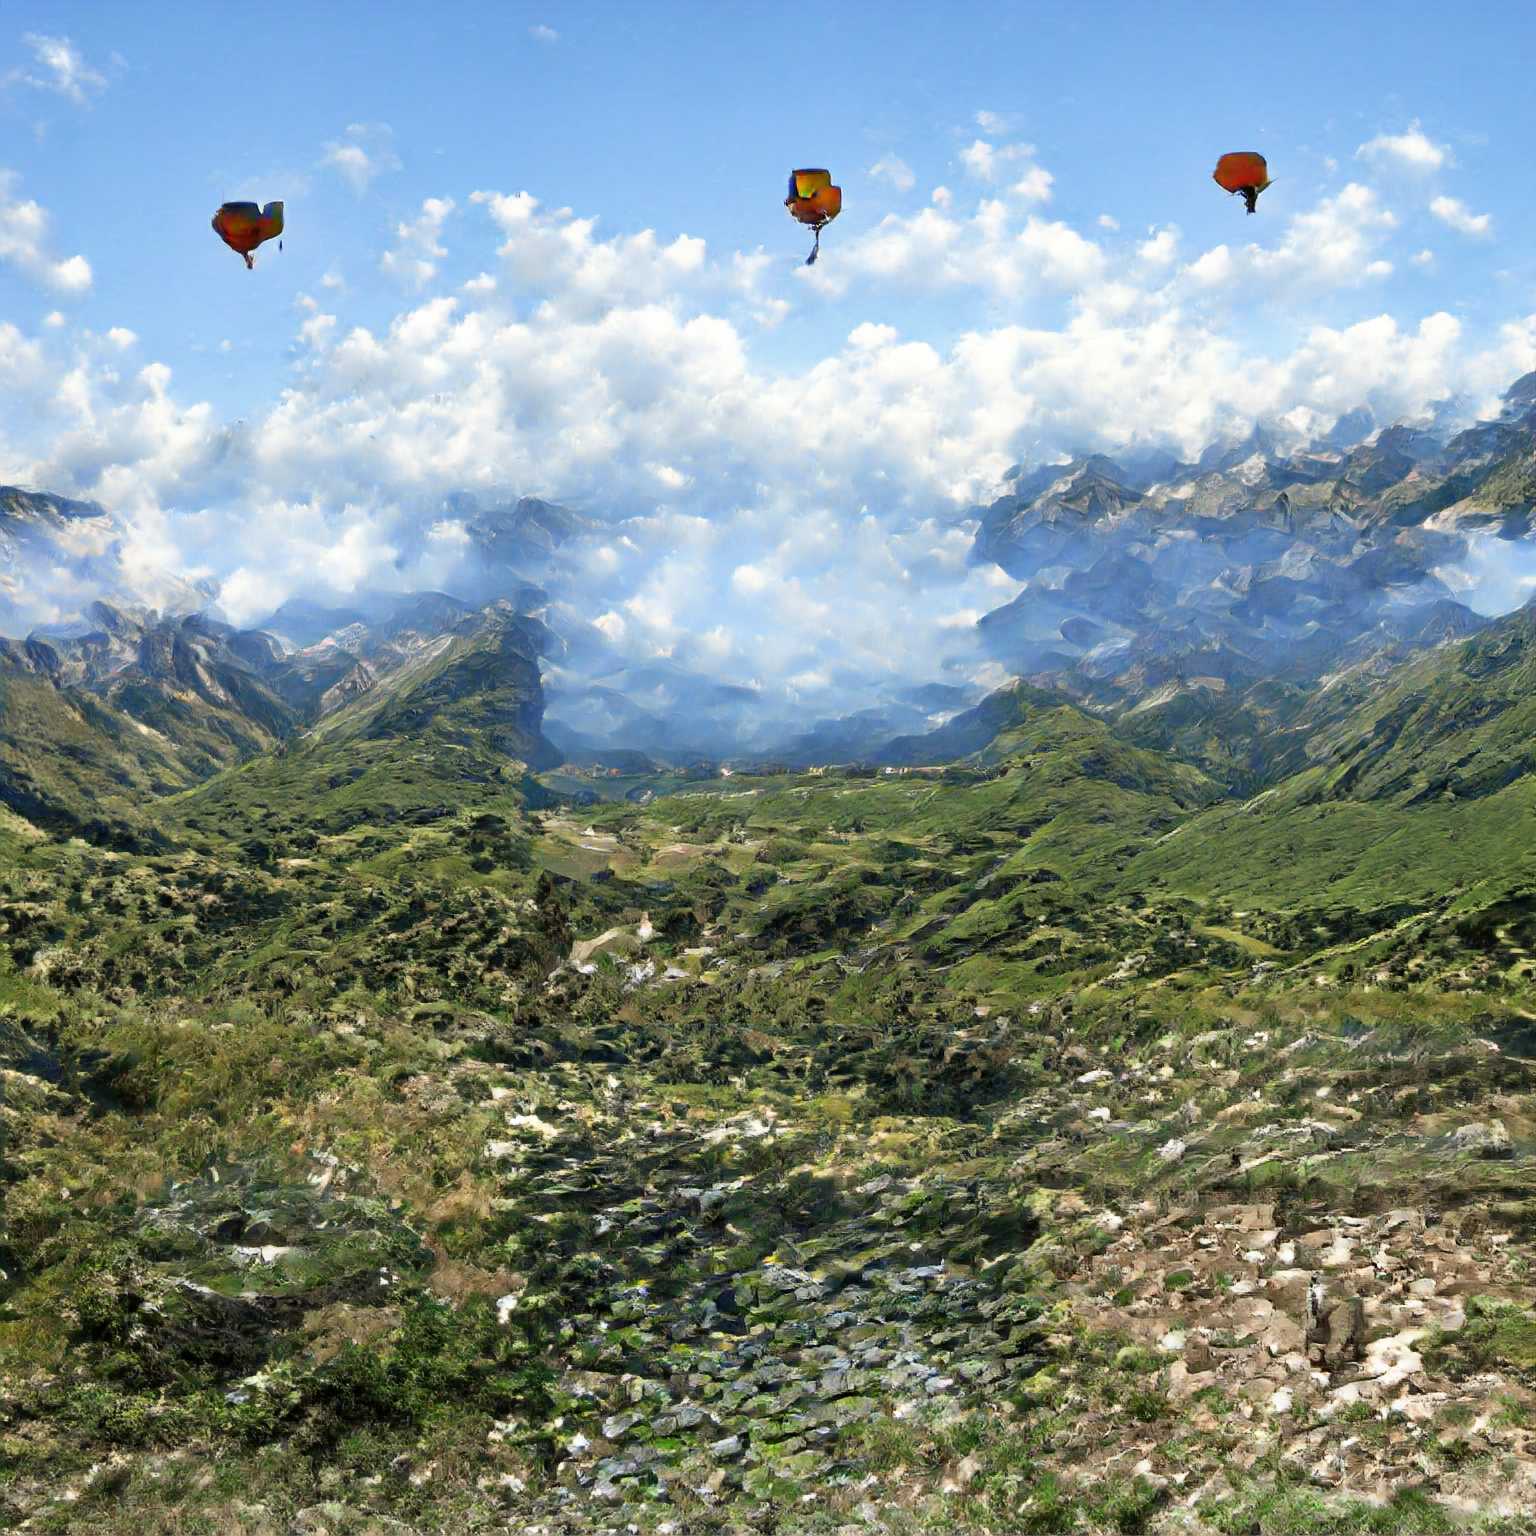
This time we need to generate a batch of chop * chop images
seed =  12
labels = "balloon,balloon,balloon,seashore,seashore,valley,frog,stone wall,cliff dwelling"
labels = labels.split(',')

class_vector = one_hot_from_names(labels, batch_size=chop * chop)
noise_vector = truncated_noise_sample(truncation=truncation, batch_size=chop * chop)
func = lambda z: pack_image_grid_mixed(z, chop, seed=15)

def pack_image_grid_mixed(z, chop=2, seed=25):
  n, c, h, w = z.shape
  # Take the first image in the second row, scale it up
  # use that as the main basis for our image
  big_idx = chop
  big_im = F.interpolate(z[big_idx:big_idx+1], size=(h * chop, w * chop), mode='bilinear')
  grid = pack_image_grid(z, chop)
  # Mix the big image randomly with the small images
  torch.random.manual_seed(seed)
  k = torch.rand_like(grid)
  return k * grid + (1-k) * big_im
We need to modify the gen function as follows to feed in the right conditional vector (a future direction would be to make this input independent of the "image" vectors Z):
…
    for i, layer in enumerate(gen.layers):
      if isinstance(layer, GenBlock):
        # Some of our hacks reduce the batch size, combining images
        n = z.shape[0]
        excess_cond = cond_vector.shape[0] // n
        if excess_cond > 1:
          # use the index 3 because it's in a good position around the middle left the image
          use_index = 3
          cond_input = cond_vector[use_index:use_index+1]
        else:
          cond_input = cond_vector
        z = layer(z, cond_input, truncation)
      else:
          # This is the self-attention layer
          z = layer(z)
      if i == layer_to_hack:
        z = hack_layer(z)
| left | middle | right |
|---|---|---|
| balloon | balloon | balloon |
| seashore | seashore | valley |
| frog | stone wall | cliff dwelling |
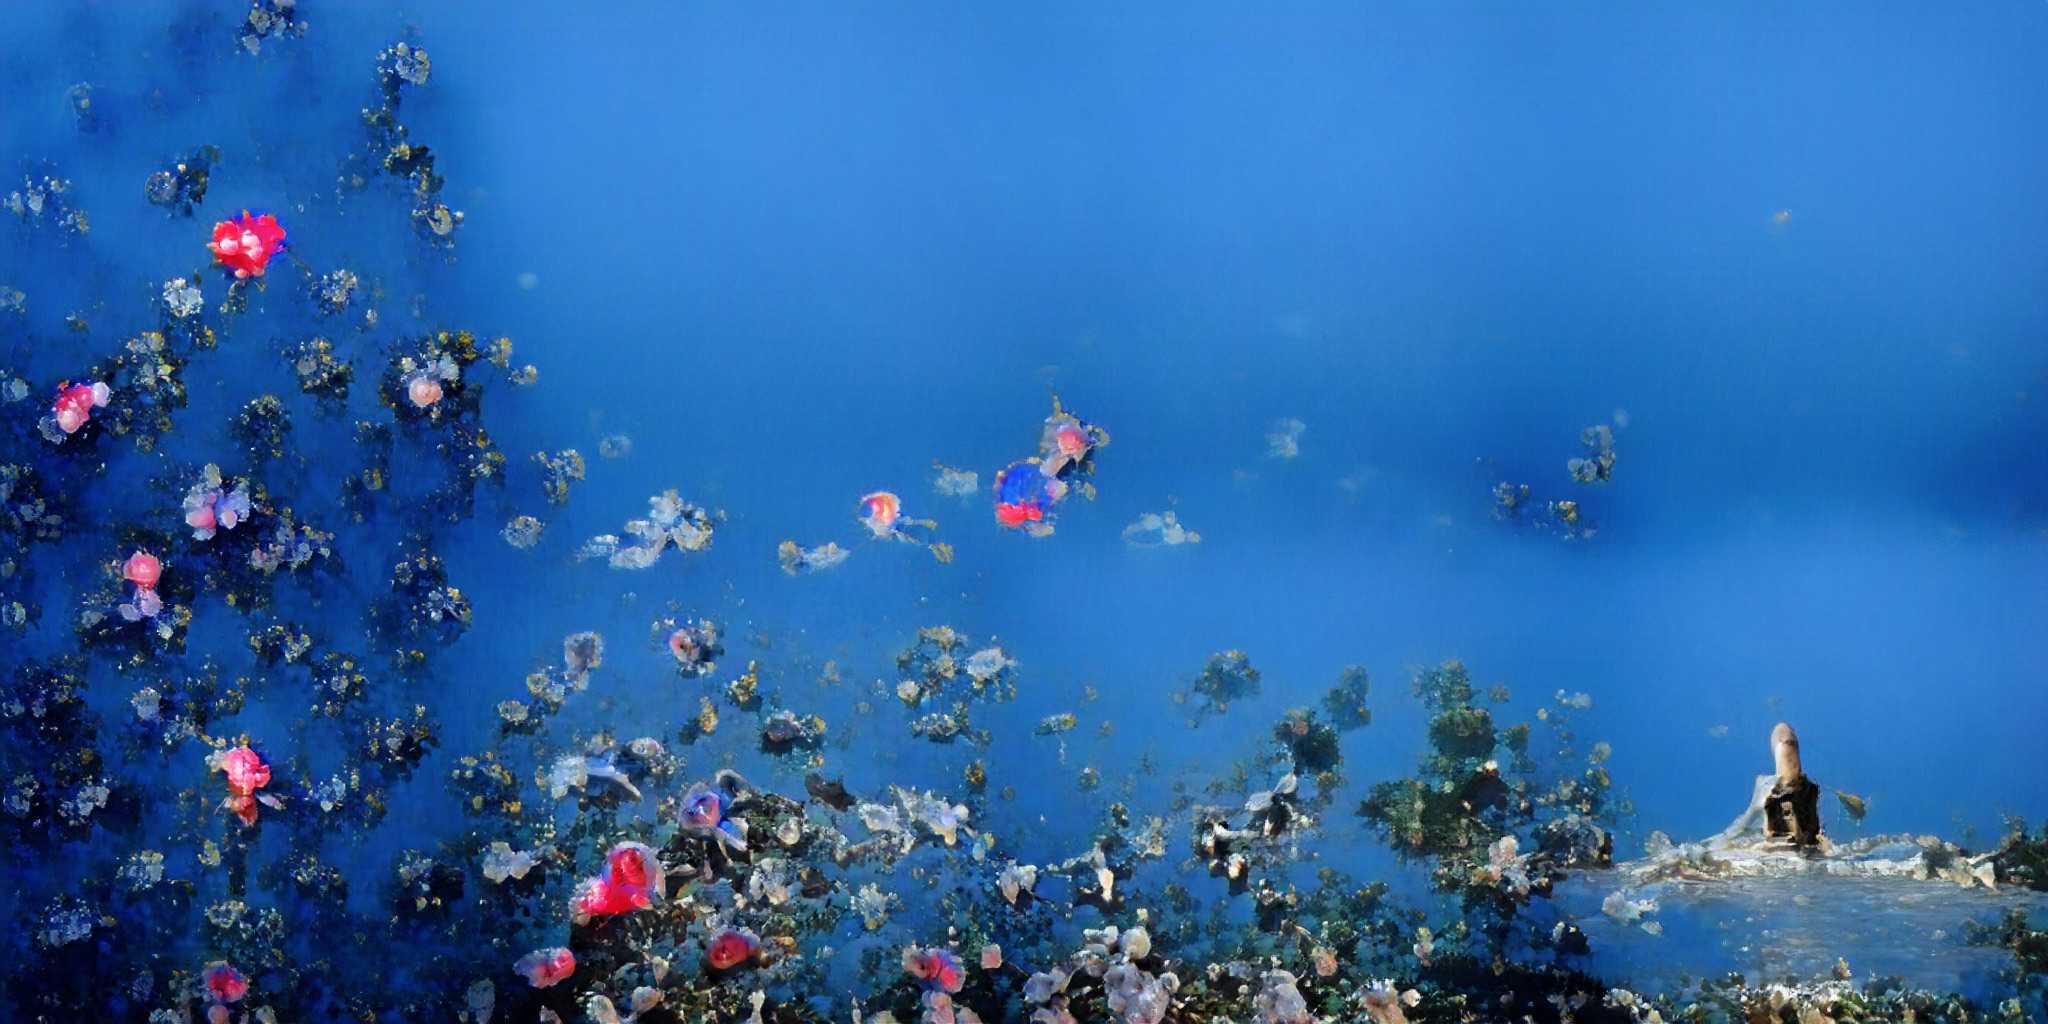
Click or hover to change the image
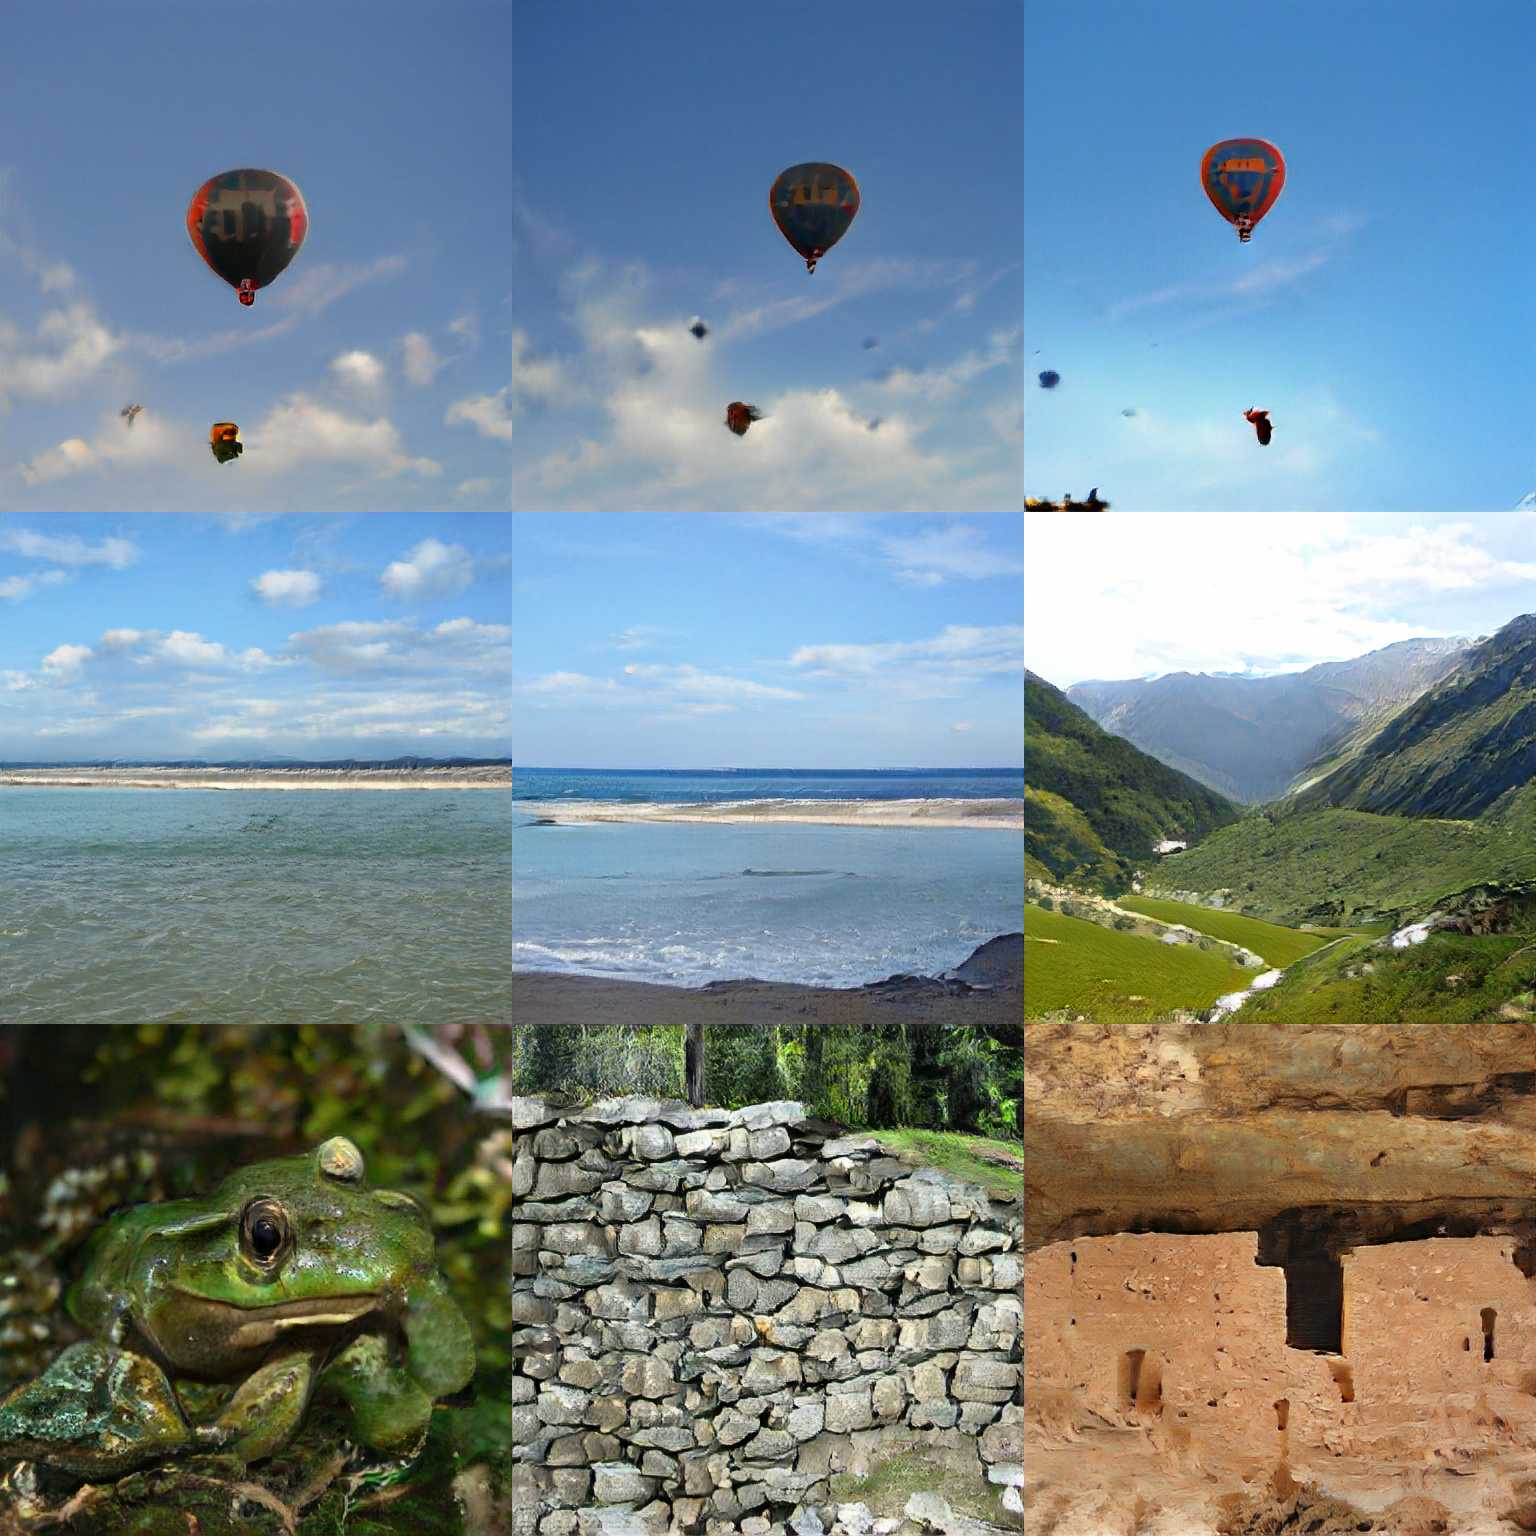


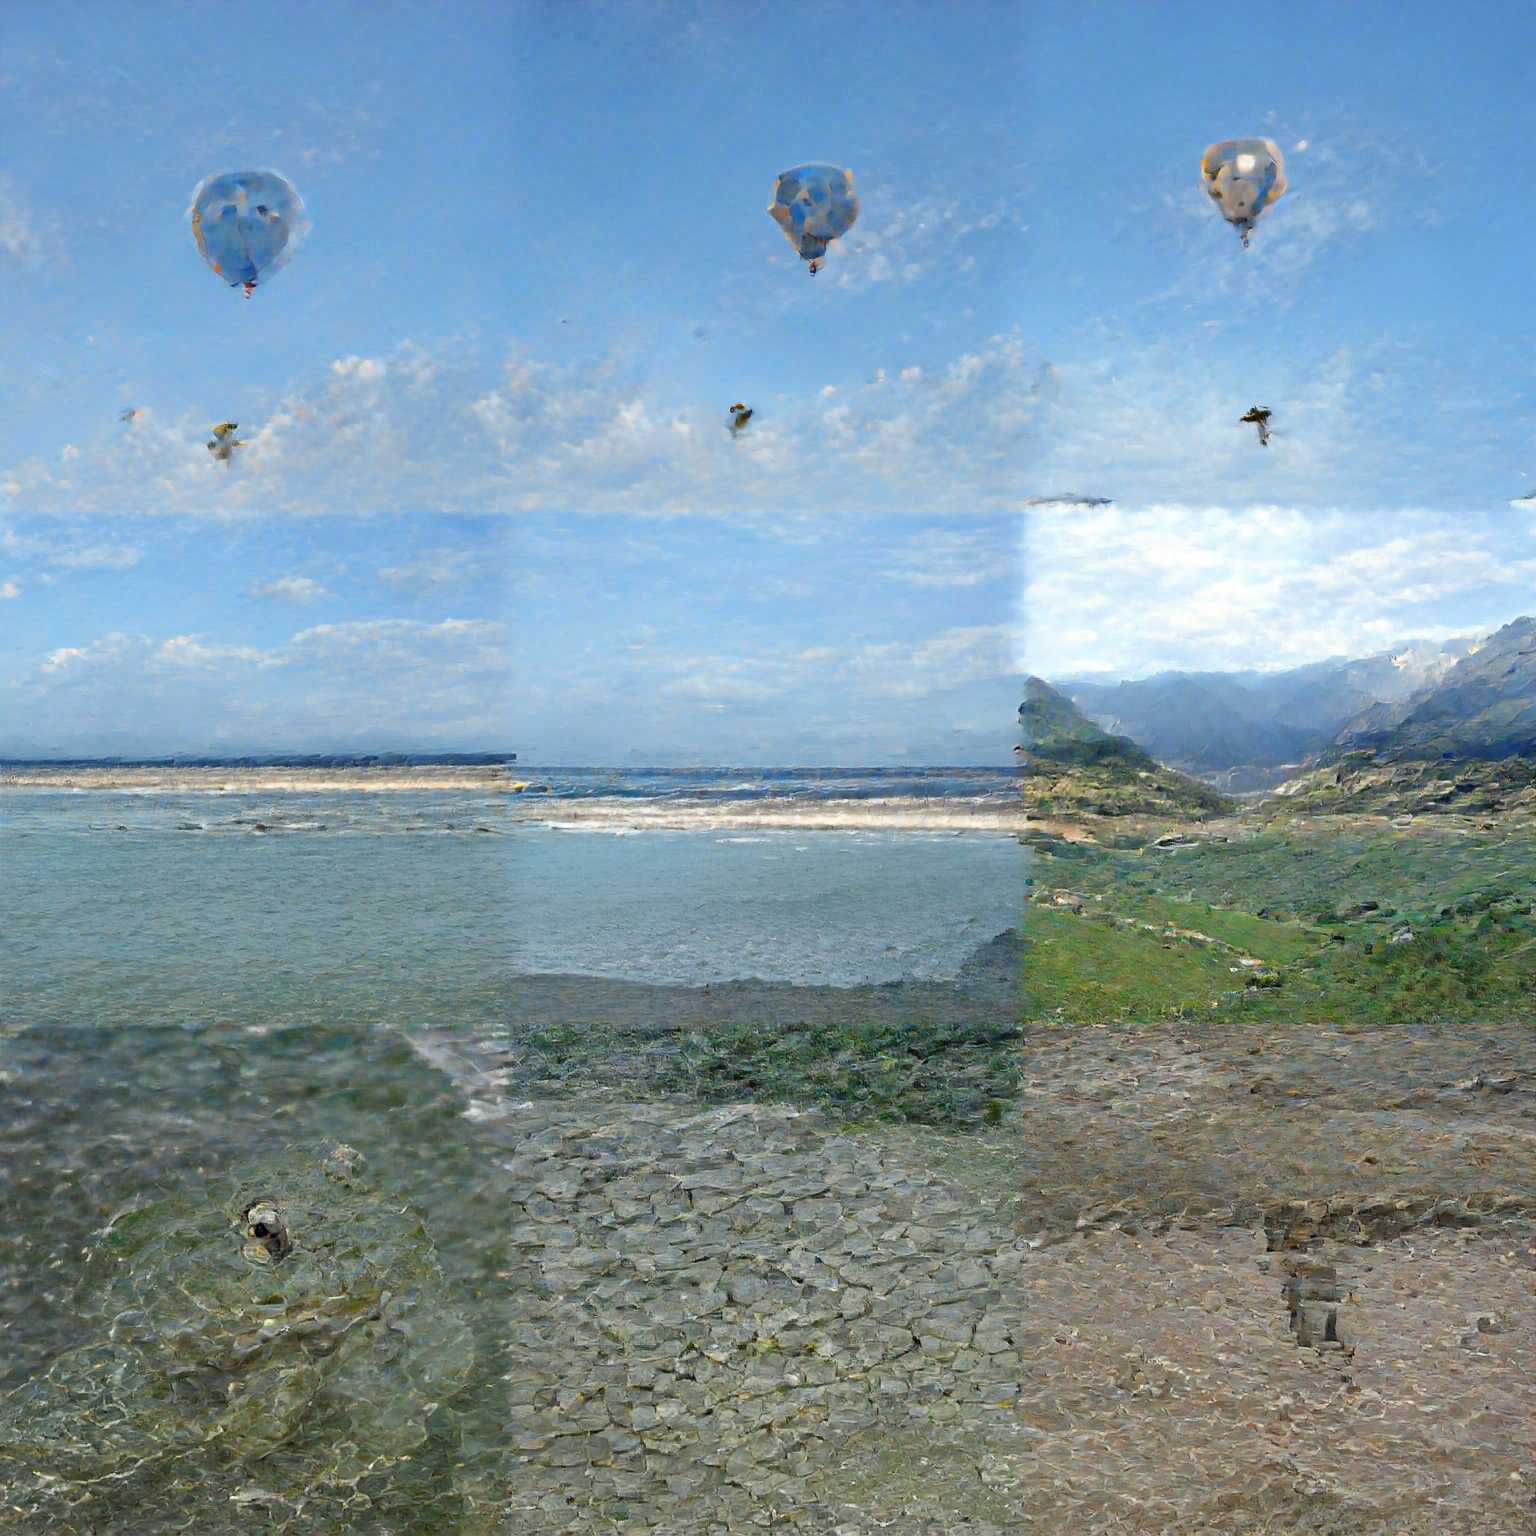
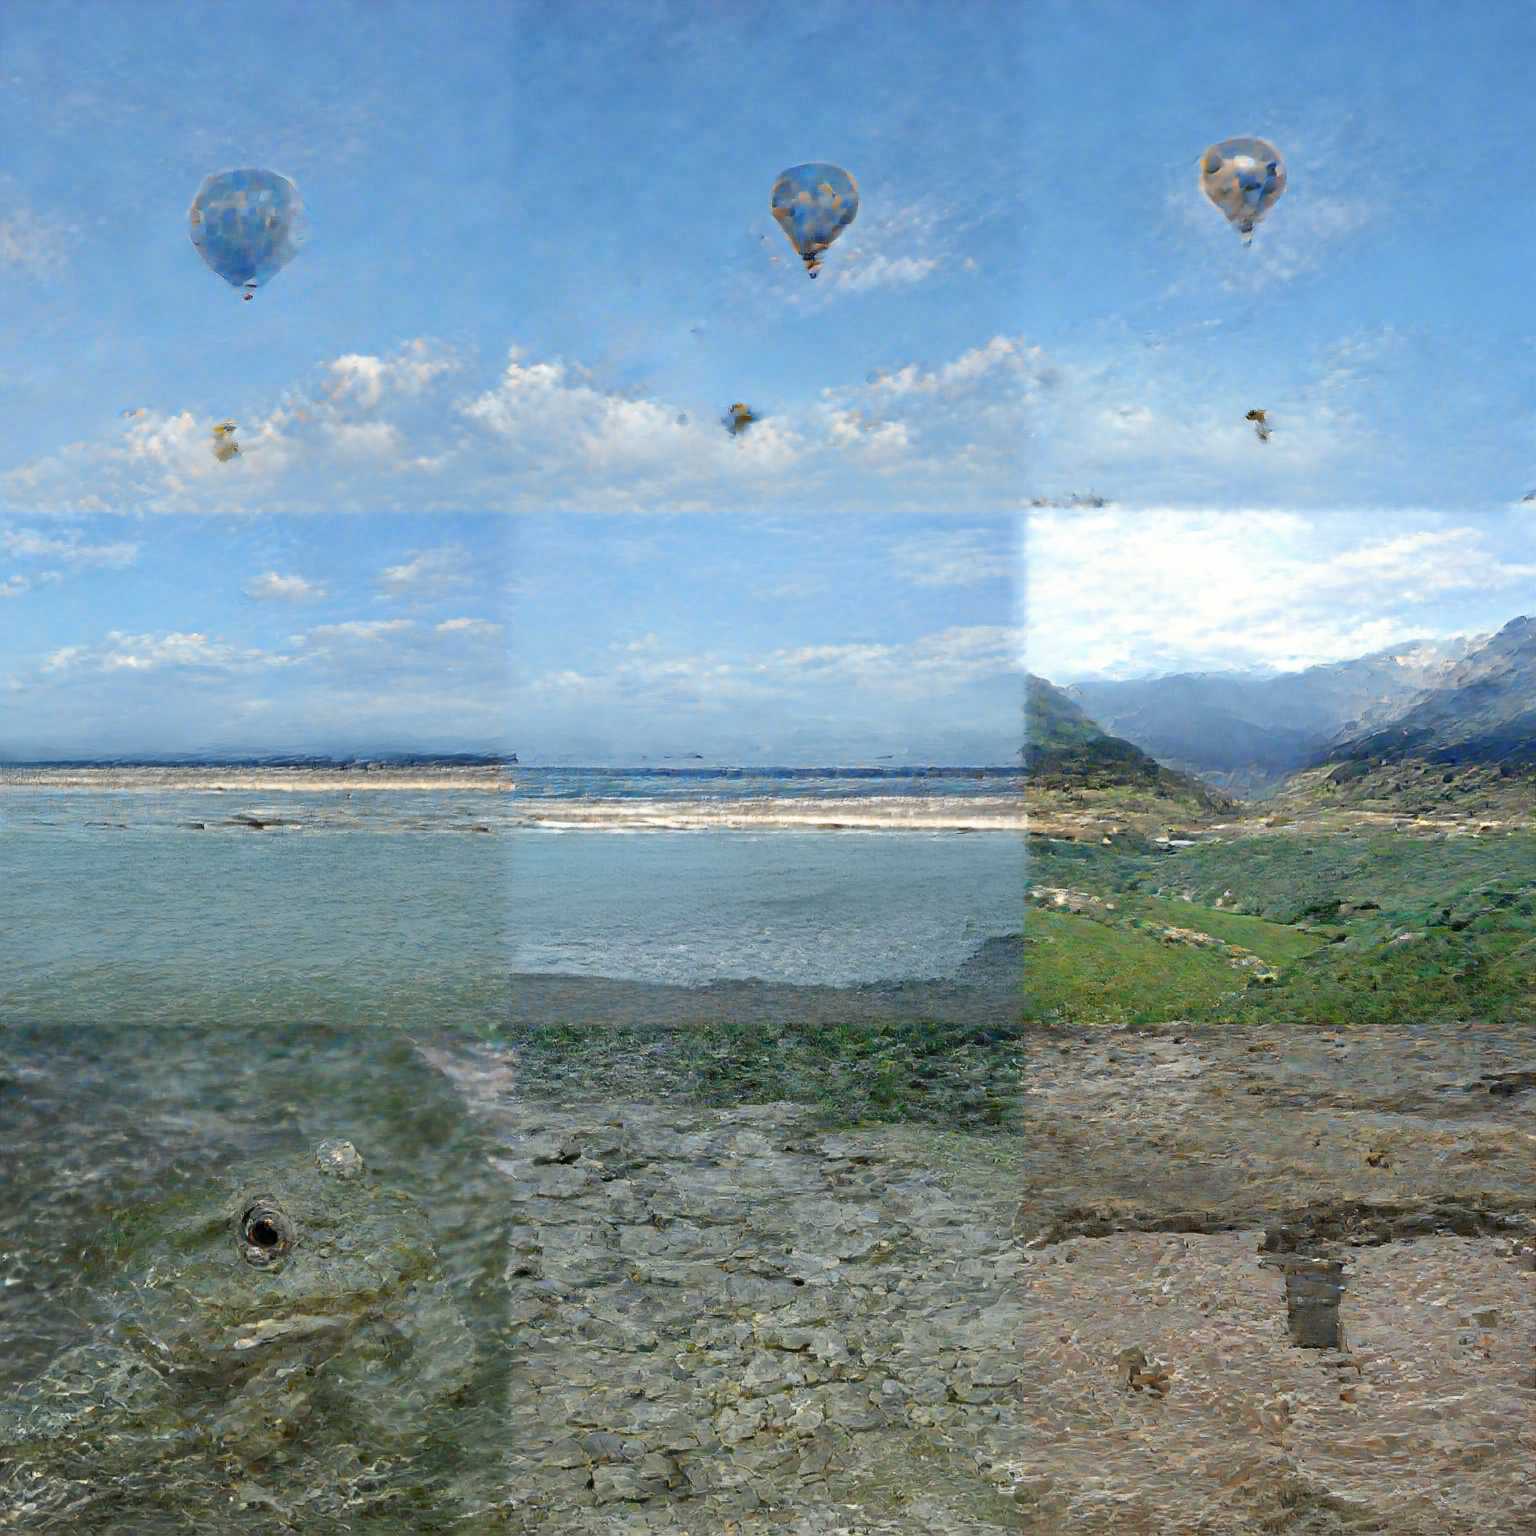
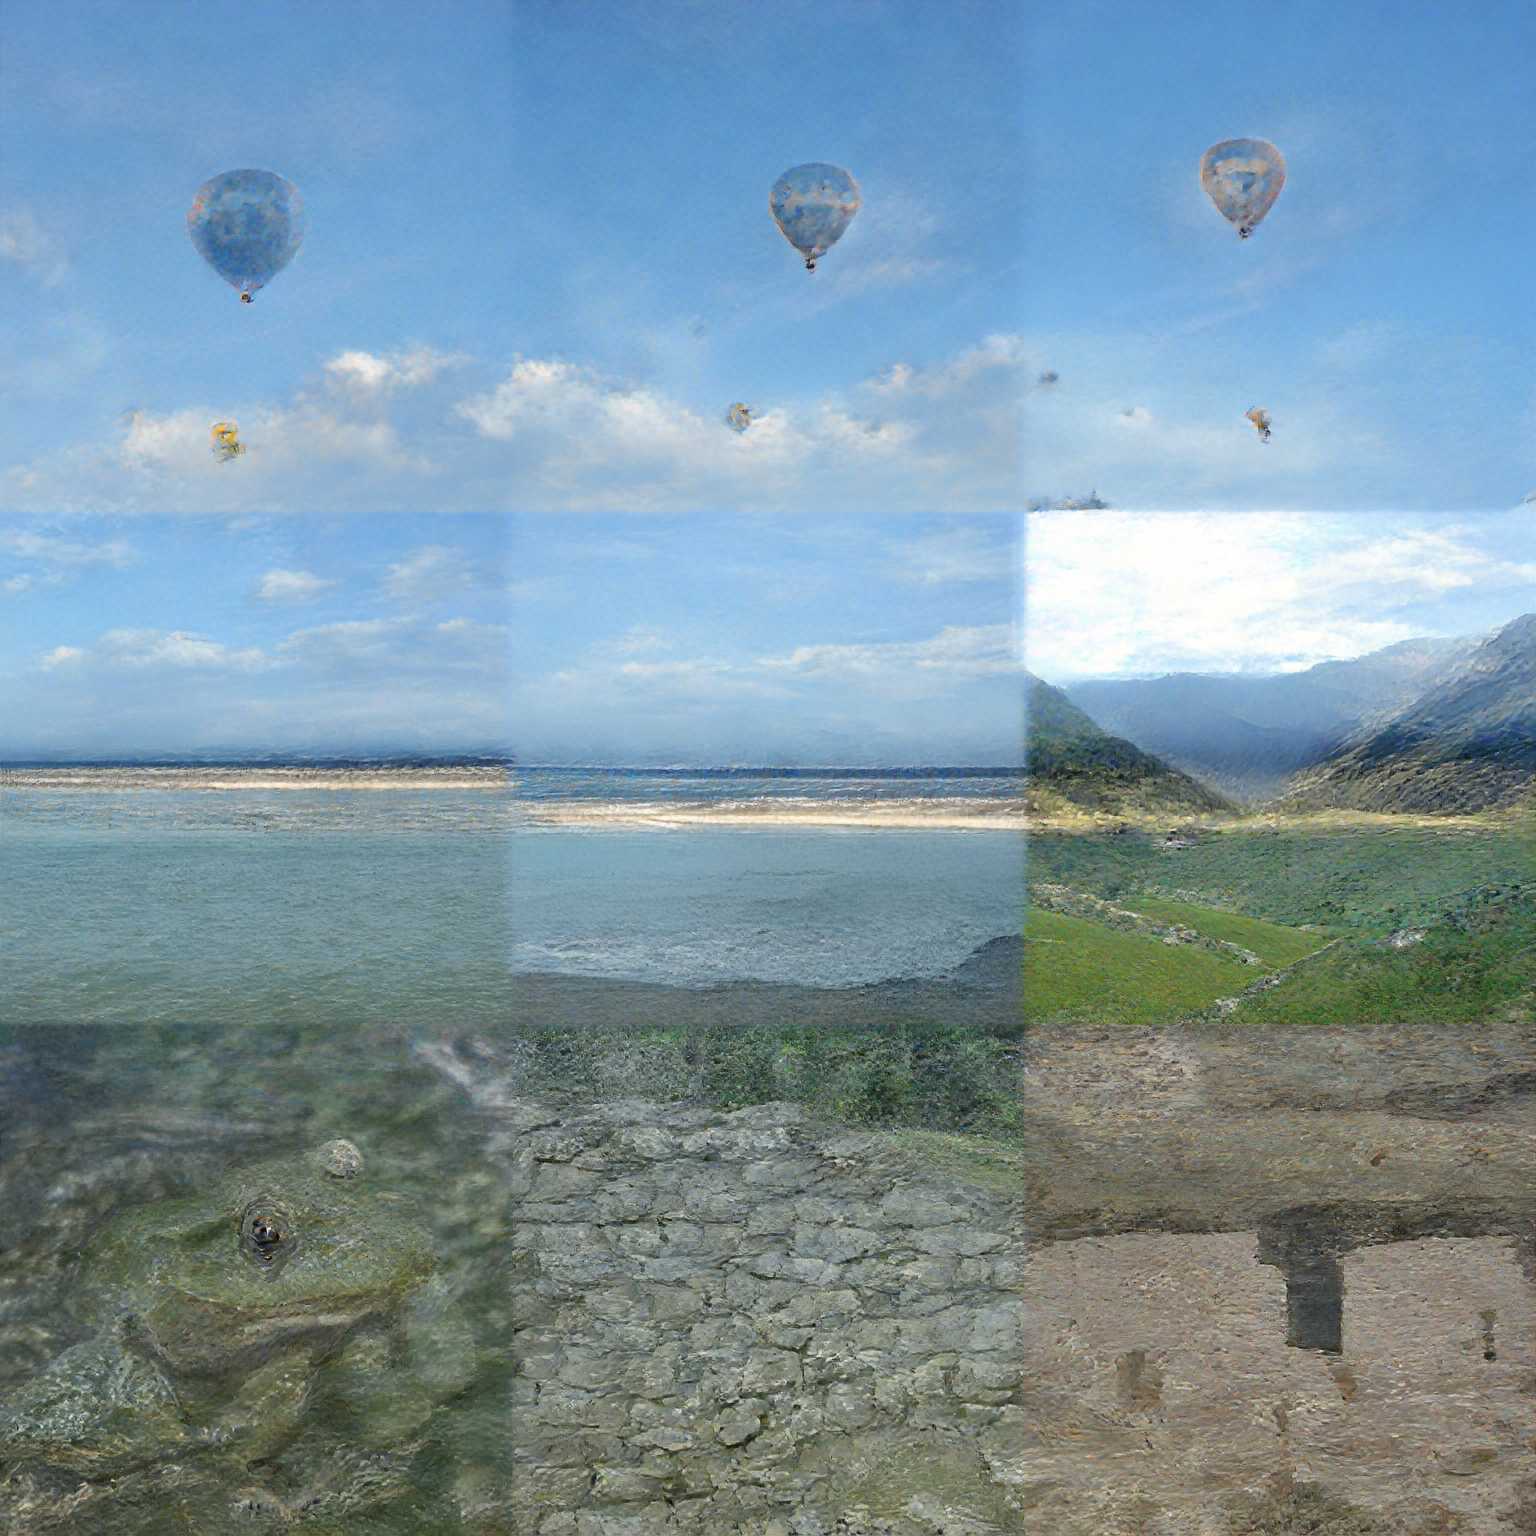


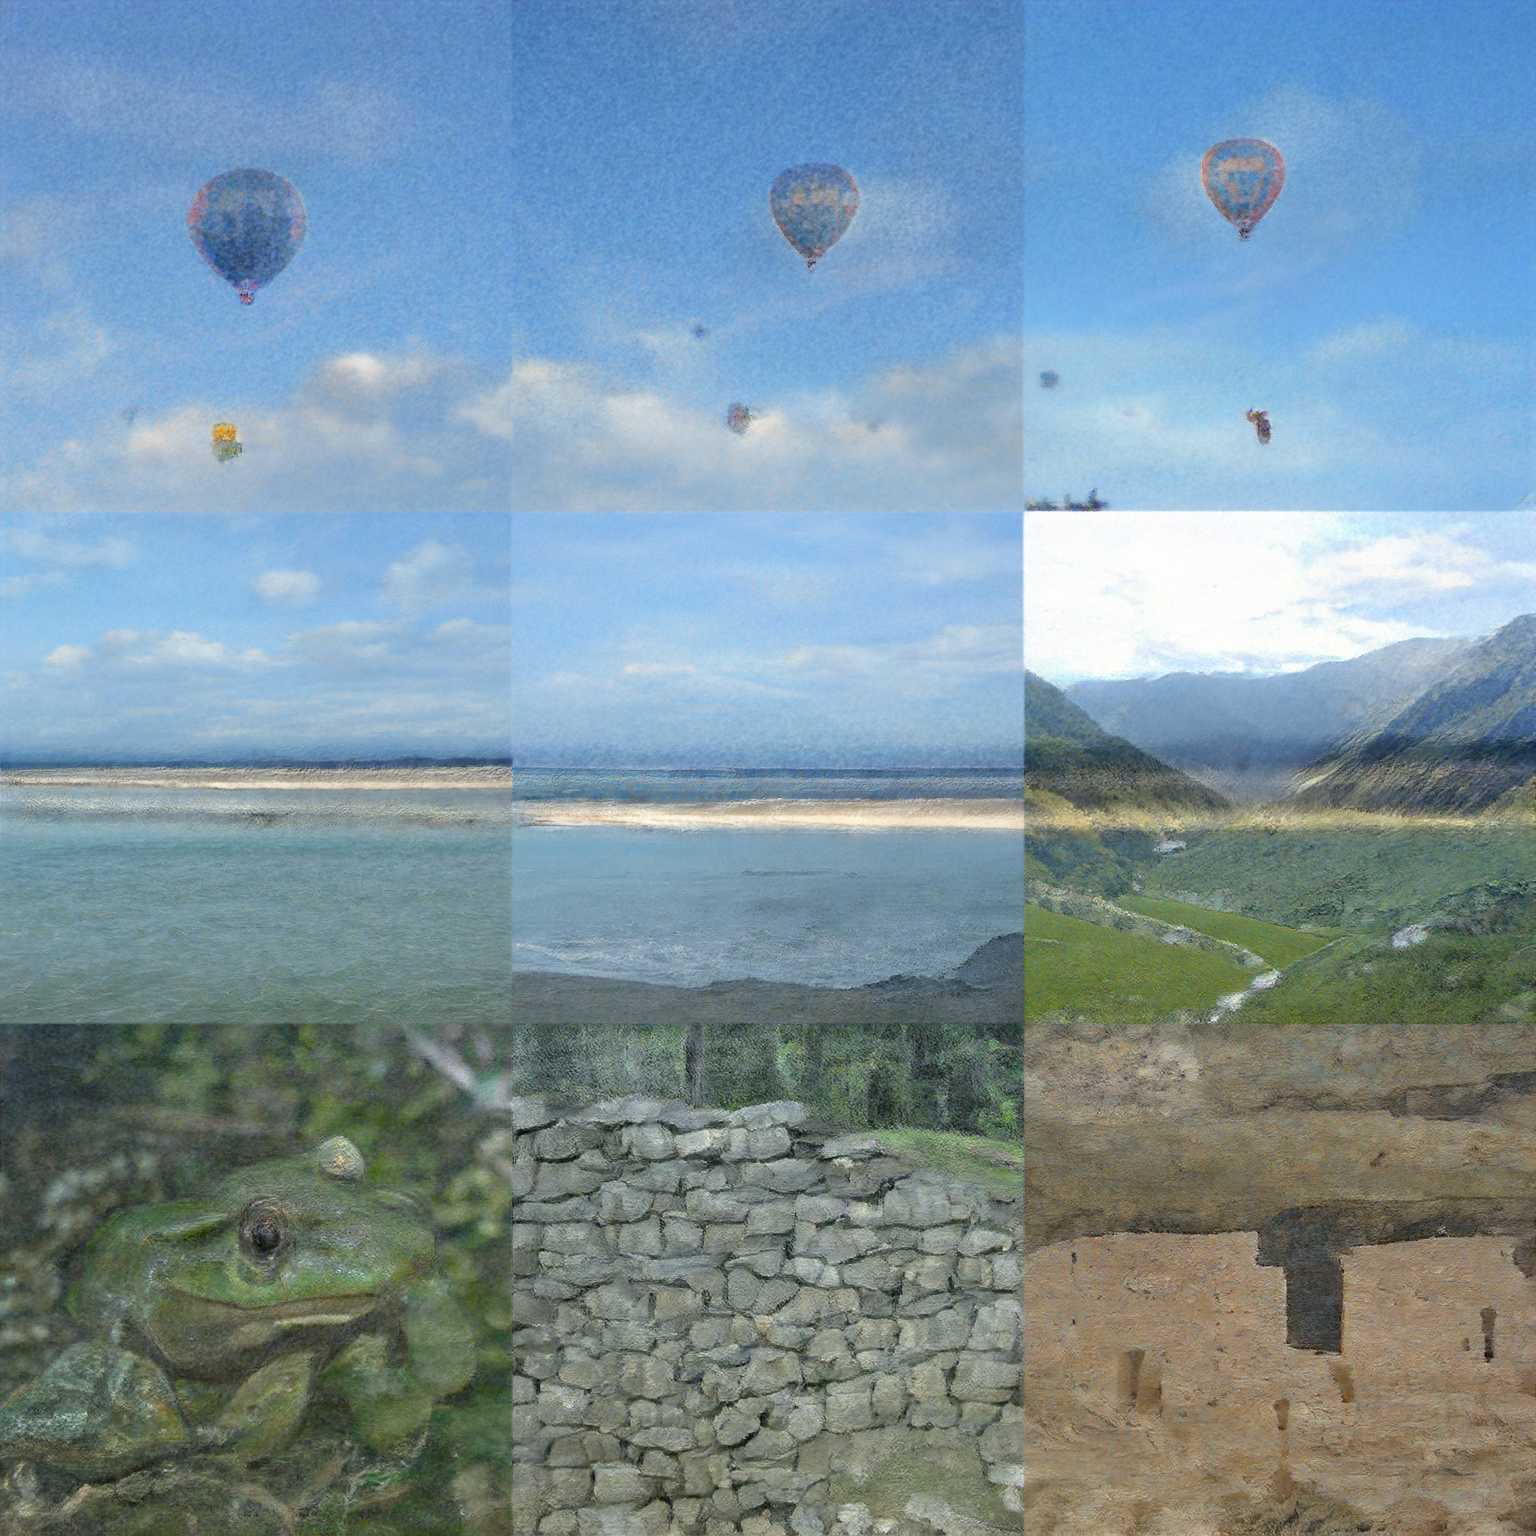
after block 1
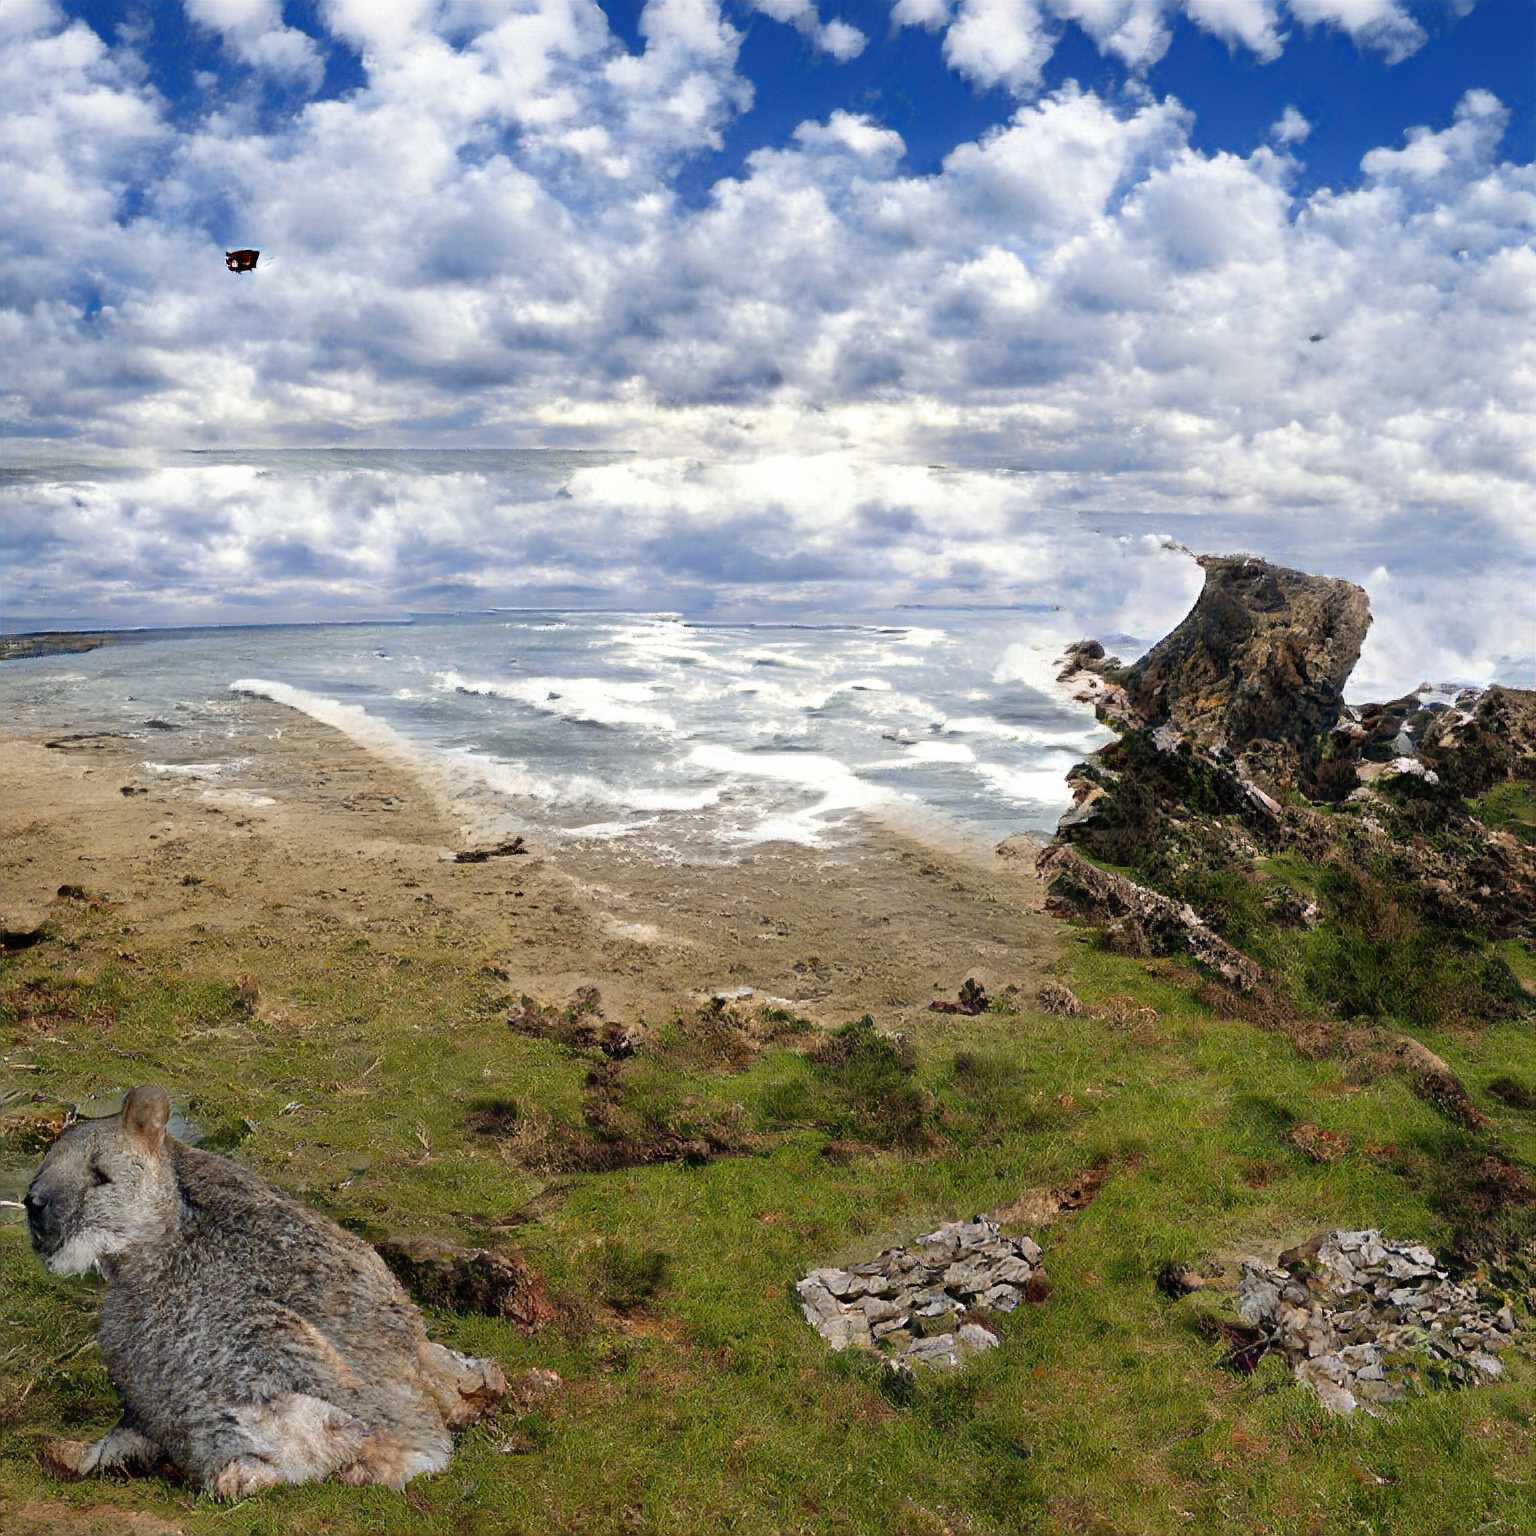
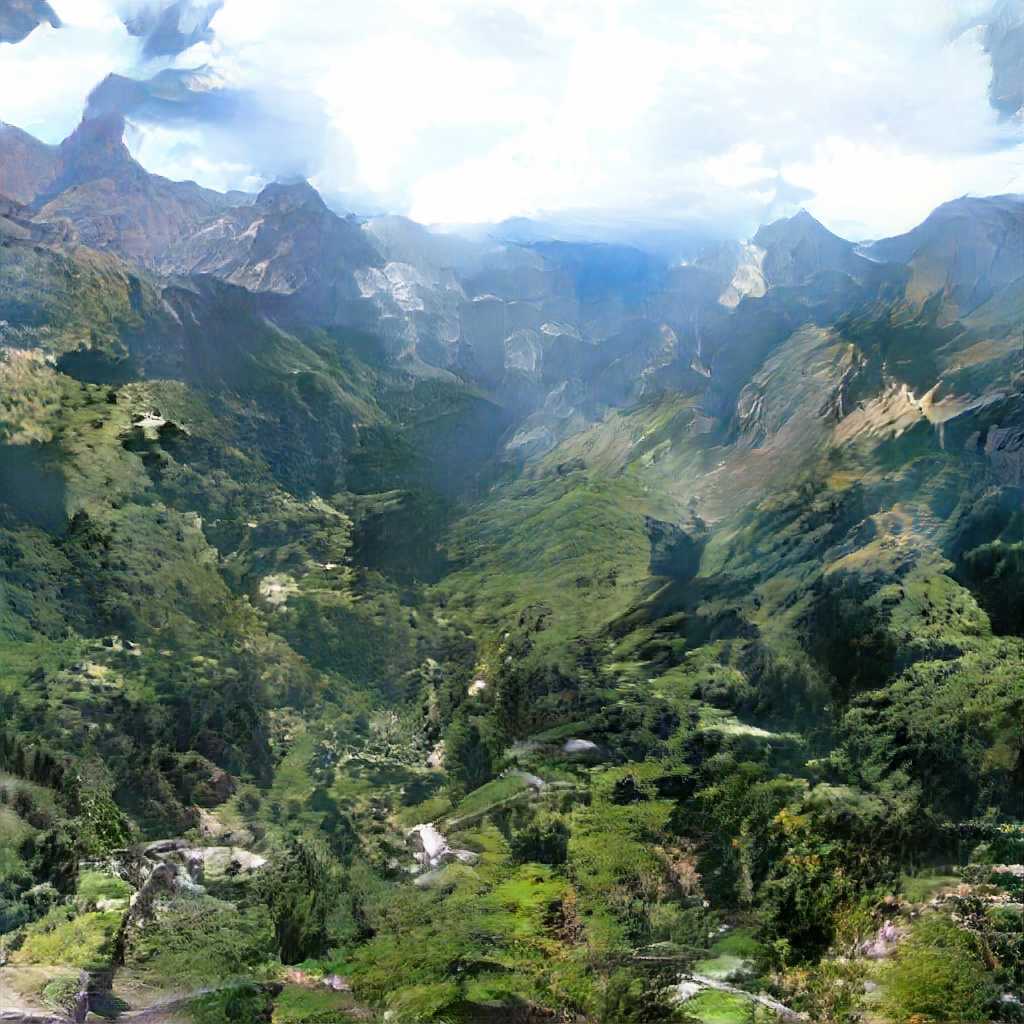
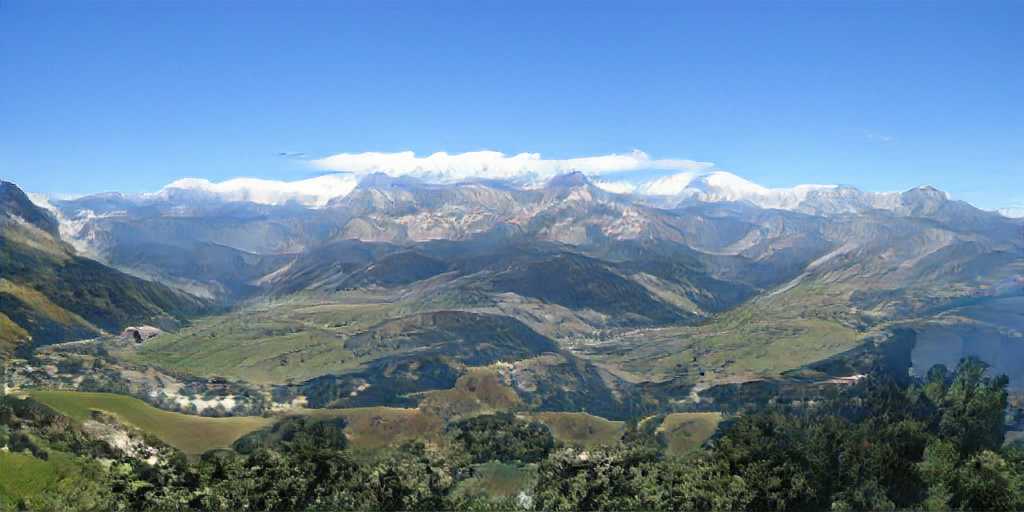
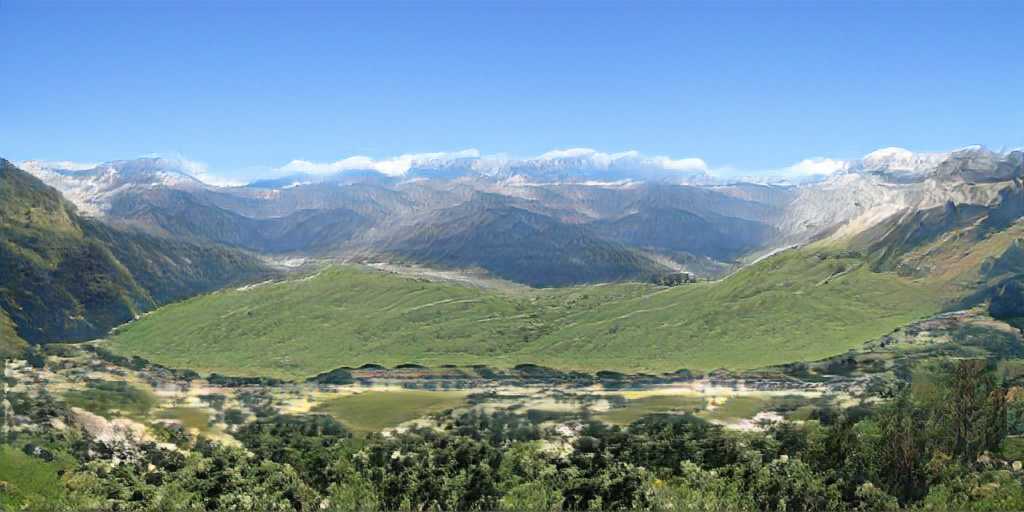
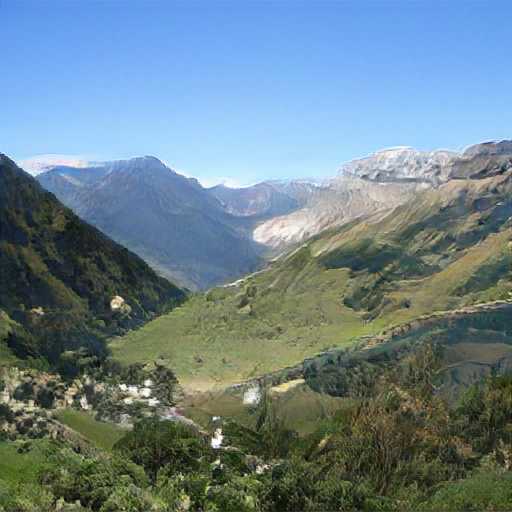
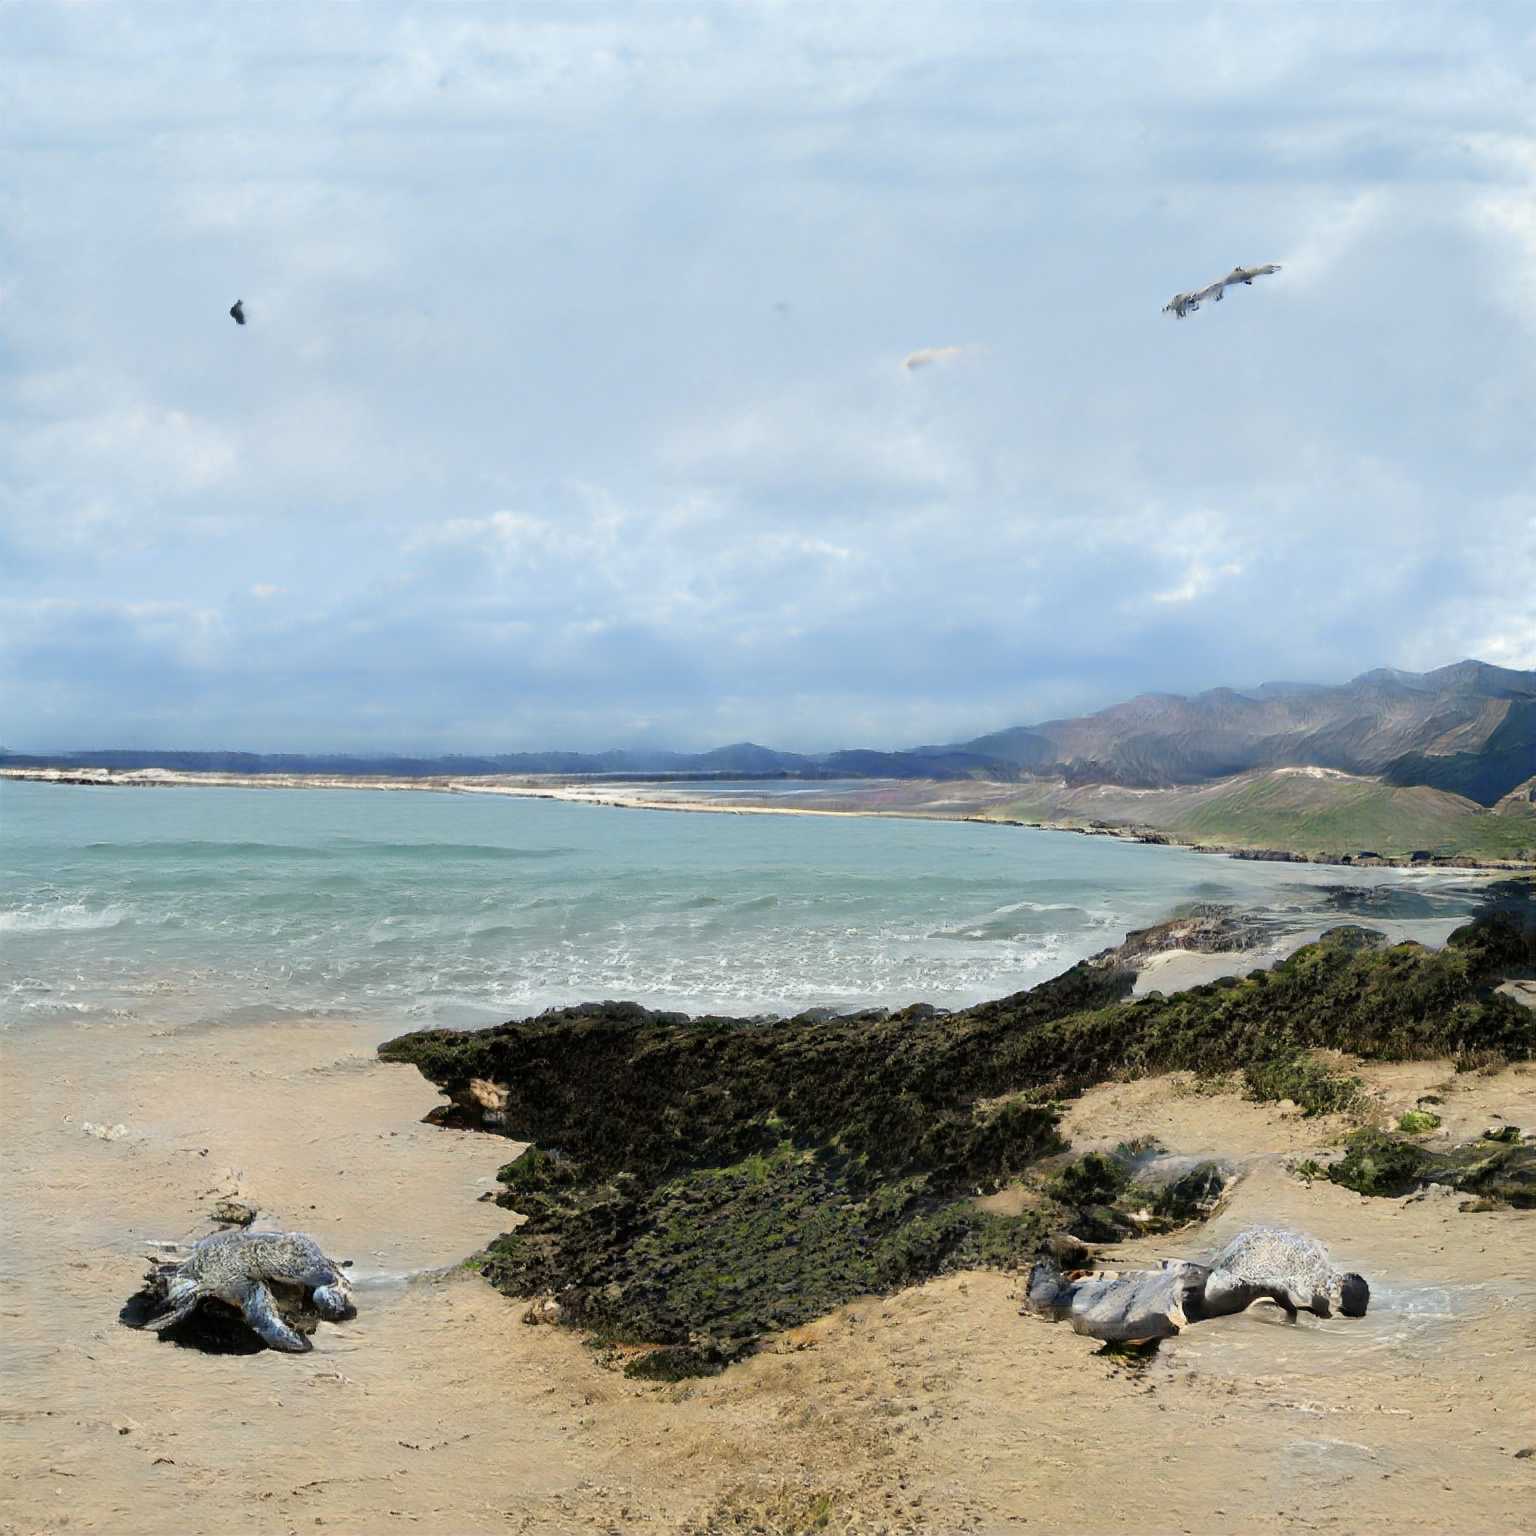
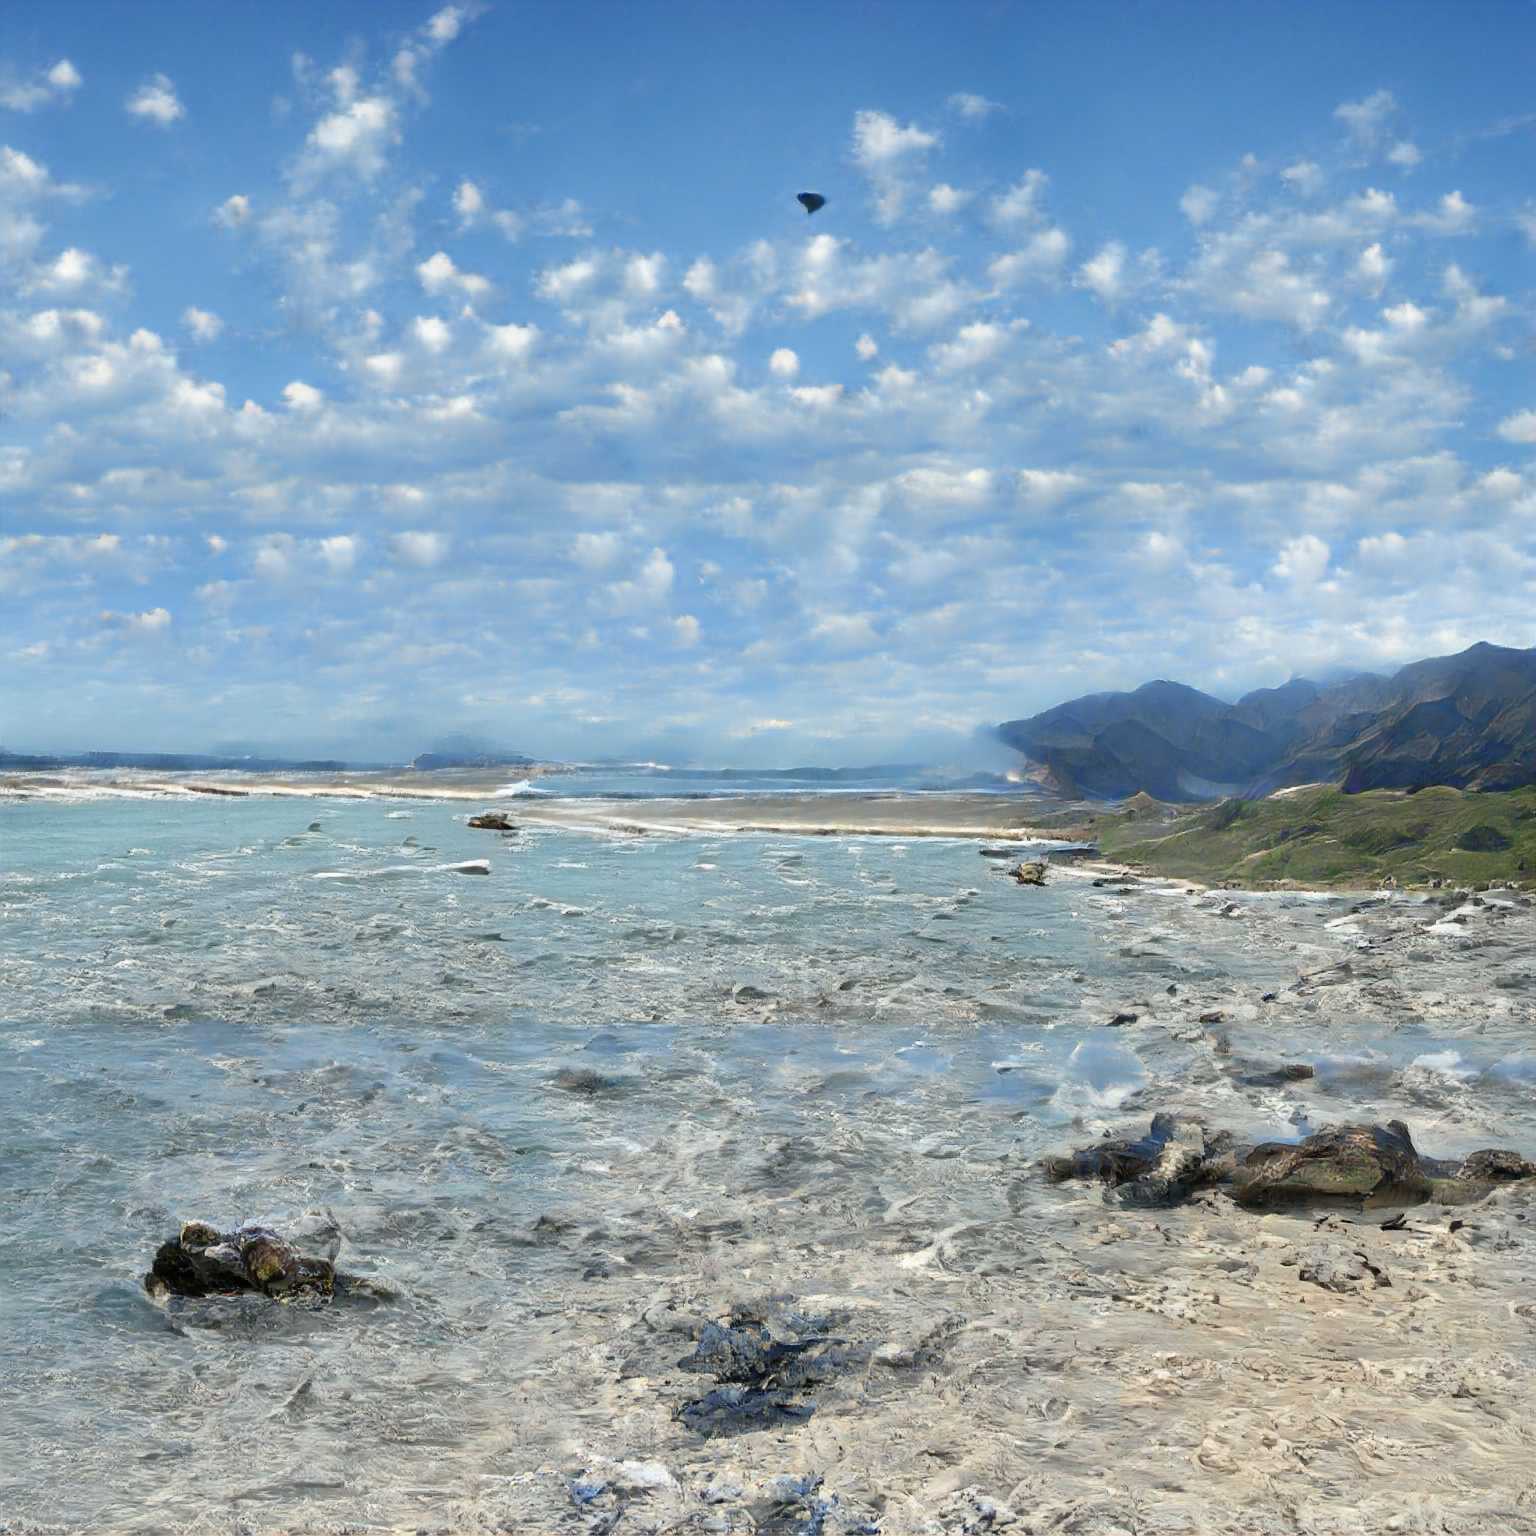
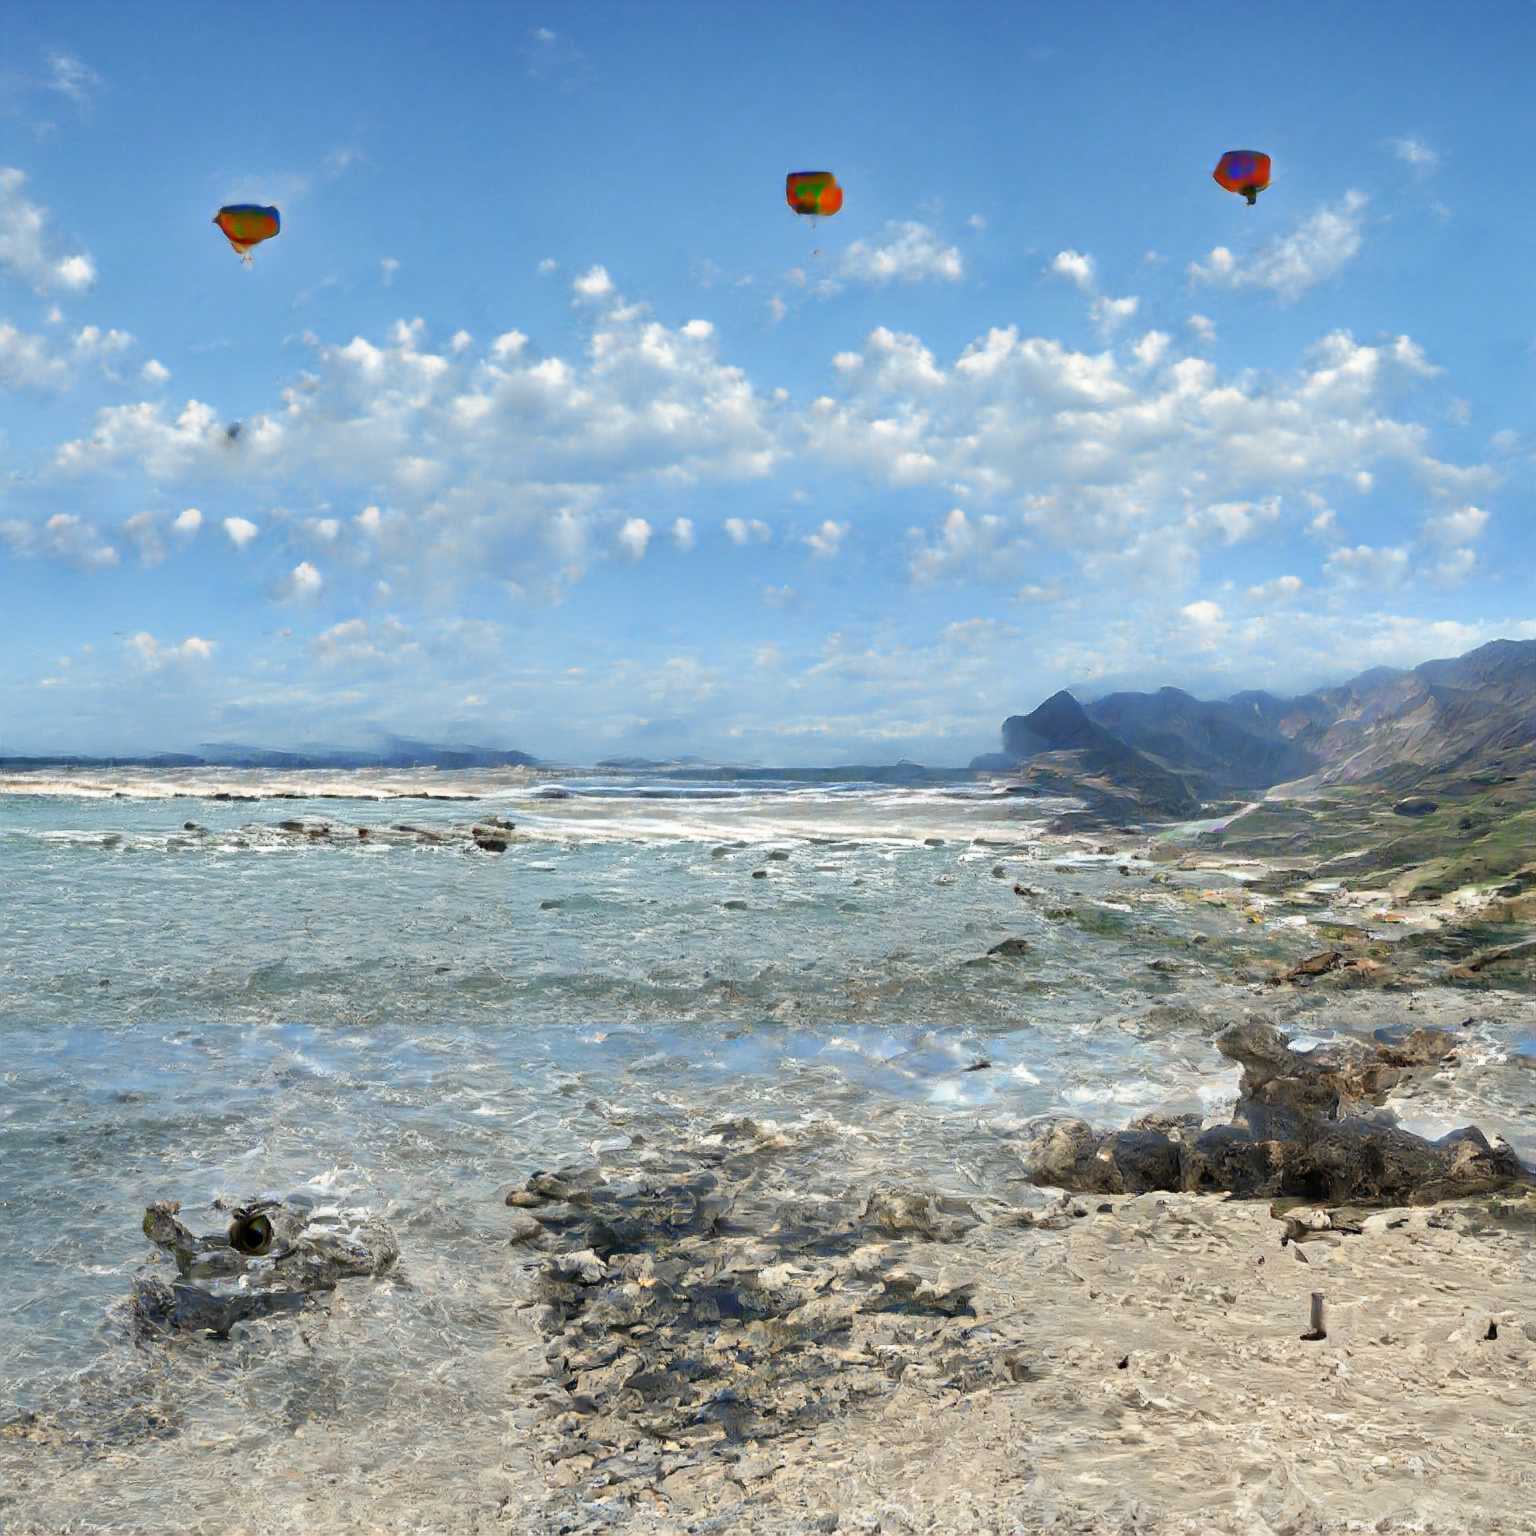
Combining the images after block 0 or 1 are really quite convincing!
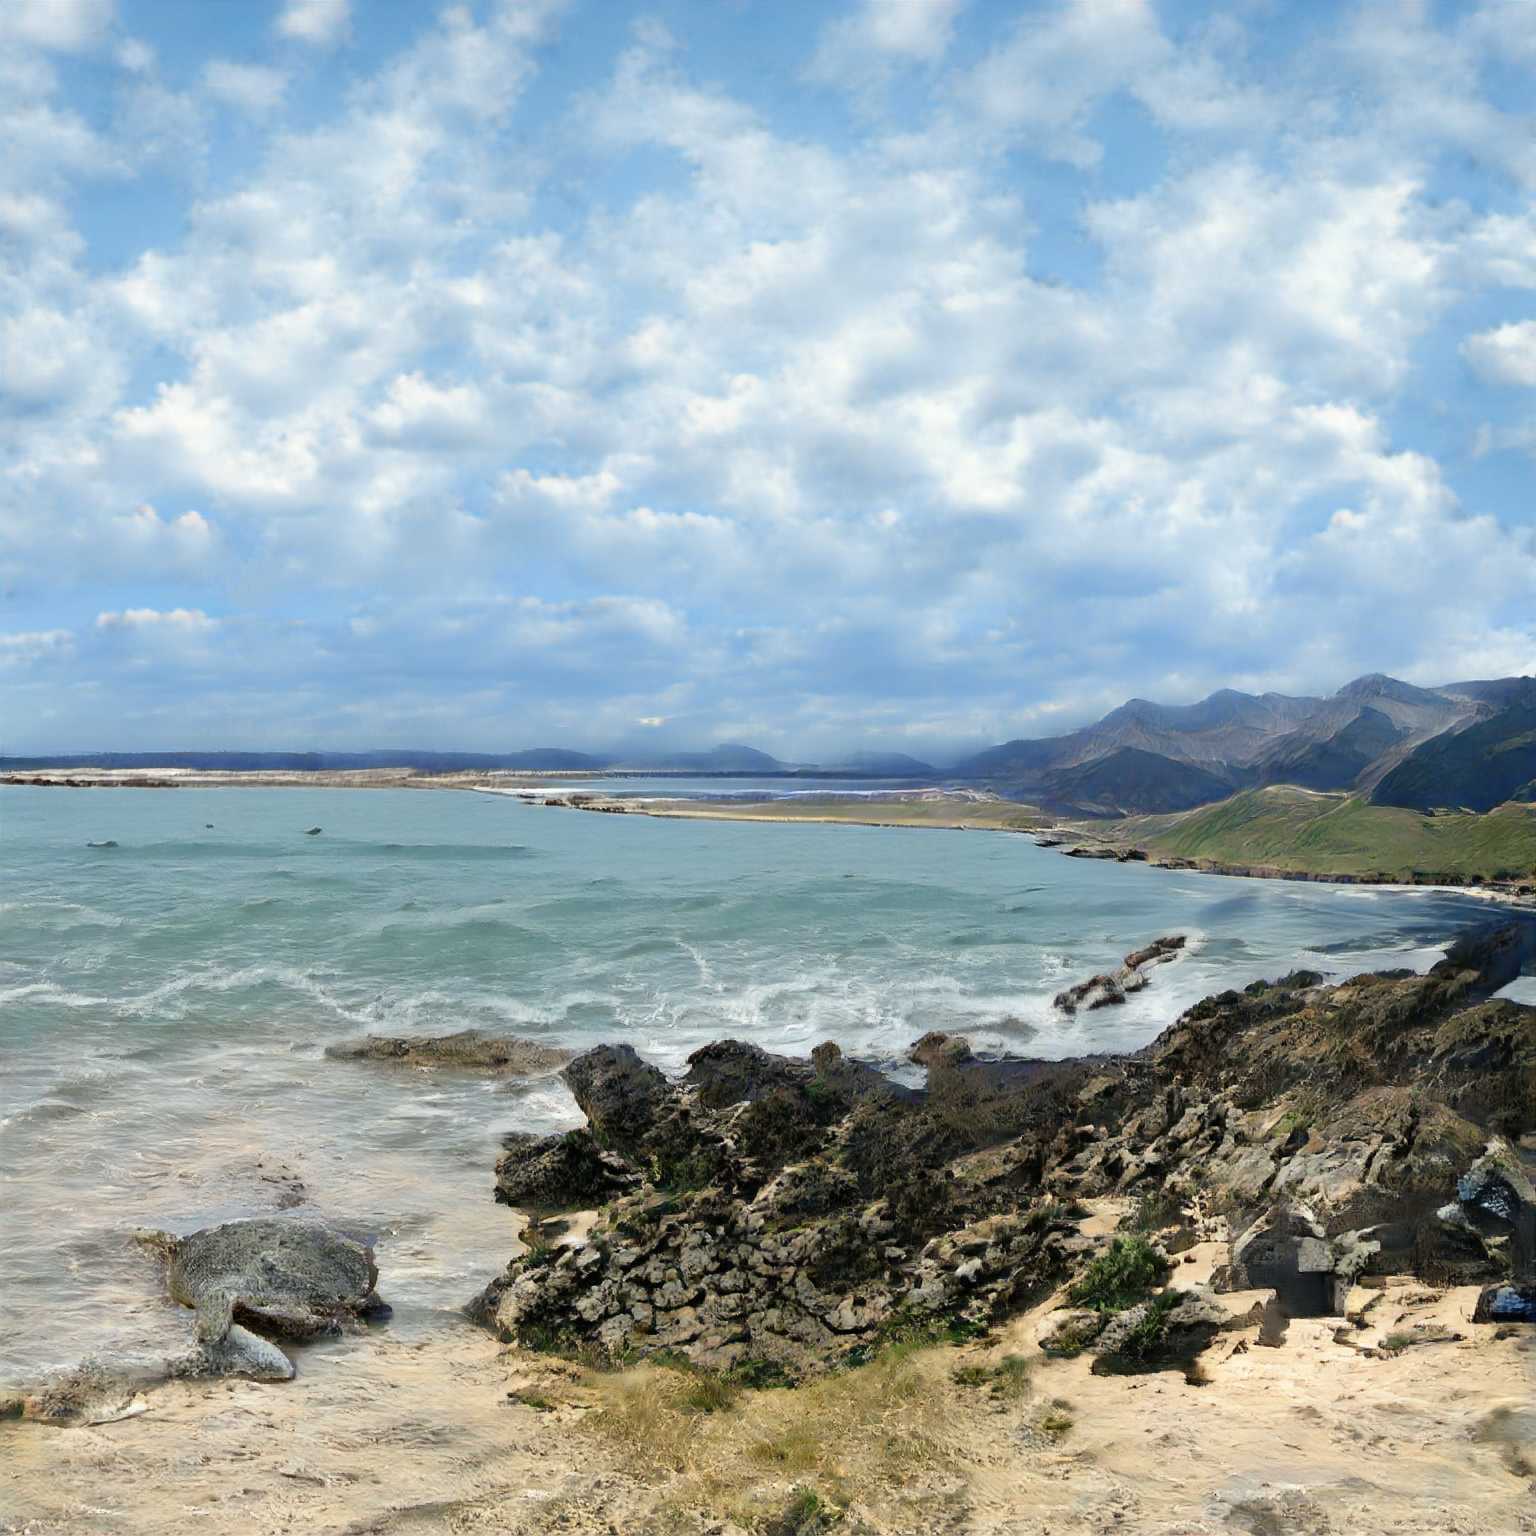
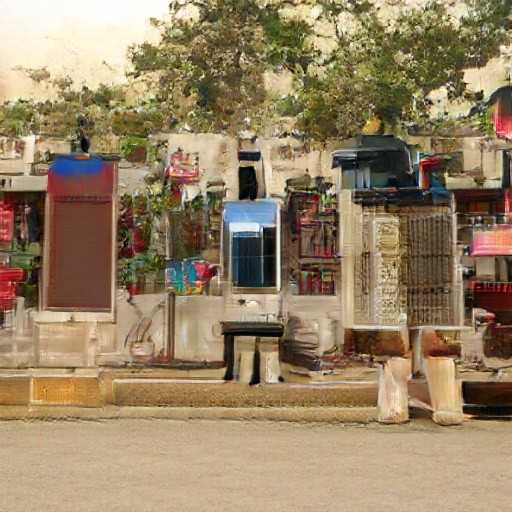
Keep in mind after the combination, the image is processed as if the whole thing is a seashore. If we switch the middle left label to valley, the whole image changes:
Click or hover to change the image
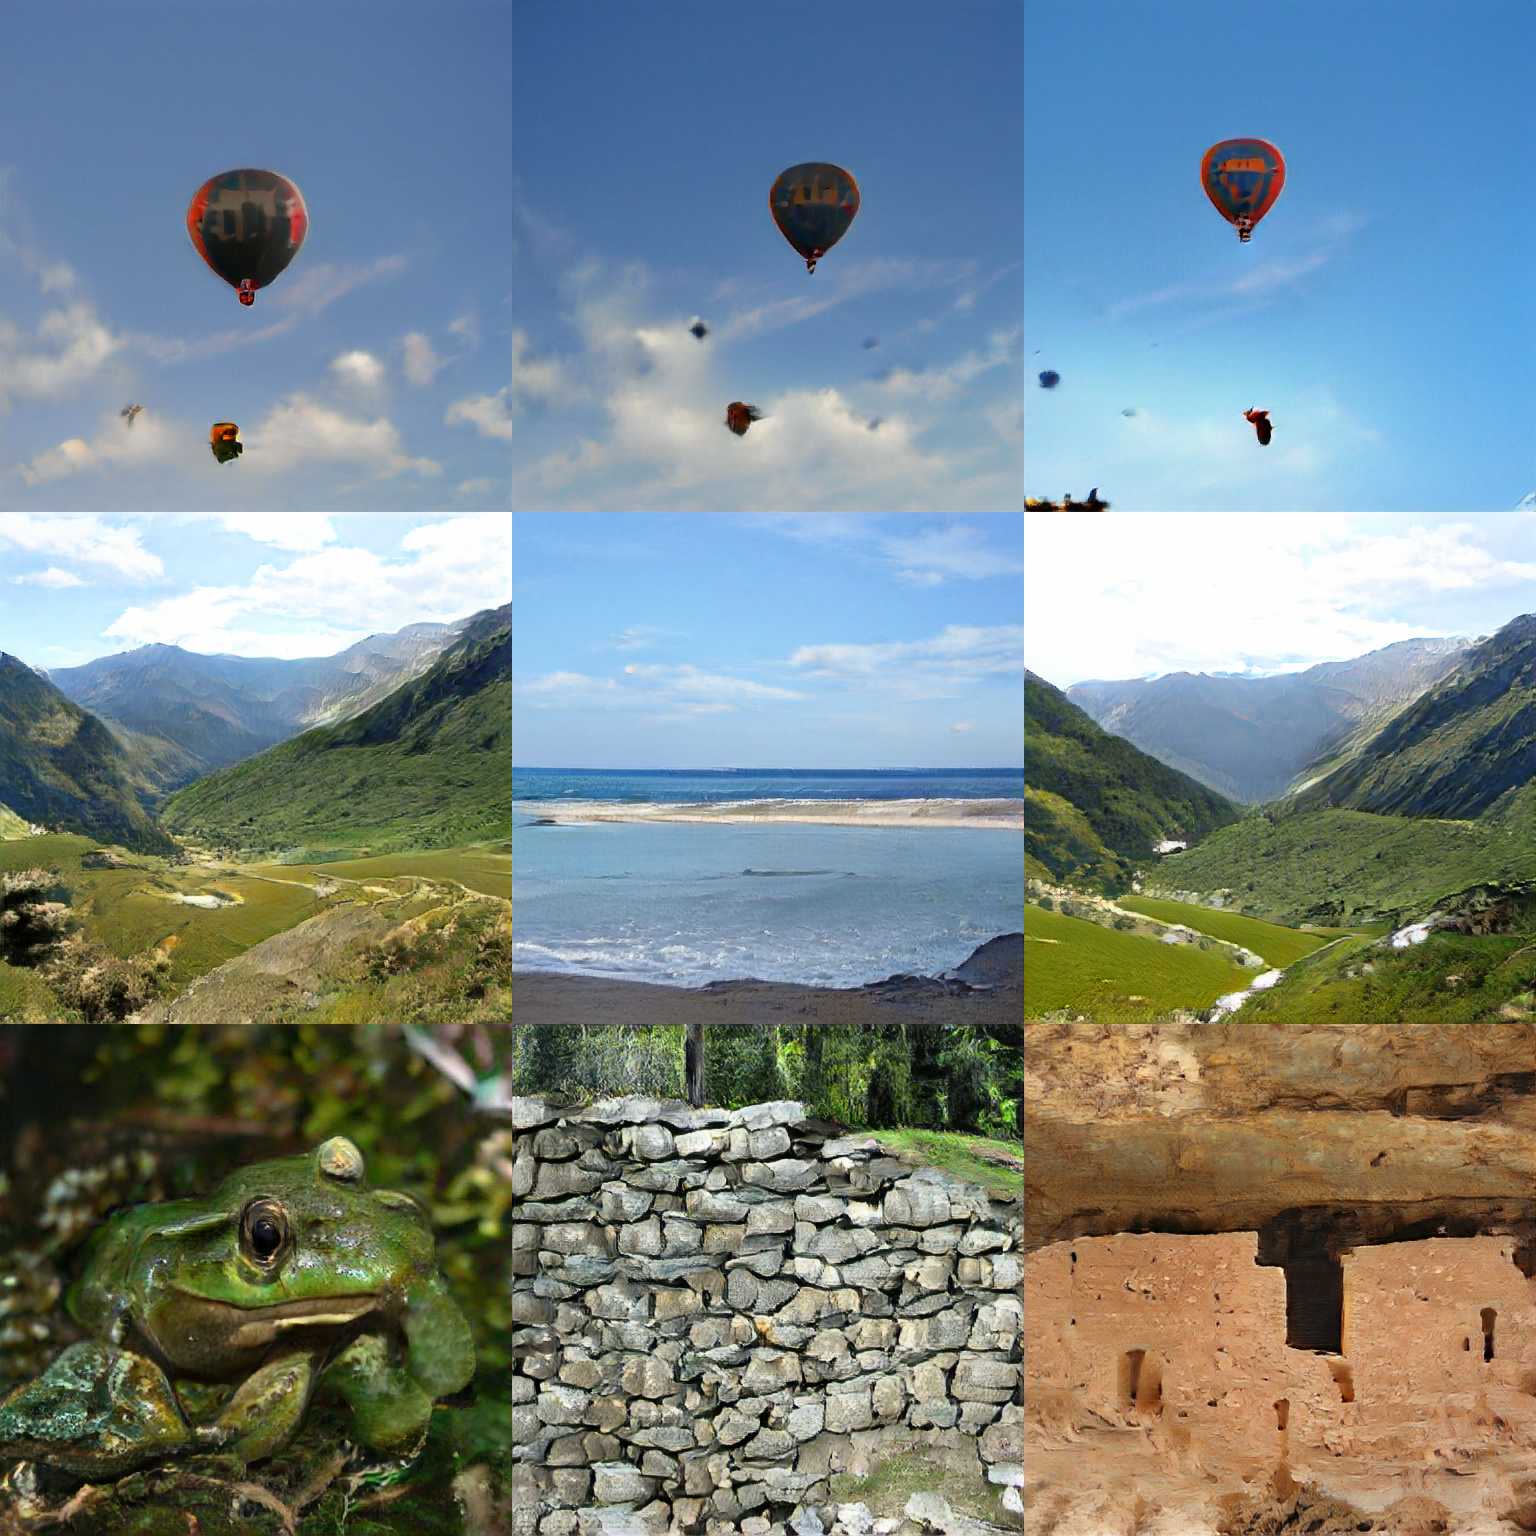
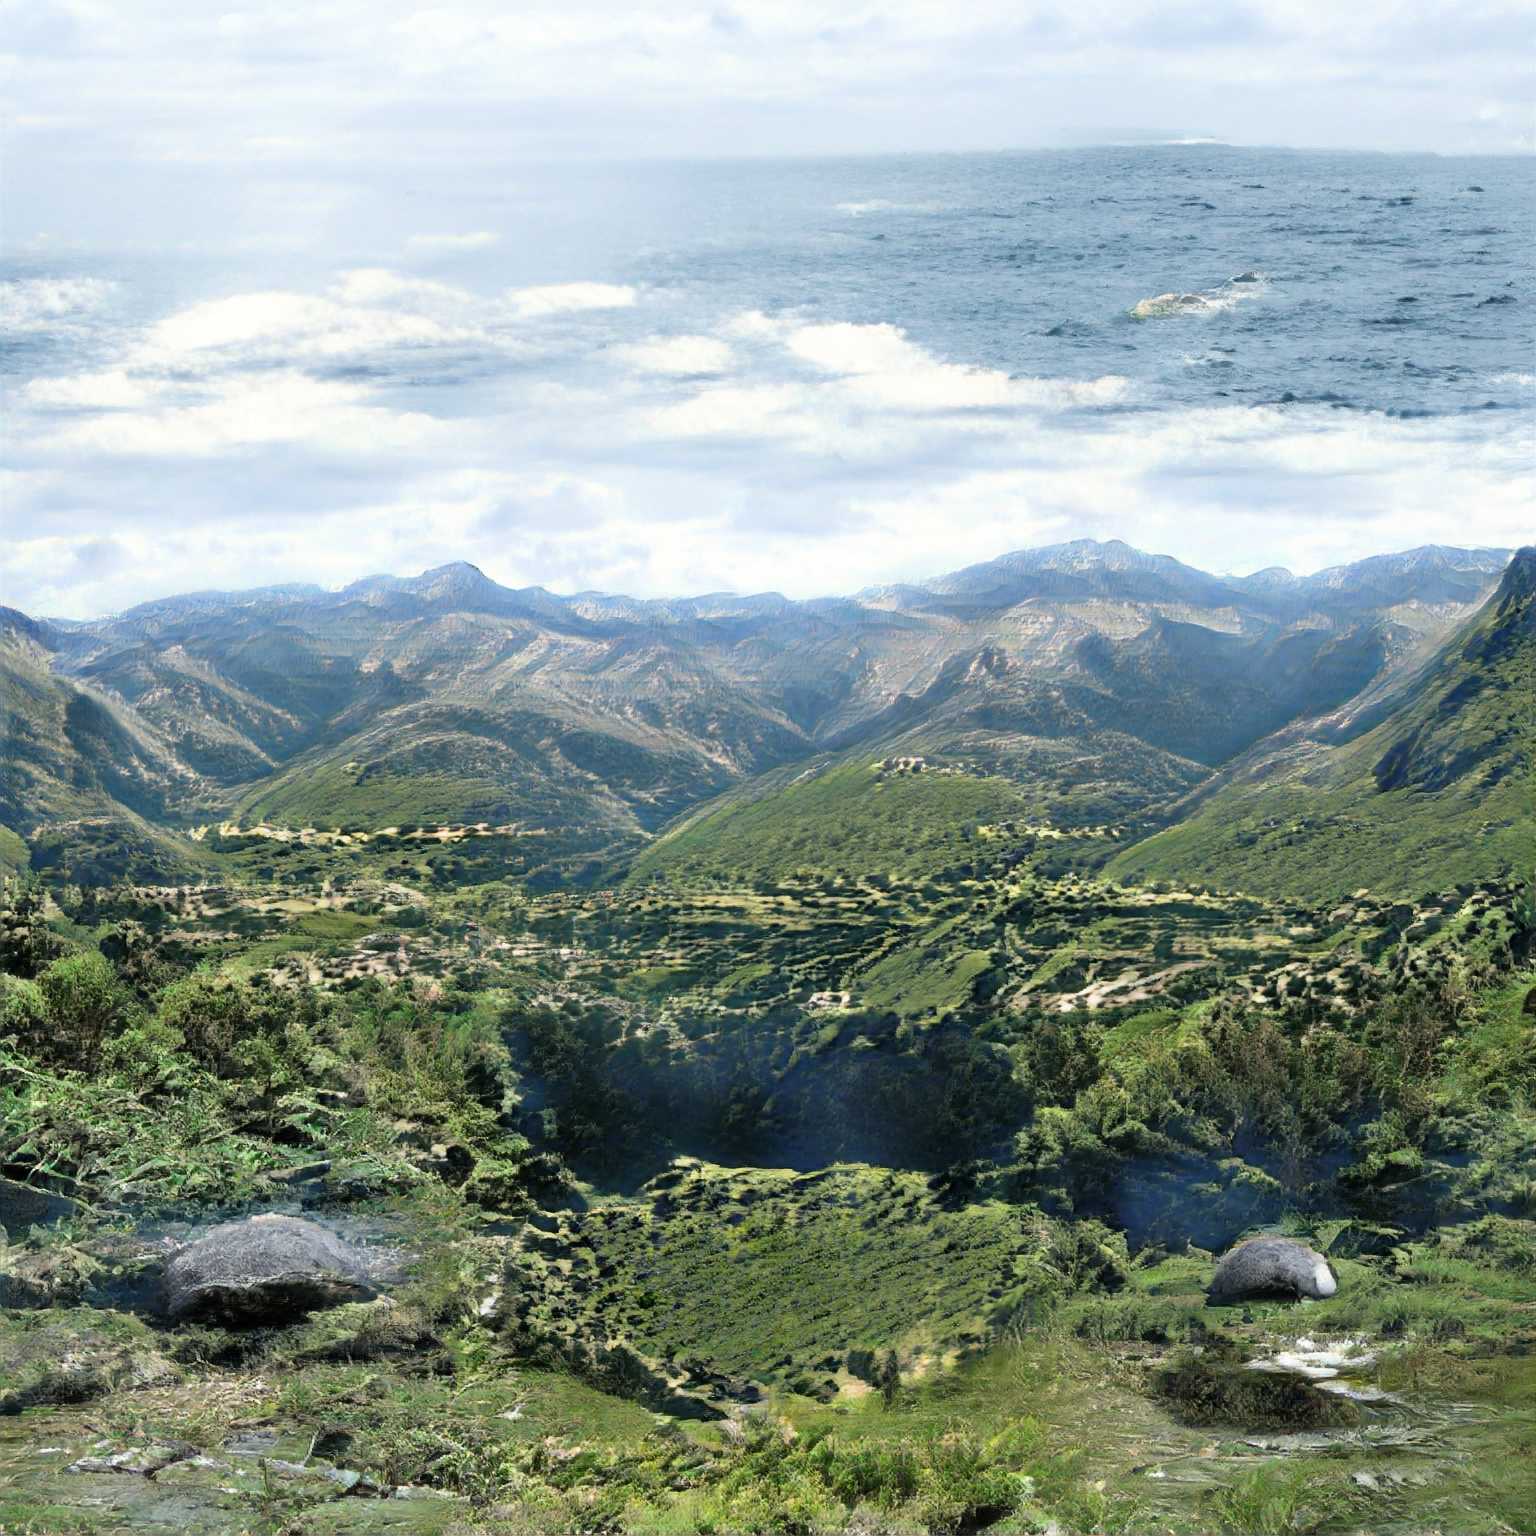
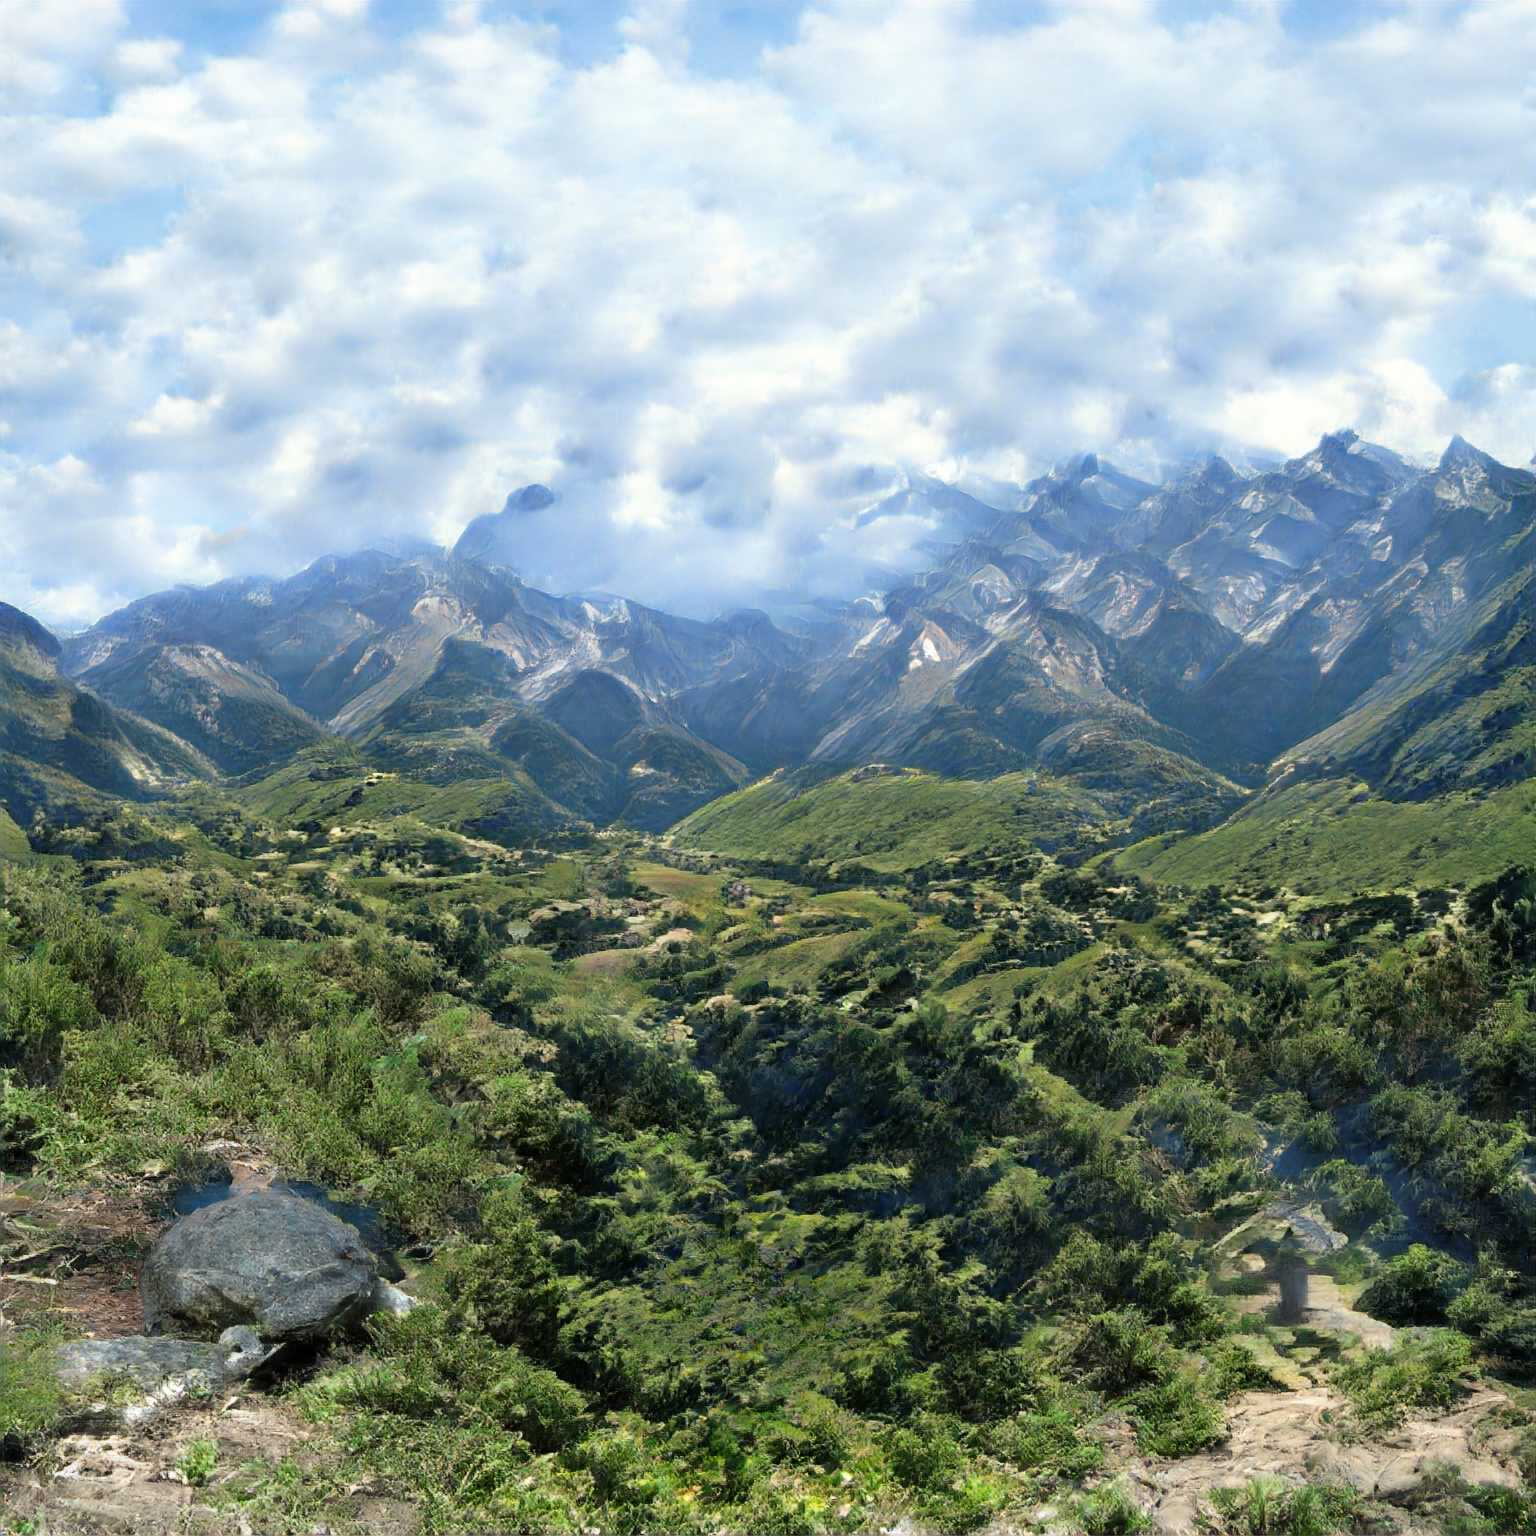

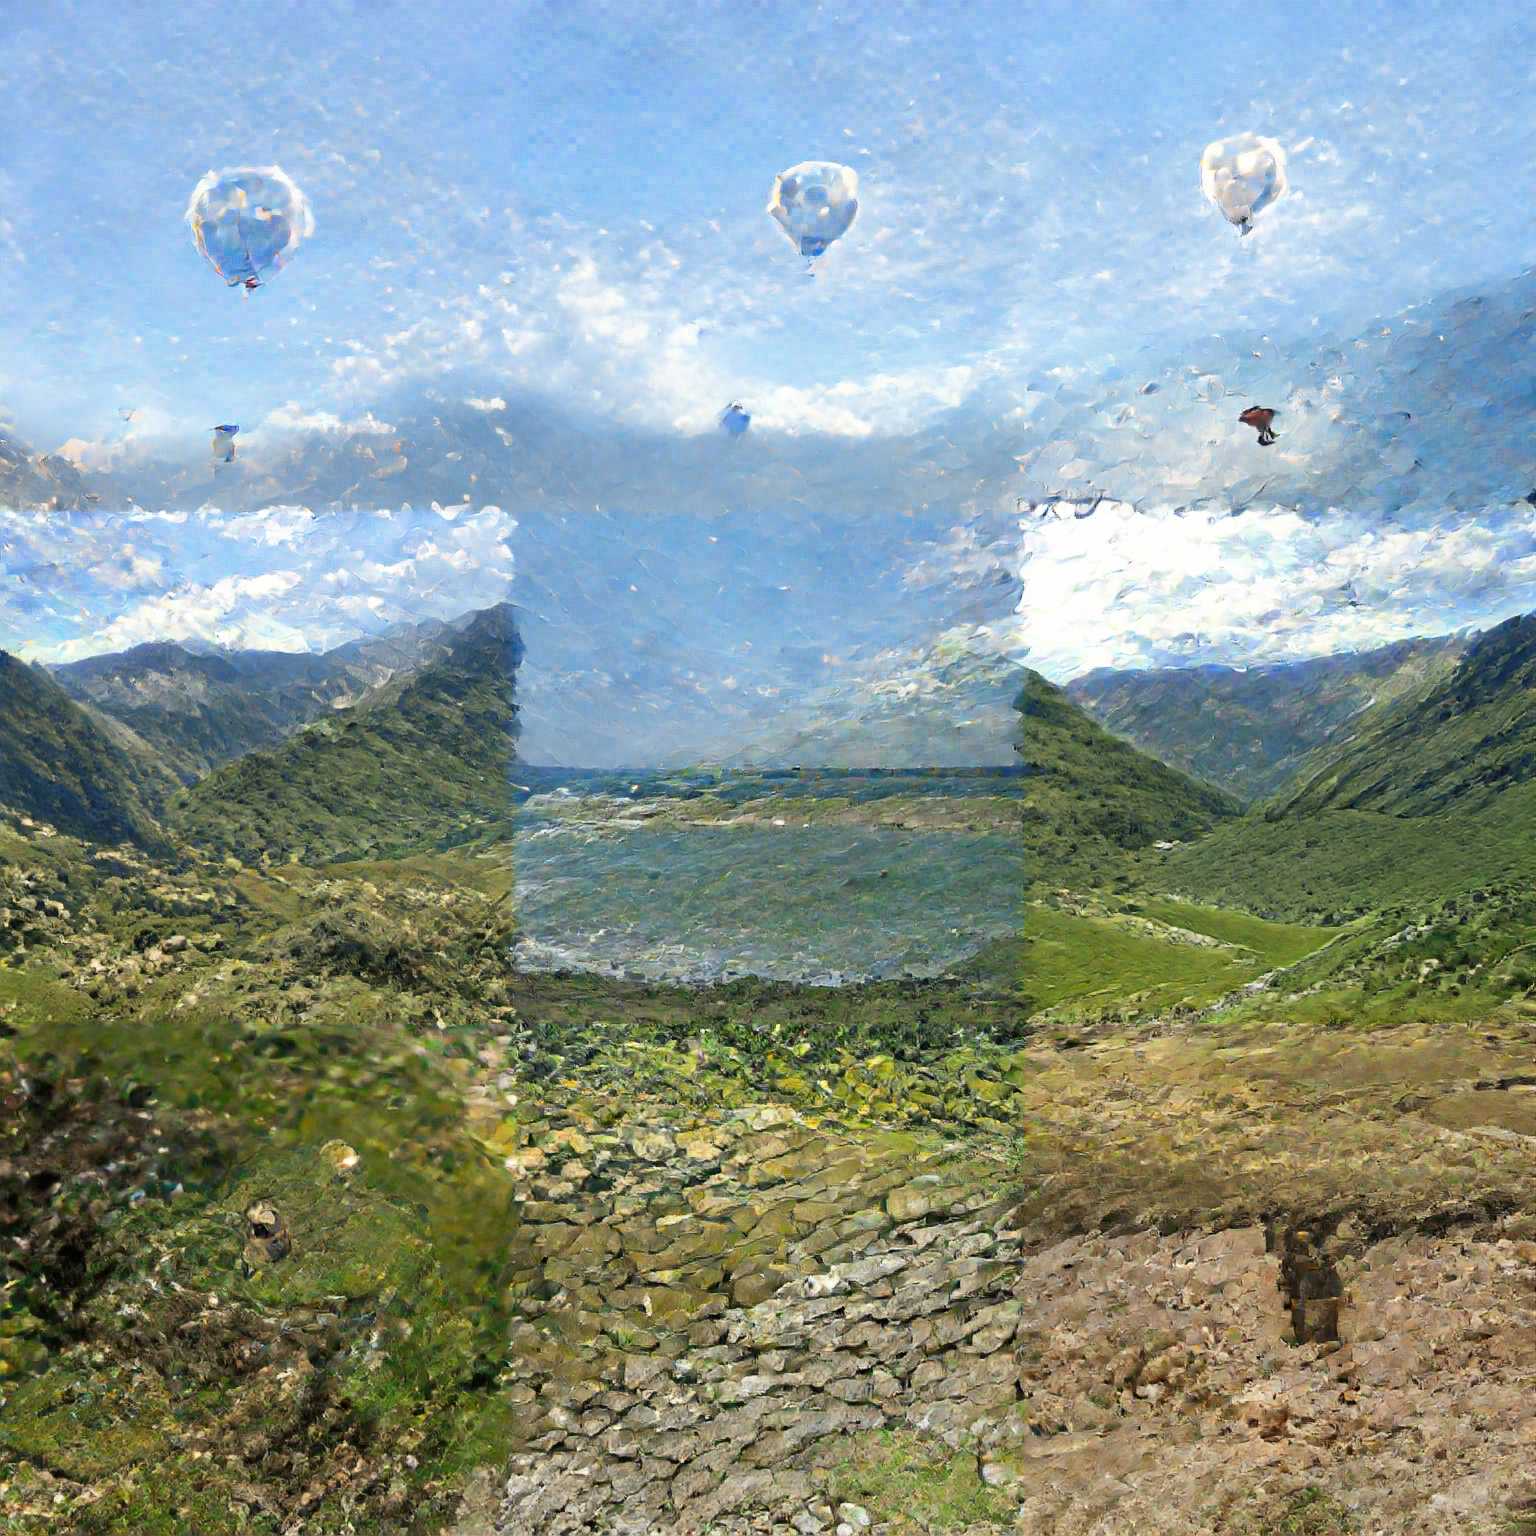


after block 1
Colab Notebook
If you'd like to create your own GAN collages, check out this colab notebook with everything you need to get started!
Combining multiple classes, import from Artbreeder
To generate more interesting images, it helps to explore the full range of class-vector combinations. In the explanation for the class vector above, I omitted the fact that nothing forces this vector to actually be one-hot (ie, have only one entry with a 1 and the rest 0), in fact most of the interesting images on Artbreeder are formed by a weird combination of partial classes.
For example, this image is 20% greenhouse, 18% web site, 15% band-aid, 11% nipple, 7% cell phone, etc.
During training, this vector is always one class only, so in-between images can be very glitchy!
Let's explore importing images from Artbreeder so we can have more control over the output by picking exactly each image.
We're going to use Andy Brock's PyTorch port of BigGAN, which contains code to convert the original weights from TFHub (google's storage) into the right format for PyTorch. (the Huggingface repo does not support original BigGAN-512). The downside of this repo is that it doesn't support the truncation trick properly (ie, truncation always = 1.0), so we need to make sure to "breed" our images with truncation = 1.0 (Chaos = 0.9999 on Artbreeder).
I used a cell in a colab notebook to download the code, save the weights, and generate some test images:
!git clone https://github.com/ajbrock/BigGAN-PyTorch
!pip install parse
!cd /content/BigGAN-PyTorch/TFHub/
!python converter.py -r 512 --batch_size 4 --verbose --generate_samples
Now we can load the weights and get started (I also copy-pasted the get_config() function from converter.py into my notebook):
import torch
import torch.nn as nn
from torchvision.utils import save_image
import sys
sys.path.append('/content/BigGAN-PyTorch/')
import BigGAN

pth_path = '/content/BigGAN-PyTorch/TFHub/pretrained_weights/biggan-512.pth'
with open(pth_path, mode='rb') as f:
  print("Loading state_dict")
  state_dict = torch.load(f)
  print("Done loading state_dict")

config = get_config(512)
G = BigGAN.Generator(**config)
G.load_state_dict(state_dict, strict=False)
del state_dict
We need a slightly different generator function due to the original pytorch splitting up the cond_vector into pieces before feeding it into each GenBlock.
Here I adapted the BigGAN.forward(…) function to take a class vector instead of PyTorch Embedding layer, which wants integer indices (since we do want inputs with multiple classes active). Thankfully, we can use the same weight matrix transposed with F.linear to compute the embedding.
import torch.nn.functional as F
import torchvision

def gen_hacked(noise_vector, class_vector, truncation,
               layer_to_hack=1, hack_layer=lambda z: z, use_index=3):
  with torch.no_grad():
    # If hierarchical, concatenate zs and ys
    # we're passing in one-ish-hot vector instead of indices
    # y = G.shared(class_vector)
    y = F.linear(class_vector, G.shared.weight.t())
    zs = torch.split(noise_vector, G.z_chunk_size, 1)
    z = zs[0]

    # First linear layer
    h = G.linear(z)
    # Reshape
    h = h.view(h.size(0), -1, G.bottom_width, G.bottom_width)

    if layer_to_hack == -1:
      # print(f"Before shape is {h.shape}.")
      h = hack_layer(h)
      # print(f"After shape is {h.shape}.")

    # Loop over blocks
    for index, blocklist in enumerate(G.blocks):
      n = h.shape[0]

      # Grab the right split (accounting for grid)
      cond_vector = torch.cat([y, zs[index + 1]], 1)
      excess_cond = cond_vector.shape[0] // n
      if excess_cond > 1:
        cond_input = cond_vector[use_index:use_index+1]
      else:
        cond_input = cond_vector

      # Second inner loop in case block has multiple layers
      for block in blocklist:
        h = block(h, cond_input)
      if index == layer_to_hack:
        # print(f"Before shape is {h.shape}.")
        h = hack_layer(h)
        # print(f"After shape is {h.shape}.")

    # Apply batchnorm-relu-conv-tanh at output
    h = G.output_layer(h)
    h = torch.tanh(h)
    return h

batch_size = 1
noise_vector = torch.randn(batch_size, G.dim_z).to(device)
class_vector = torch.zeros(batch_size, 1000, device=device)
cls_idx = torch.randint(low=0, high=1000, size=(batch_size,),
    device=device, dtype=torch.int64, requires_grad=False)
class_vector[:,cls_idx] = 1

to_pil_image(gen_hacked(noise_vector, class_vector, 1.0).cpu()[0] * 0.5 + 0.5)
Next, we should fetch the images we want from Artbreeder:
import numpy as np
import re
import requests

session_cookies = {"connect.sid":   "<INSERT SESSION ID HERE>"}

replace = re.compile("artbreeder.com/i\?")

def info_url(url):
  return replace.sub("artbreeder.com/info?", url)

def dat_from_url(url):
  url = info_url(url)
  try:
    resp = requests.get(url, cookies=session_cookies)
    data = resp.json()
    return data
  except:
    print("error loading:", url)


def parse_dat(d):
  class_vector = np.zeros((1, 1000), dtype='float32')
  for i, amount in d["classes"]:
    class_vector[0, i] = amount
  noise_vector = np.array(d["latent"], dtype='float32')[np.newaxis,:]
  truncation = d["truncation"]
  return noise_vector, class_vector, truncation

def image_from_dat(d):
  noise_vector, class_vector, truncation = parse_dat(d)
  noise_vector = torch.tensor(noise_vector, device=device)
  class_vector = torch.tensor(class_vector, device=device)
  images = gen_hacked(noise_vector, class_vector, truncation, -1, lambda z: z)
  return to_pil_image(torchvision.utils.make_grid(images.cpu()) * 0.5 + 0.5)

image_from_dat(dat_from_url('https://artbreeder.com/i?k=83b5f5830c1ad242c50d'))
Comparing original to PyTorch version:
| original | pytorch |
|---|---|
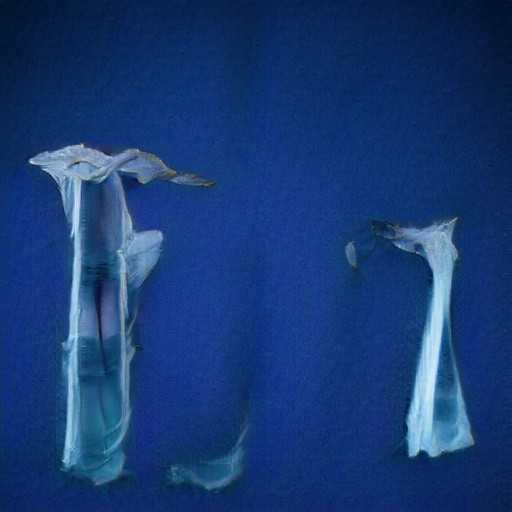
| 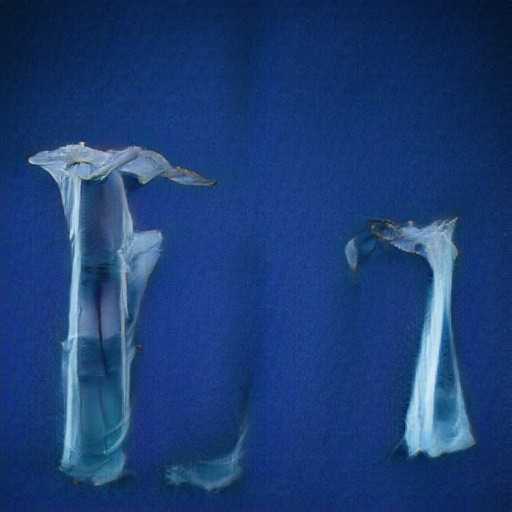
|
Looks close enough!
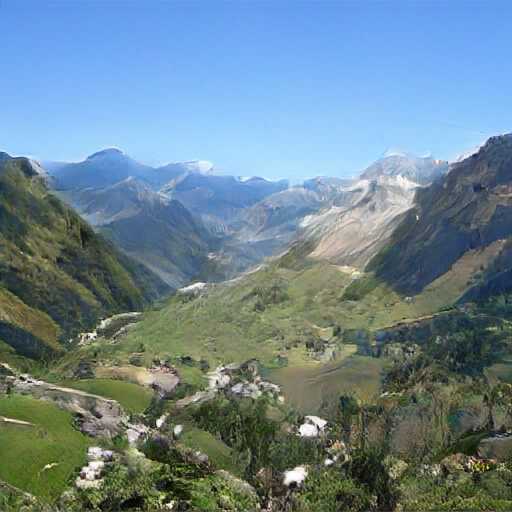
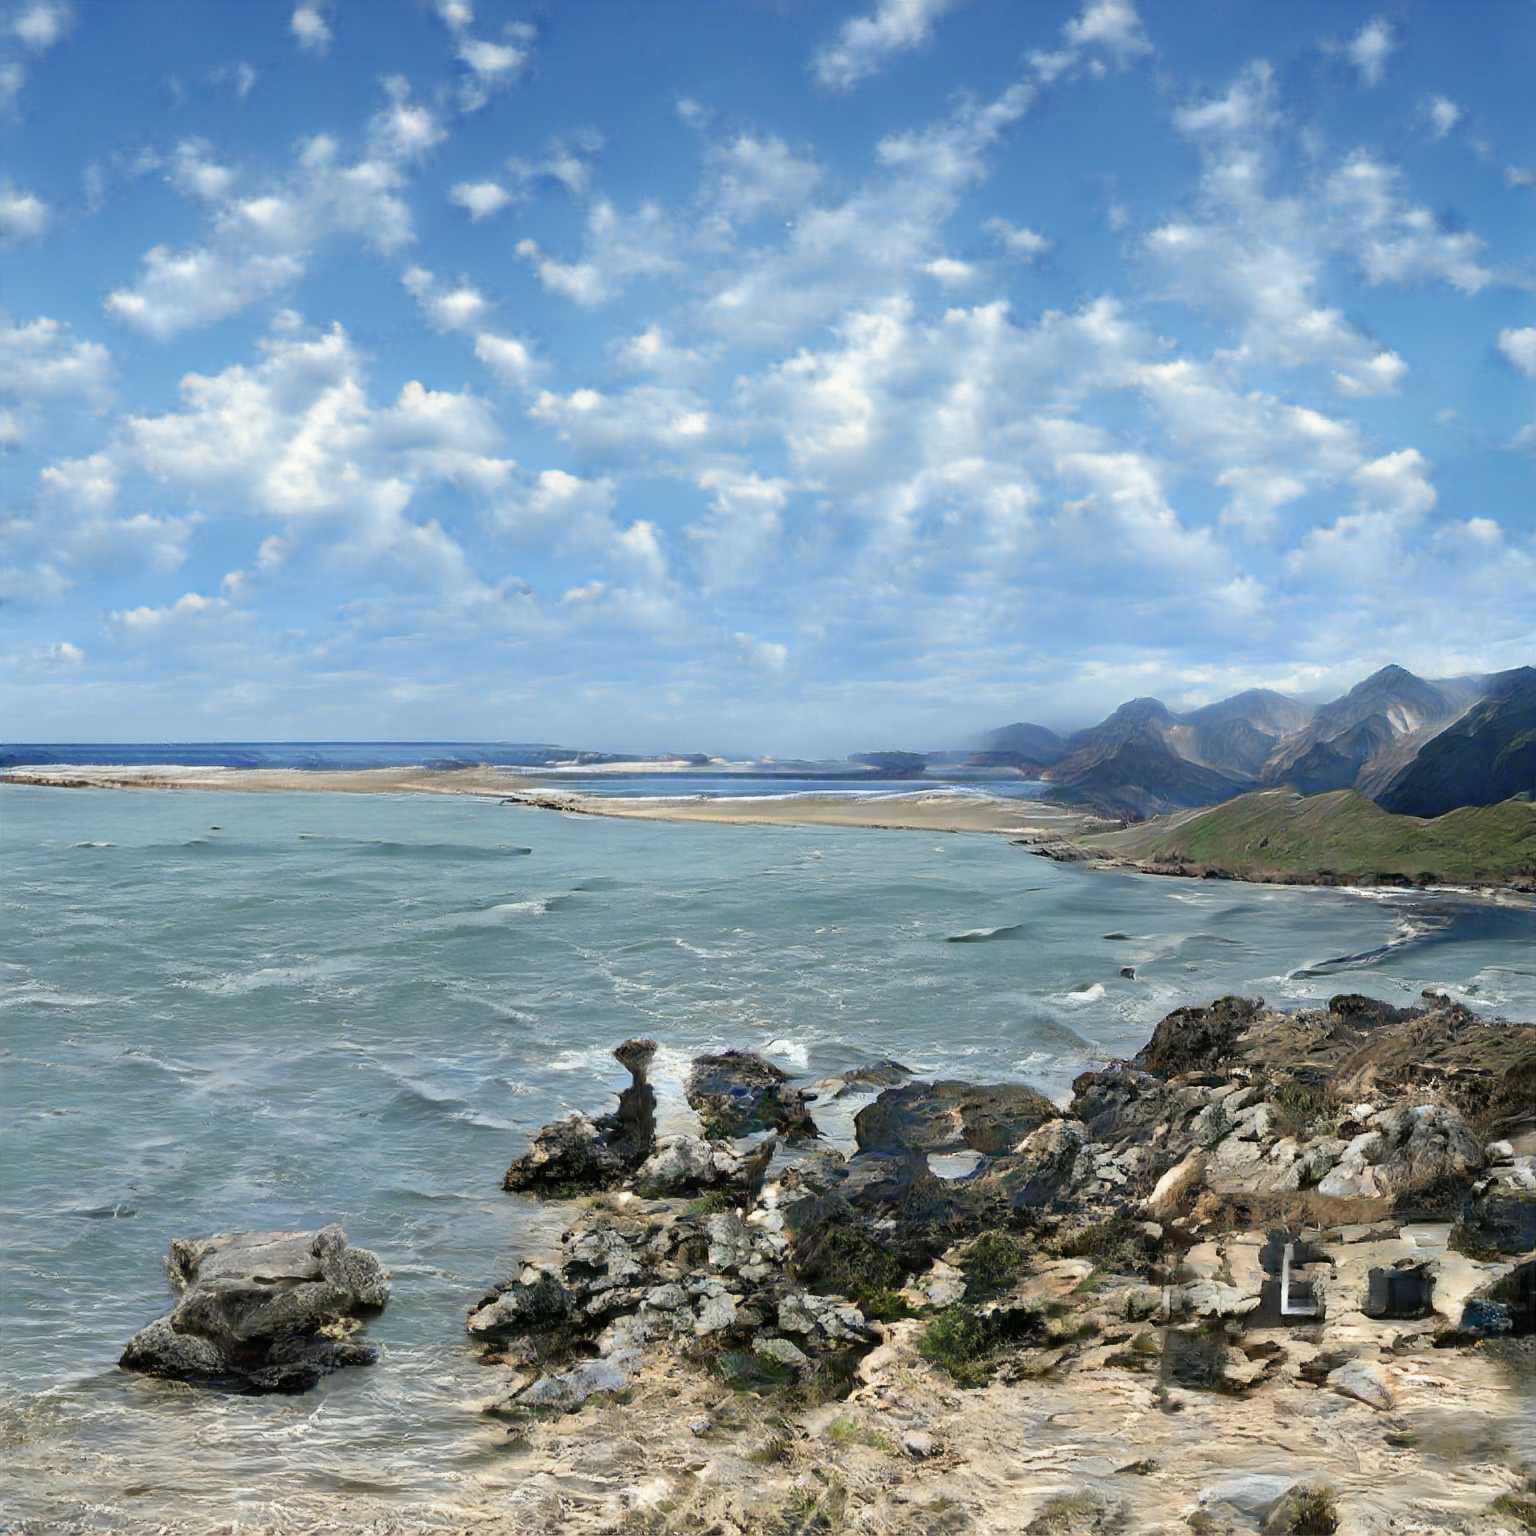
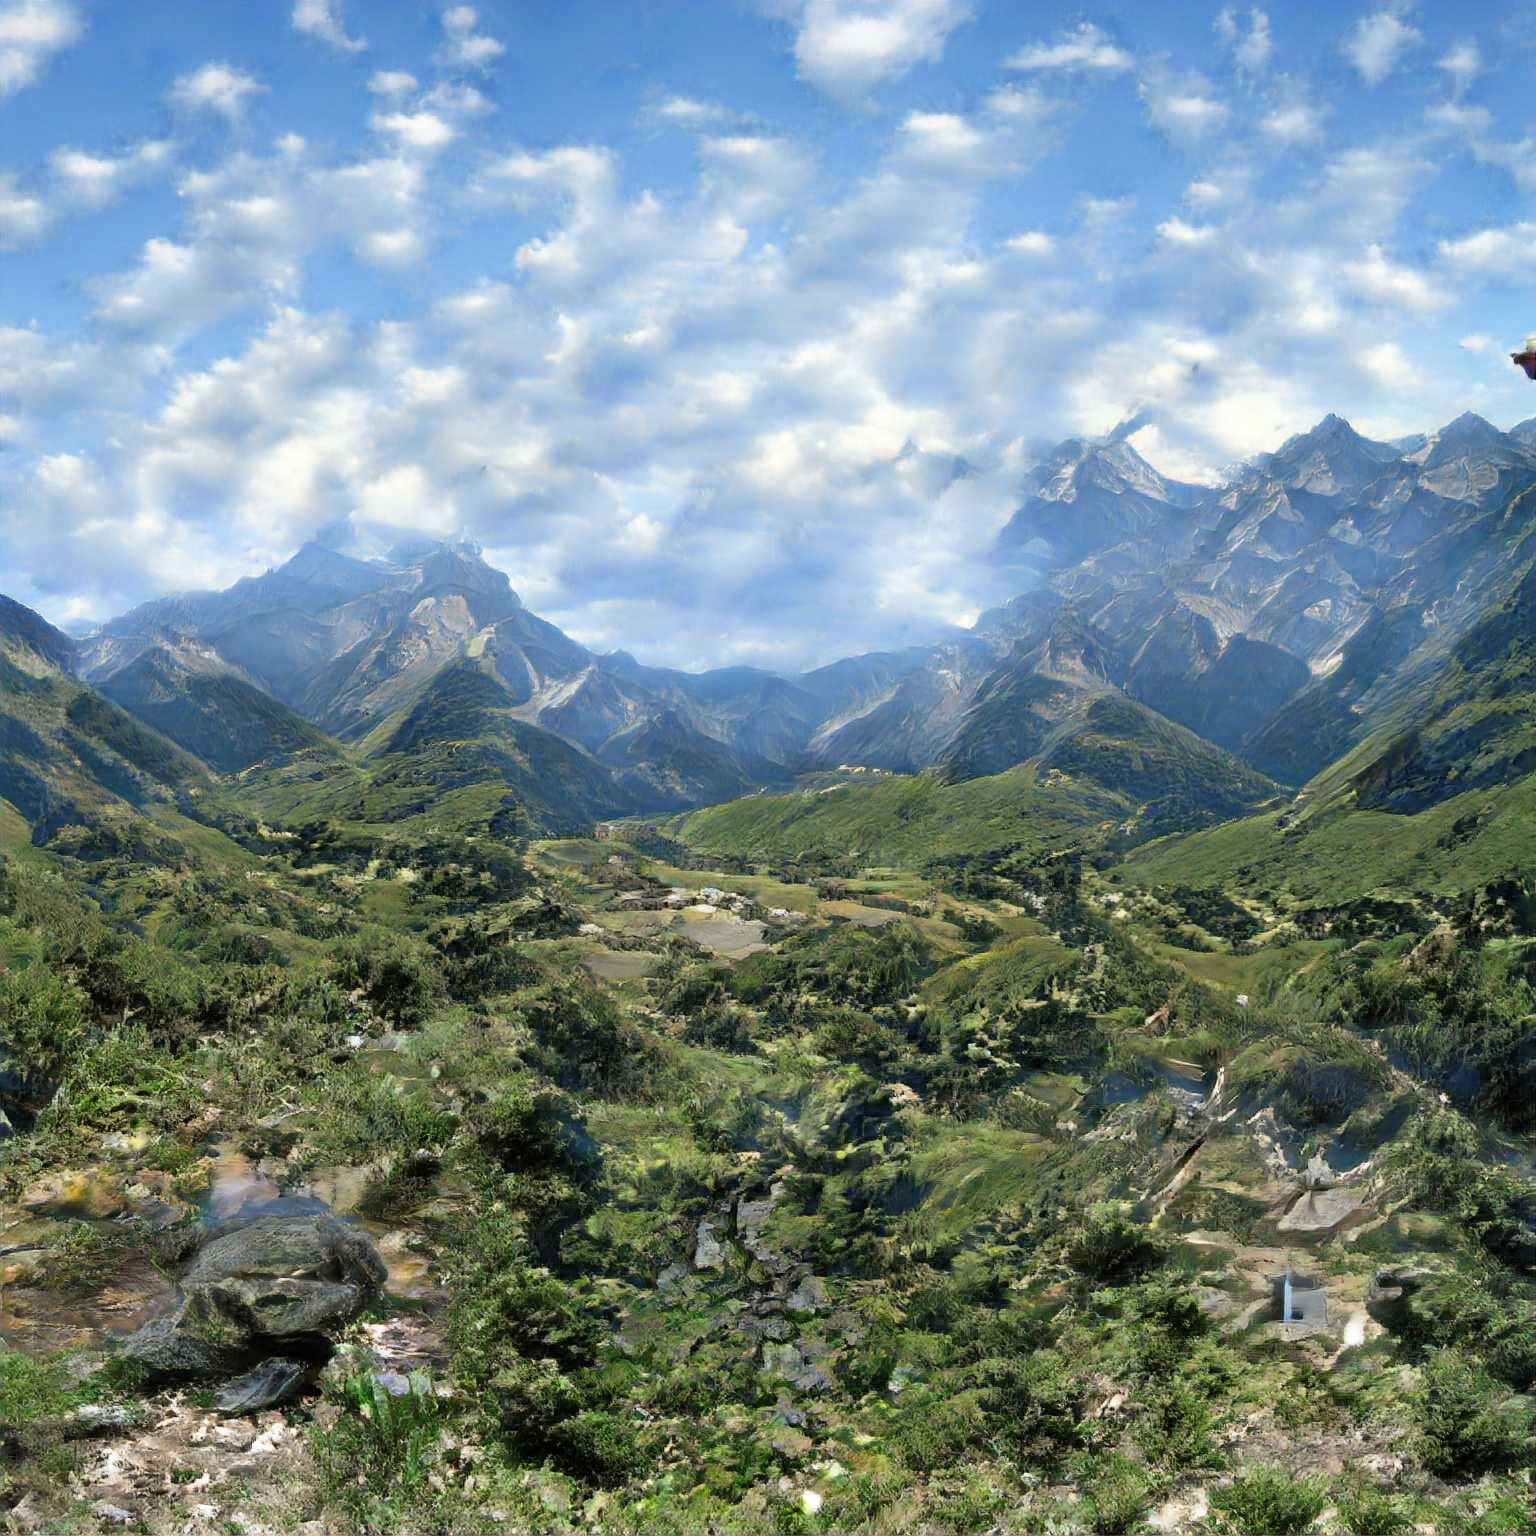
Grid of Artbreeder images
Let's try out the image-of-images technique with some Artbreeder images:
def image_from_dat(d):
  noise_vector, class_vector, truncation = parse_dat(d)
  images, _ = generate_images(noise_vector, class_vector, truncation)
  # images, _ = gen_hacked(noise_vector, class_vector, truncation, -1, lambda z: z)
  return to_pil_image(torchvision.utils.make_grid(images) * 0.5 + 0.5)

def combine_dats(dats):
  dats = [parse_dat(d) for d in dats]
  # put vectors together in a tensor
  noise_vector = torch.cat([torch.tensor(d[0], device=device) for d in dats], axis=0)
  class_vector = torch.cat([torch.tensor(d[1], device=device) for d in dats], axis=0)
  # tructations = [dats[2] for d in dats]
  # unfortunately, we can't really suport varying truncation
  truncation = 1.0
  return noise_vector, class_vector, truncation

truncation_0_urls = [
  "https://artbreeder.com/i?k=83b5f5830c1ad242c50d",
  "https://artbreeder.com/i?k=f2e1017f7ffb96e54bae",
  "https://artbreeder.com/i?k=eed2b029b6afc8ae8811",
  "https://artbreeder.com/i?k=5f0c4d1383d29b916b74",
]

def image_from_dat_urls(urls, layer_to_hack=1, hack_layer=pack_image_grid, use_index=2):
  dats = [dat_from_url(u) for u in urls]
  noise_vector, class_vector, truncation = combine_dats(dats)
  images = gen_hacked(noise_vector, class_vector, truncation, layer_to_hack, hack_layer, use_index=use_index)
  return to_pil_image(torchvision.utils.make_grid(images.cpu()) * 0.5 + 0.5)

image_from_dat_urls(truncation_0_urls)
Let's look at some more examples:
image_from_dat_urls([
  "https://artbreeder.com/i?k=83b019631b4c0731d7cb",
  "https://artbreeder.com/i?k=f70a45d5a03b99b26bb7",
  "https://artbreeder.com/i?k=80cad16367f23afed466",
  "https://artbreeder.com/i?k=2068a7cb3958e848c8e4",
], layer_to_hack=1, hack_layer=lambda z: pack_image_grid_mixed(z, big_idx=3), use_index=3)
image_from_dat_urls([
  "https://artbreeder.com/i?k=ce835203d6b54e8f2d82",
  "https://artbreeder.com/i?k=e3986c7ca685164f96f1",
  "https://artbreeder.com/i?k=51cf04984fd6ee9186ef",
  "https://artbreeder.com/i?k=57f86c34be3b8e93d083",

  "https://artbreeder.com/i?k=4277d34796c6d93fdaa2",
  "https://artbreeder.com/i?k=b507c06d2987c31464af",
  "https://artbreeder.com/i?k=97a1969fd47aaeea605b",
  "https://artbreeder.com/i?k=c8167713f4a74279fa1a",
], layer_to_hack=0, hack_layer=lambda z: pack_image_grid_mixed(z, chop=(4,2), big_idx=0), use_index=0)
image_from_dat_urls([
  "https://artbreeder.com/i?k=0a986add86310f945820",
  "https://artbreeder.com/i?k=50ecbd799a636f6b0bb49463",
  "https://artbreeder.com/i?k=6d19a974e76636221a158d79",
  "https://artbreeder.com/i?k=06ed330e235d28a2250d78d5",
], layer_to_hack=0, hack_layer=lambda z: pack_image_grid_mixed(z * 2.0), use_index=0)
Throwing an upscale in there as well (different source image):
Future directions
Currently, the size of the output is limited by the amount of RAM on the GPU that I'm using. On colab, you will be randomly assigned GPUs with 8 or 12 GB, which allow maybe ~12 images to be combined (though sometimes it will leak memory and you have to restart python).
The best way to scale this up to much larger sizes would be to use a tiling scheme where one image provides the cond_vector and then the different areas of the image are built separately and combined. Care needs to be taken that you provide enough of the neighboring images to still be correct, so it was outside the scope of what I could accomplish while messing around.
I think this scheme would also apply to GANs like StyleGAN / StyleGAN2—you could take a model trained on faces and make weird face-scapes. Ok, maybe Mario Klingemann has done that one enough, but you get the idea.
Conclusion
By treating a generative neural network as a program that can be hacked, rather than a black box opens up new creative opportunities for experimentation.
I hope to see some more interesting work!
- 2018 A Brock, J Donahue, K Simonyan BigGAN arXiv preprint Notebook↩
- This image was made with the 256x256 model that was originally on Ganbreeder, which later became Artbreeder.↩
- since we now only have batch size = 1. I picked the 1st one to start with though it's actually pretty important to have control over which one you use.↩